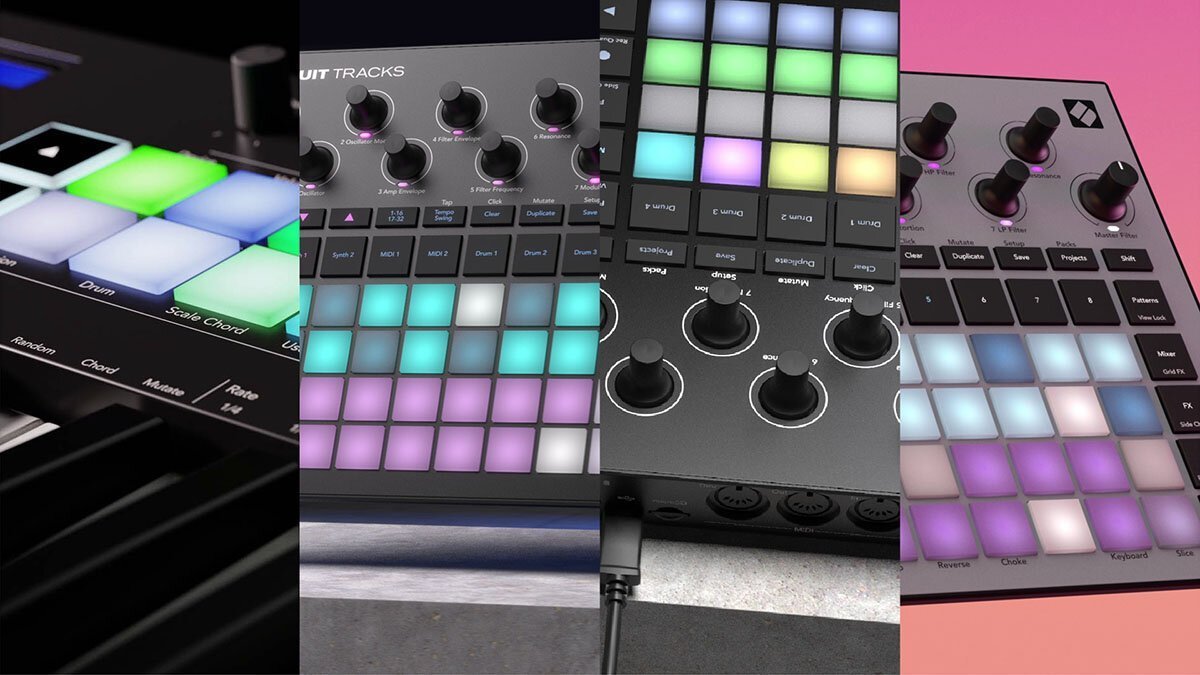
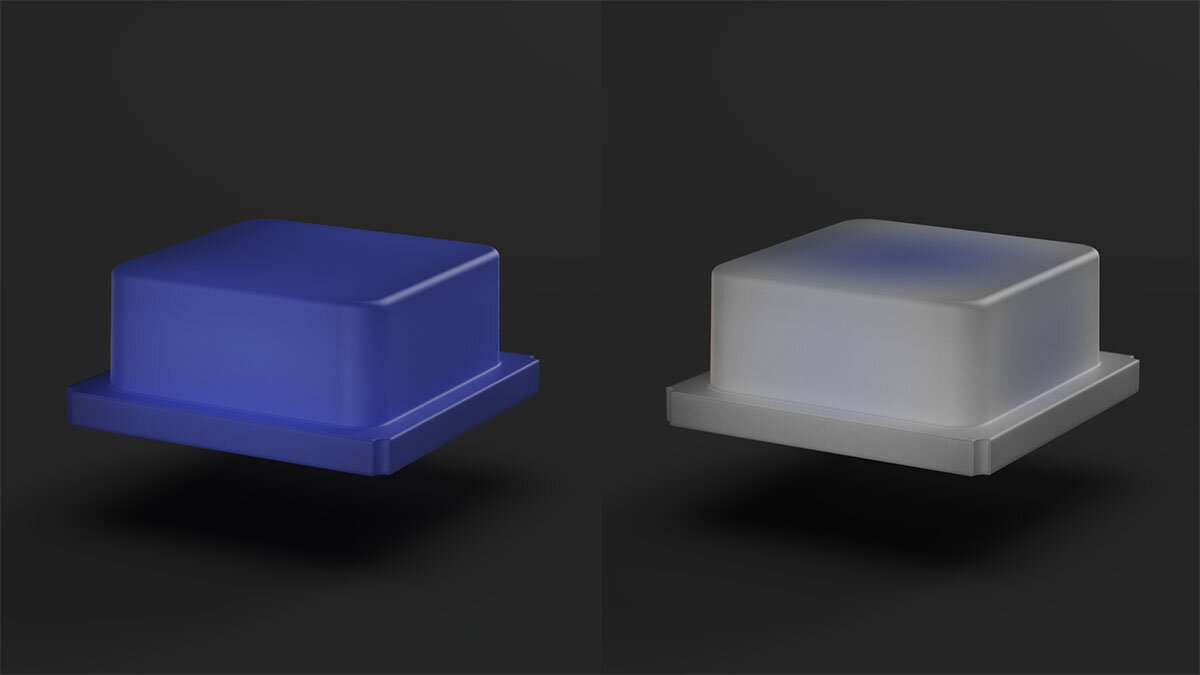
Let's face it, some materials are just a lot more difficult to render in KeyShot than others. One particularly challenging material is a back-lit silicone button. Many products have a soft-touch silicone button or translucent rubber button on them. Now, add a little LED behind this button and that's one challenging material to make in KeyShot. Finally, if you want to animate this light, either blinking or changing colors, then things really get tricky.
Over the years, I've had one client in particular that produces products with back-lit silicone buttons. The jobs I did for this client required me to find a way to create a convincing looking back-lit silicone button material in KeyShot. Additionally, it needed to be easy to make changes to as well as animate.
After spending countless hours of experimenting and refining the silicone button material, I finally found what I think is the best way to create this material in KeyShot. And I'm going to show you how I do it.
Want to follow along with the tutorial? Click below to watch.
https://youtu.be/gKyIGmSEVPc
There are many reasons this is a challenging material to render in KeyShot. Here are a few I ran into when trying to come up with a solution on my own:
As you can see, there were many roadblocks that arose when I initially tried to create this material. Luckily, necessity is the mother of invention, no? Because I had to find a solution, I did.
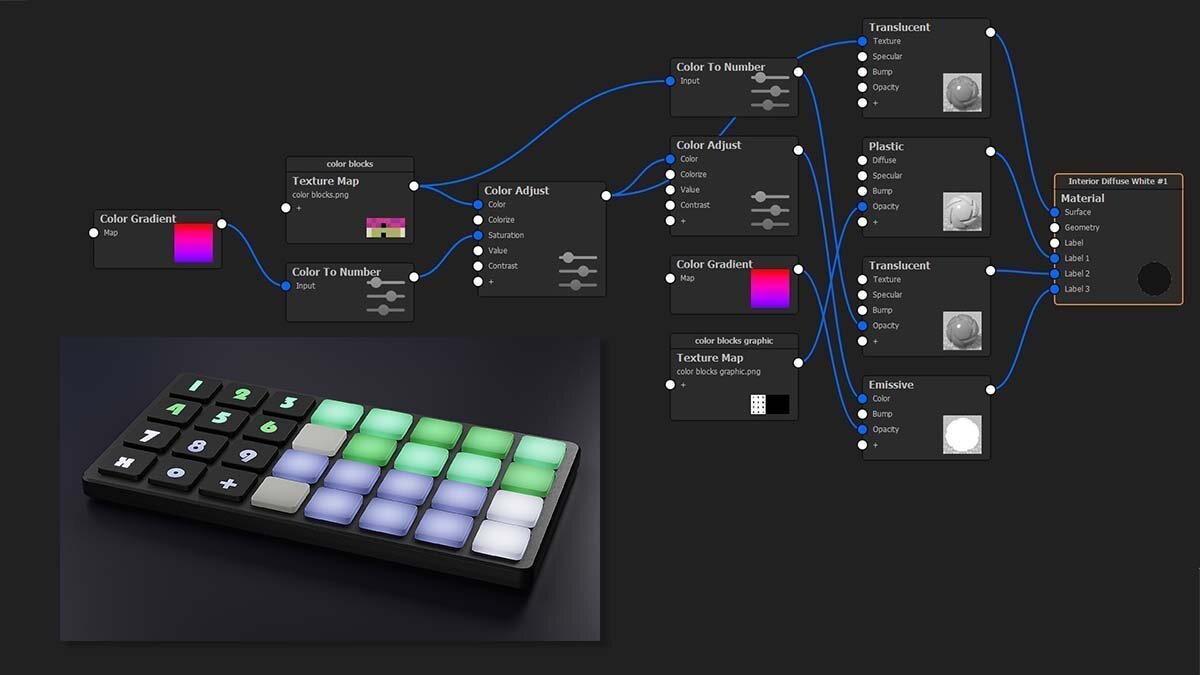
I ran into challenges when trying to transmit light through this material, like the actual product does in real life. So, I decided to take a different approach. Using a light material as a label on top of the button material would get around the transmission issue I mentioned. And since emissive is the only light-emitting material in KeyShot that can be used as a label, that narrowed things down.
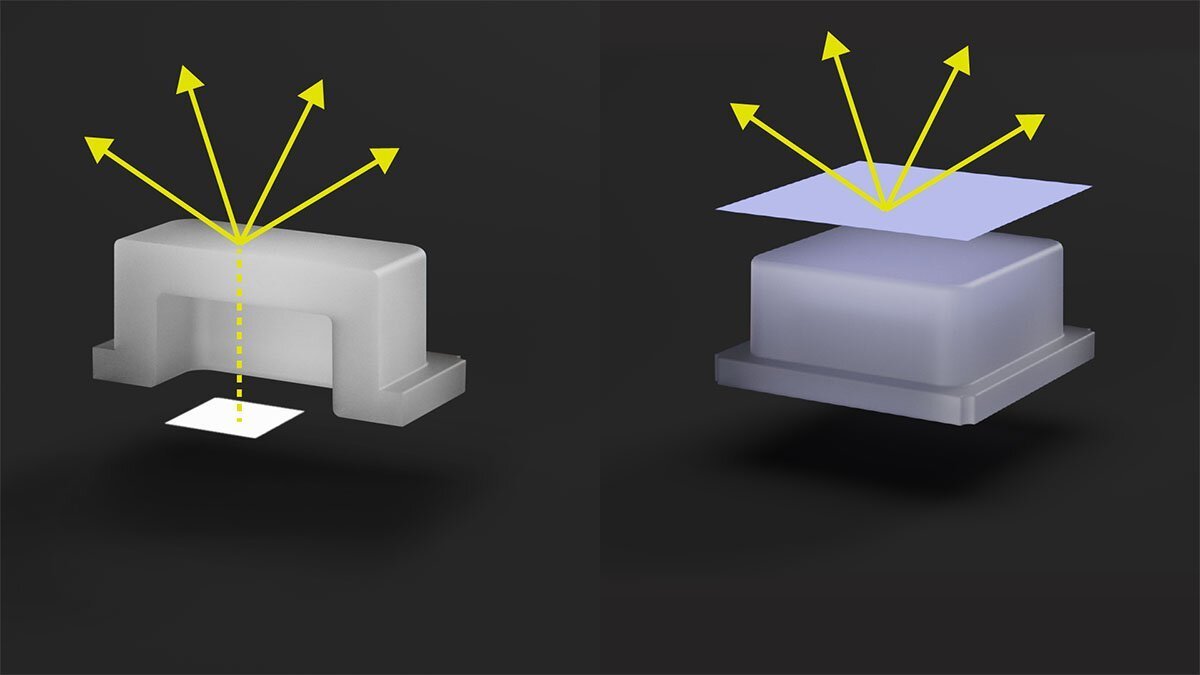
Next, I realized that in real-life, a light has a bright center. This creates a gradient as light moves away from the point of emission. Since the light was emitting from the top of the button, I used a gradient mask to make it appear to be buried within the button.
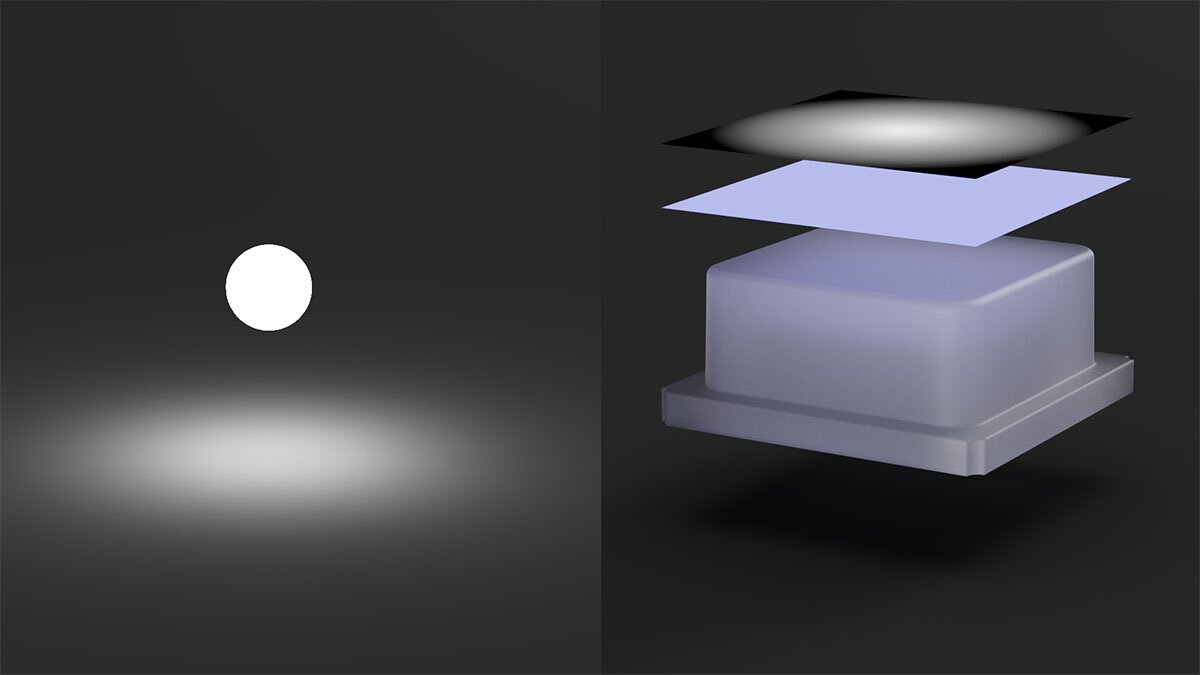
I used the same gradient approach mentioned above to control the color of the silicone. By using both an emissive label and a silicone material, I was able to have sufficient control over color and brightness of the material. I chose to use the translucent material for the base since that was the only material that gave me the soft appearance I wanted. It also renders more quickly than a transparent material like cloudy plastic.
Finally, when it came to animating the buttons, I decided to rely on video maps. If you haven't learned about what video maps can do for you, be sure to learn about those here. By using a video map texture, I could load an image sequence to drive the color of the buttons.
I had a friend create some animated colored sequences in After Effects for me. This would take care of all the blinking, flashing and sequencing of the buttons. What I love about this approach, is ease of updating. Once the video map was loaded, changes could be made to it. As long as the frame count did not change, the animation would automagically update in KeyShot.
I decided to create a tutorial sharing how I set this silicone button material up in KeyShot. It may be a bit niche, but can get you unstuck if you're in need of help. The material graph for this material is quite simple, but also not intuitive. Hopefully, this will give you some ideas or new ways to approach solving challenging materials in KeyShot.

{{teacher-block="/teachers/will-gibbons"}}