Dispersion in KeyShot

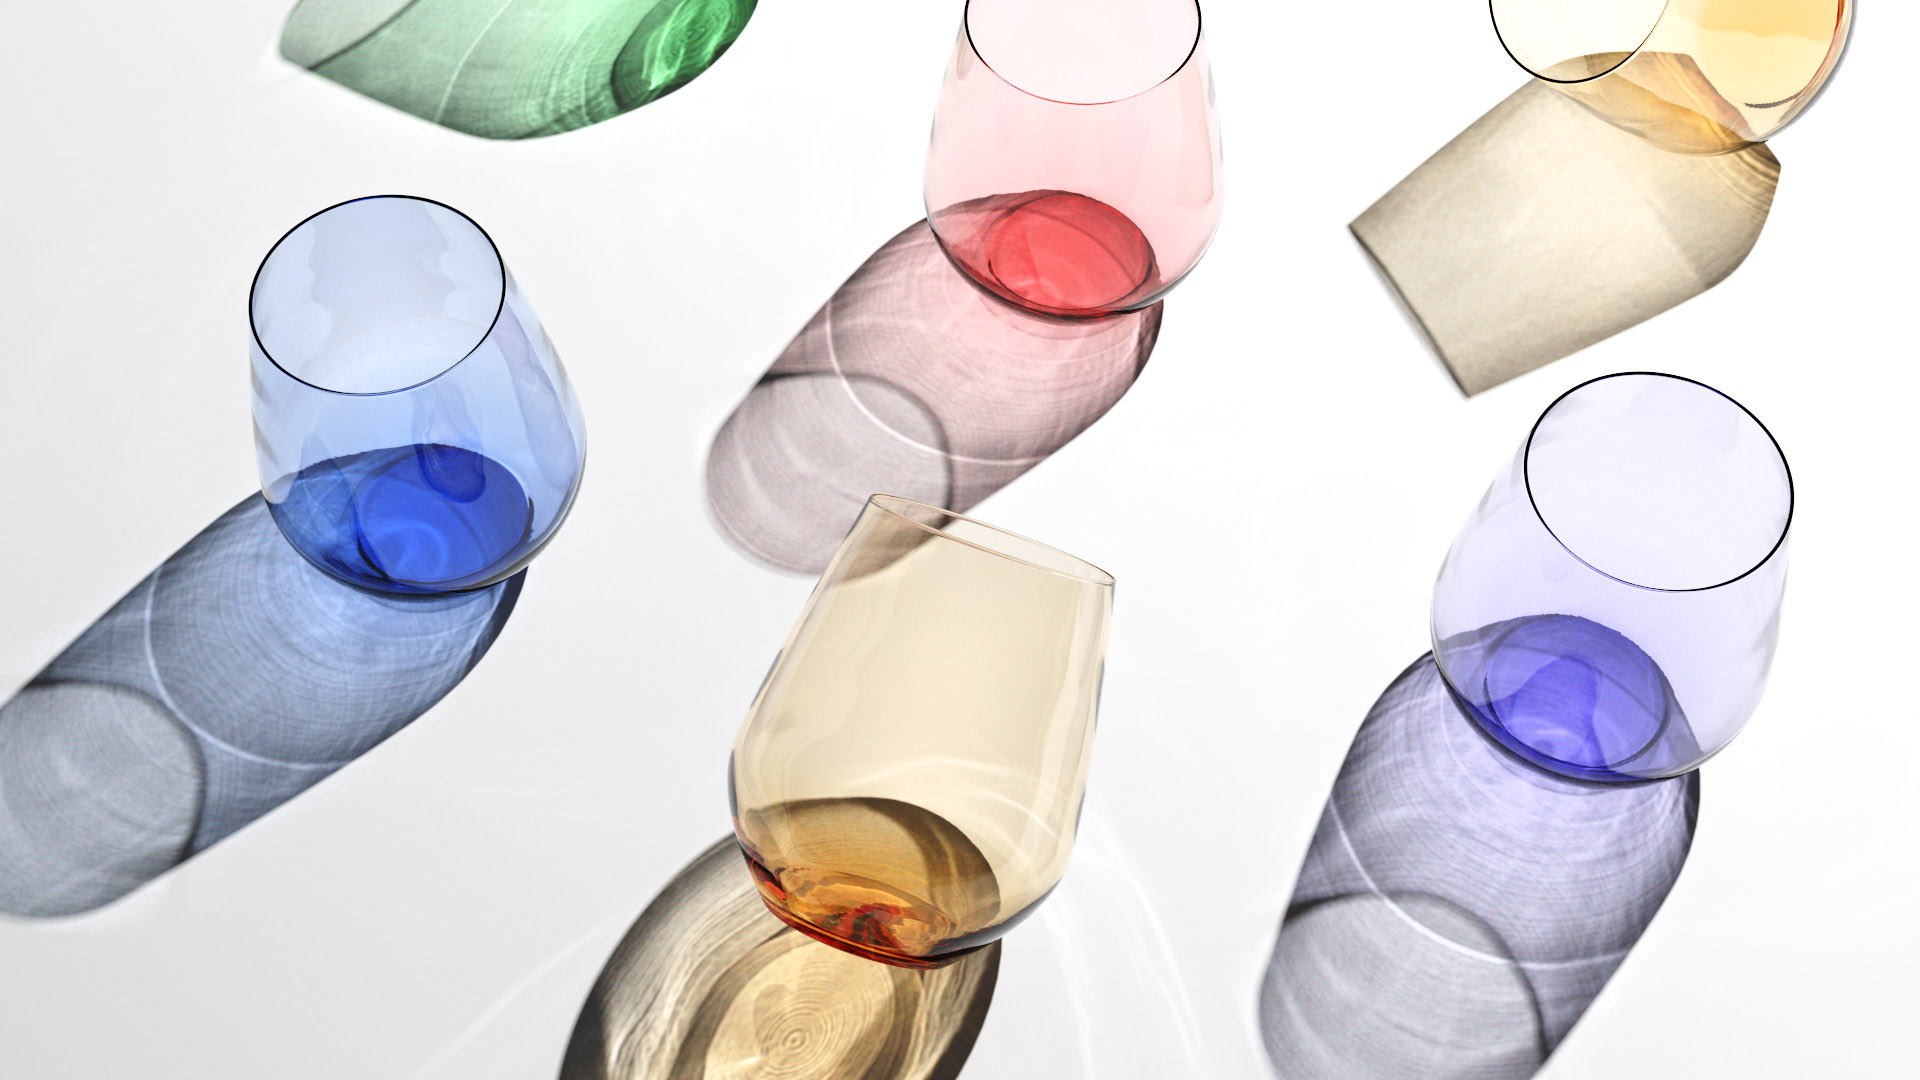
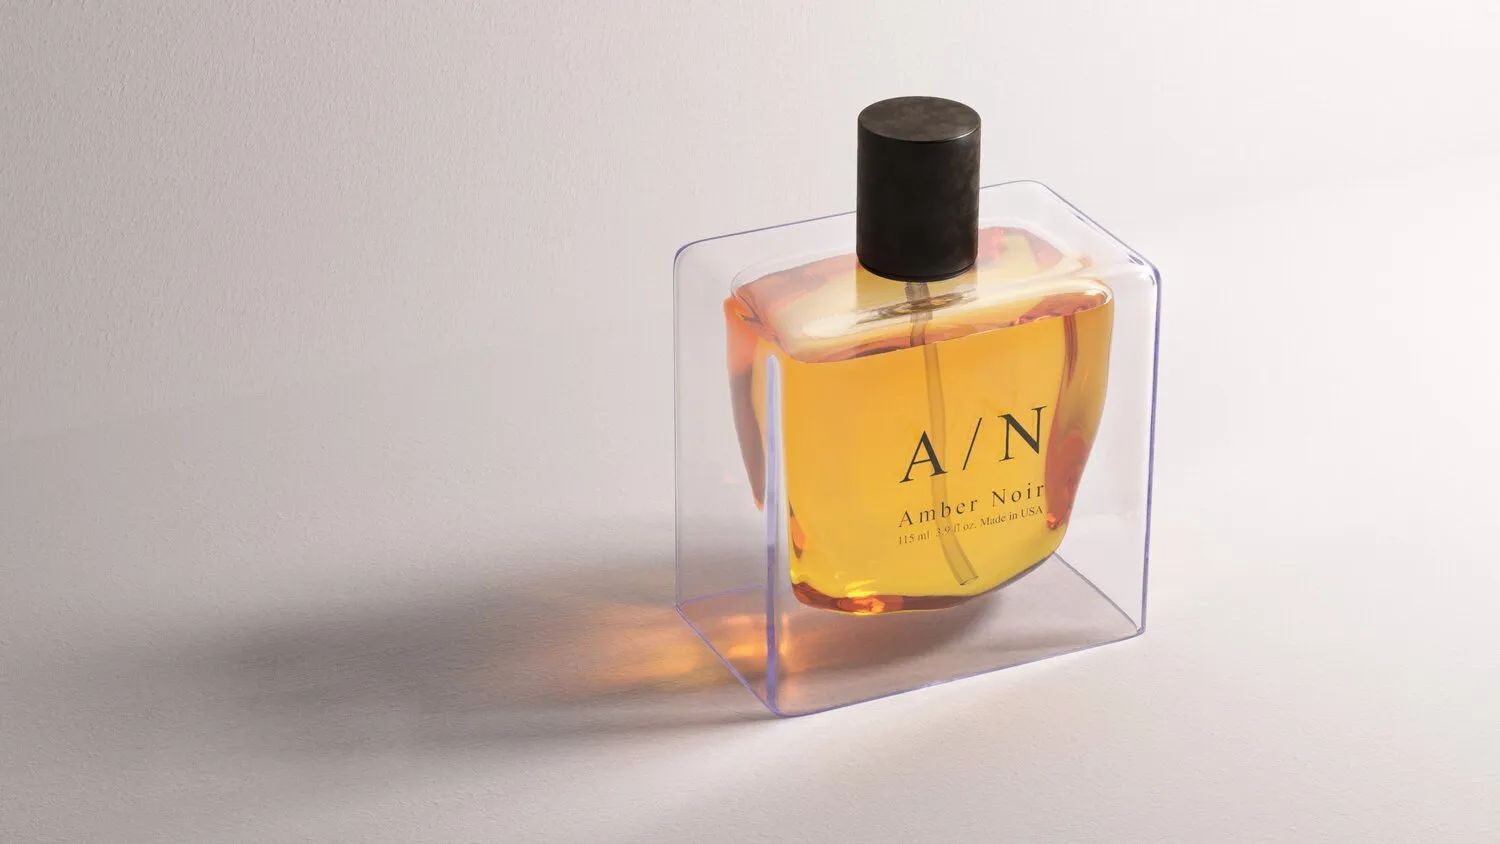
Recently, I received an image. I decided to try and create the material in KeyShot. After exploring a bit, I created the image below. While this isn't difficult to create, it's not the most intuitive thing. There are a couple of little tricks along the way that will help to make the image really shine! It's time to learn about light, refraction, dispersion, caustics and ultimately how to harness all these properties in KeyShot!
What is dispersion?
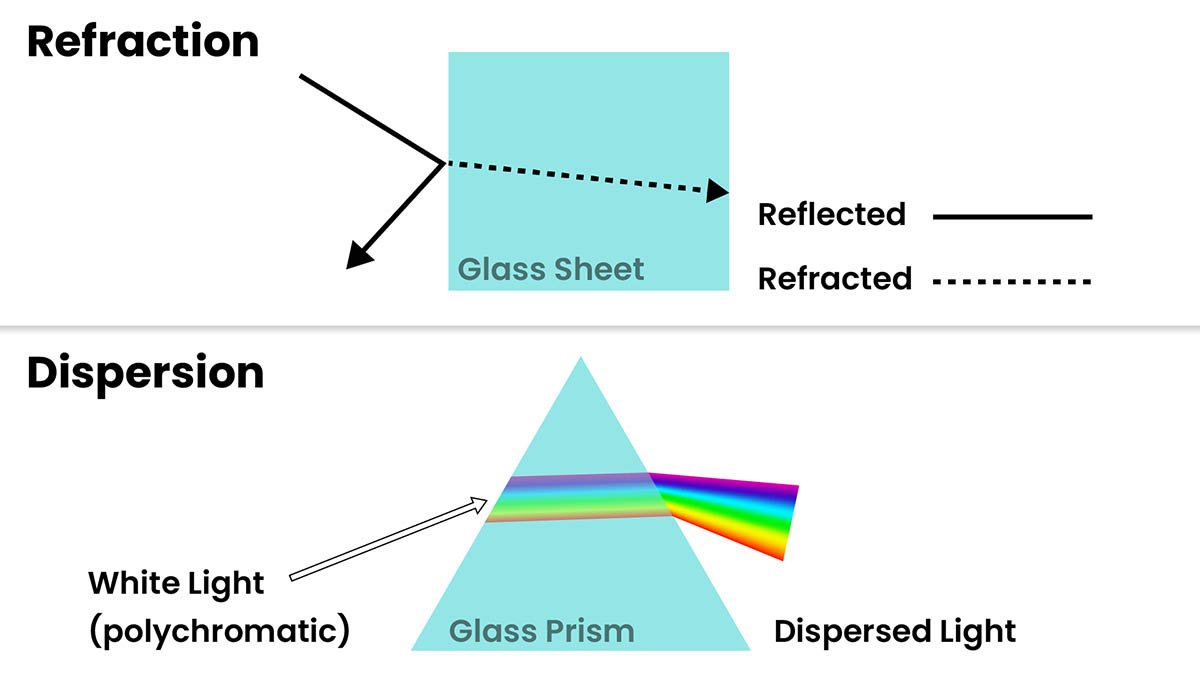
Dispersion is when light interacts with certain materials and produce a rainbow effect. More specifically, when white light refracts through a dielectric material like a prism, each wavelength splits apart and becomes visible. The result is what we commonly refer to as a rainbow.
Tutorial Video
Want to make your own renderings of dispersive materials in KeyShot? Grab yourself a coffee, download the included project files and give the video below a watch.
https://www.youtube.com/watch?v=MSddq7rTm8M
Examples of dispersion
Dispersion occurs in our natural world as well as on certain materials. Rainbows, gemstones and compact discs are probably the most familiar instances that exhibit dispersive properties.

What are lightwaves?
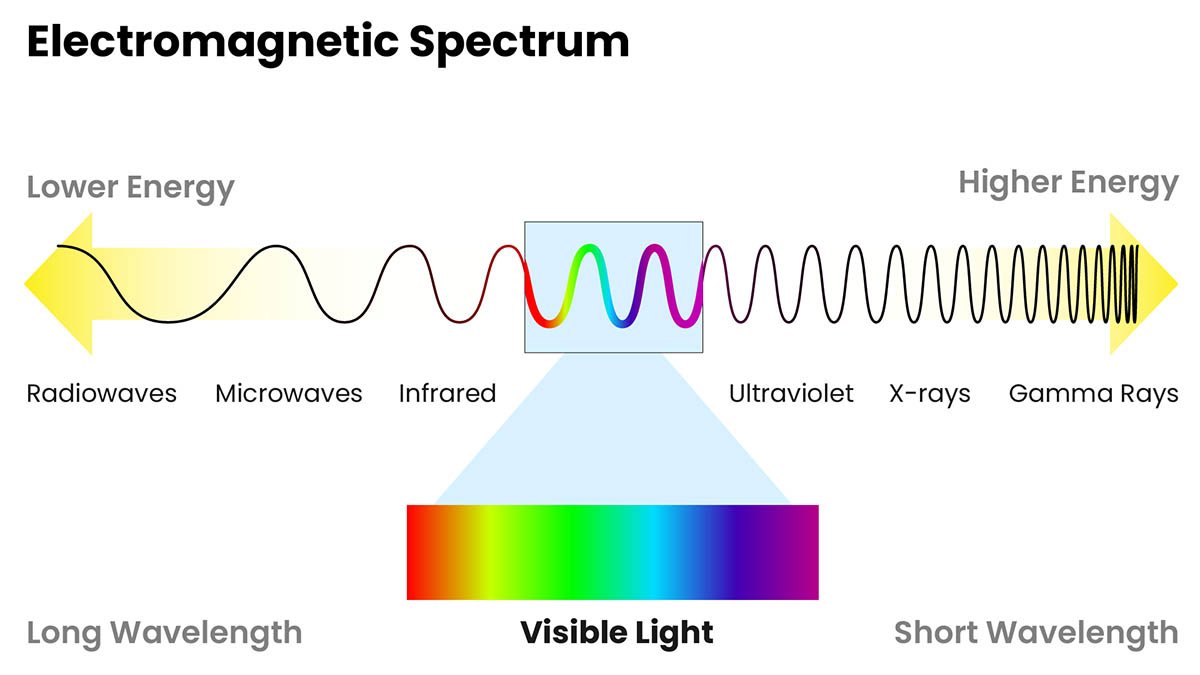
To grasp how dispersion works, it helps to understand light. Radiation is energy with magnetic and electric fields associated with it, which have wave-like properties. This is where we get the term electromagnetic waves from. The electromagnetic spectrum describes the range in wave frequency, from low energy waves to high energy waves.
What is colored light?
Somewhere near the middle of this spectrum, we are able to see this energy in the form of light. Each colored light we can see is associated with a different wavelength. Longer wave lengths produces red light and shorter wave lengths produce violet light, with other colors falling between these extremes. White light actually contains all these colors. Combine red, blue and green light and you end up with white.
Level up your KeyShot Rendering skills
What is refraction?
When light comes into contact with glass, some of it will be reflected, or redirected away from the surface at the same angle it came into contact with the surface. Light that is not reflected, transmits through the glass. Because the glass has a higher density than the air around it, the light will move through it more slowly. The slowing down of light inside the glass causes it to change direction slightly. A directional light change within a material is called refraction.
Dispersive materials in KeyShot
KeyShot has three materials that allow you to enable dispersion. Dielectric, gem and multi-layered optics. Dielectric is basically a glass shader, but offers more 'advanced' options than a basic or solid glass. The gem material is great for jewelry and of course, gemstones. Finally, multi-layered optics is a really nerdy and fun material used for creating coated glass such as lenses. Below is a screenshot of each material's properties in KeyShot.

What is Abbe number?
In KeyShot, the Abbe value is what you change to set how extreme the dispersion is within a material. It's an approximate measure of a material's dispersion, named after Ernst Abbe who defined the phenomenon. Lower Abbe numbers indicate higher amounts of dispersion. For reference, a diamond has a value of about 55, whereas the human eye has an Abbe number of about 45 and Polycarbonate has a value of about 30. If you've ever noticed chromatic aberration in photographs, it's due to the dispersion that occurs in the camera lens.
Reducing noise
If you experience grainy colors in a dispersive material in KeyShot, try increasing the dispersion samples. Change the samples by expanding the accordion under the Abbe number parameter in a given material.
Community challenge
If you followed along with my video tutorial, I challenge you to create your own renderings using the geometric prism I included in the free project files. Its shape should help you to create some really fun visuals. Be sure to tag me on Instagram @willgibbonsdesign and I'll share your image!