How to use KeyShot Multi-Materials

KeyShot Multi-Materials. Ever heard of them? Ever used them? Maybe you’re just getting started with the KeyShot, or perhaps you’re a seasoned veteran. Either way, today we’re going to brush up on Multi-Materials and when and how to use them to save you time and clean up your workflow.
What is a KeyShot Multi-Material?
A KeyShot Multi-Material is a collection of appearances, called Sub-Materials. A Multi-Material can be applied to a part the same way any other regular material can. Just drag-and-drop a single Multi-Material onto an object. Then, you can conveniently toggle between the Sub-Materials (shift+b).
What’s the Benefit of KeyShot Multi-Materials?
Taking advantage of Multi-Materials is a convenient way to tidy up your workflow. They help you manage different finish options an object may be available in. With a library of organized Multi-Materials, you’ll reduce the number of materials saved to your library. It can be a big time-saver when it comes to locating materials.
What about a team of designers or artists are collaborating on a project? Using Multi-Materials can also remove a lot of guesswork and human-error. If my design team knows to apply Multi-Material A to parts B and C, then the correct material variations will be available on the correct parts. This assumes we’re using a shared material library.
Whether you’re looking to tidy up your material library, streamline a workflow or unify a team’s material application, Multi-Materials can play a big role. Let’s look at how to actually build Multi-Materials in KeyShot.
How to create KeyShot Multi-Materials
There are two main areas in KeyShot where you can create a Multi-Material. First, there’s the regular Material tab in KeyShot’s property panel. While this works just fine, I find that the layers of menus and material and label properties can become quite confusing, especially for beginners.
Next, there’s the Material Graph. This can become busy with lots of nodes and connectors. However, I find it easier to follow as it shows all the ‘building blocks’ of the Multi-Materials at the same time. For most visual learners, this is easier to navigate.
In the video below, I’ll walk through some practical uses of Multi-Materials and how to create them in both environments. If the video won't load, click here to watch.
What can you do with KeyShot Multi-Materials?
You can accomplish a lot by using Multi-Materials. However, I’m often surprised to see how few people make use of this feature. Being that KeyShot is a product-focused render engine, a fair amount of its strengths come from managing variations of products. Here are some of the ways you can use Multi-Materials.
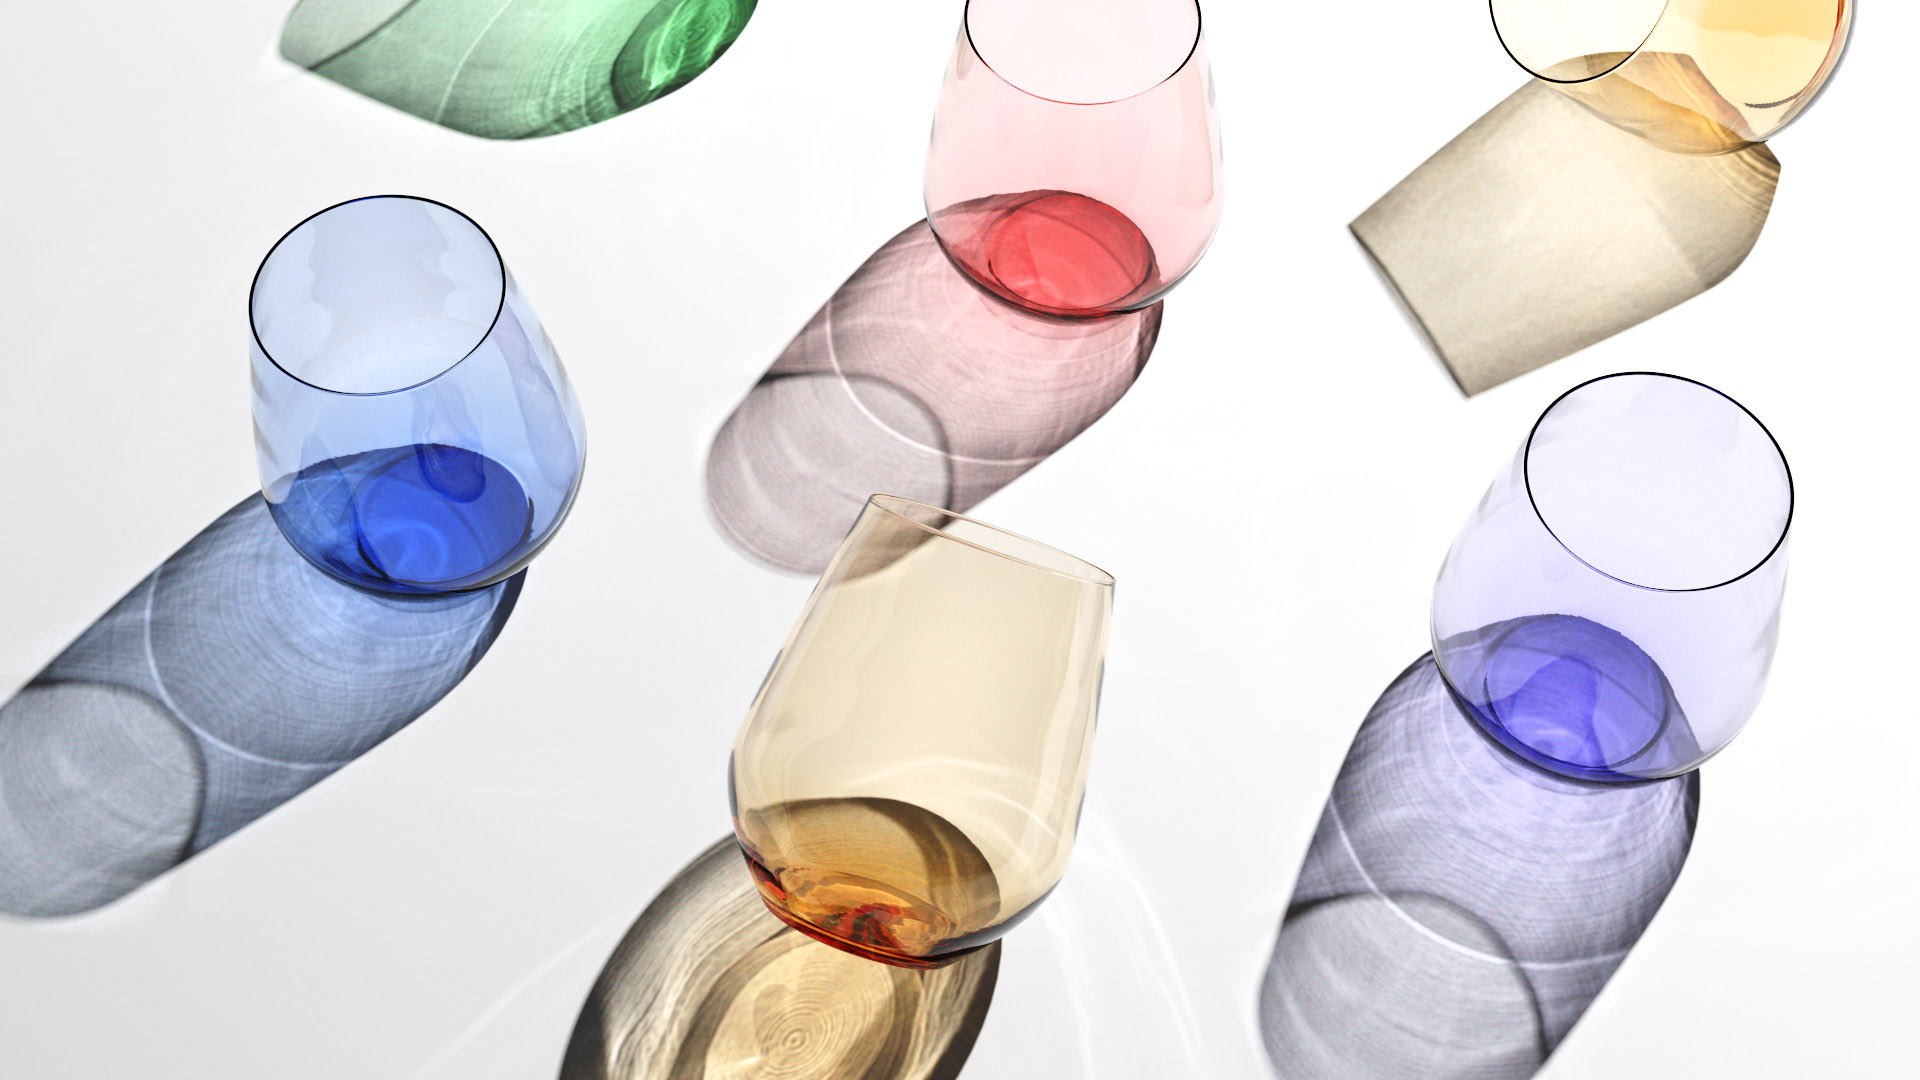
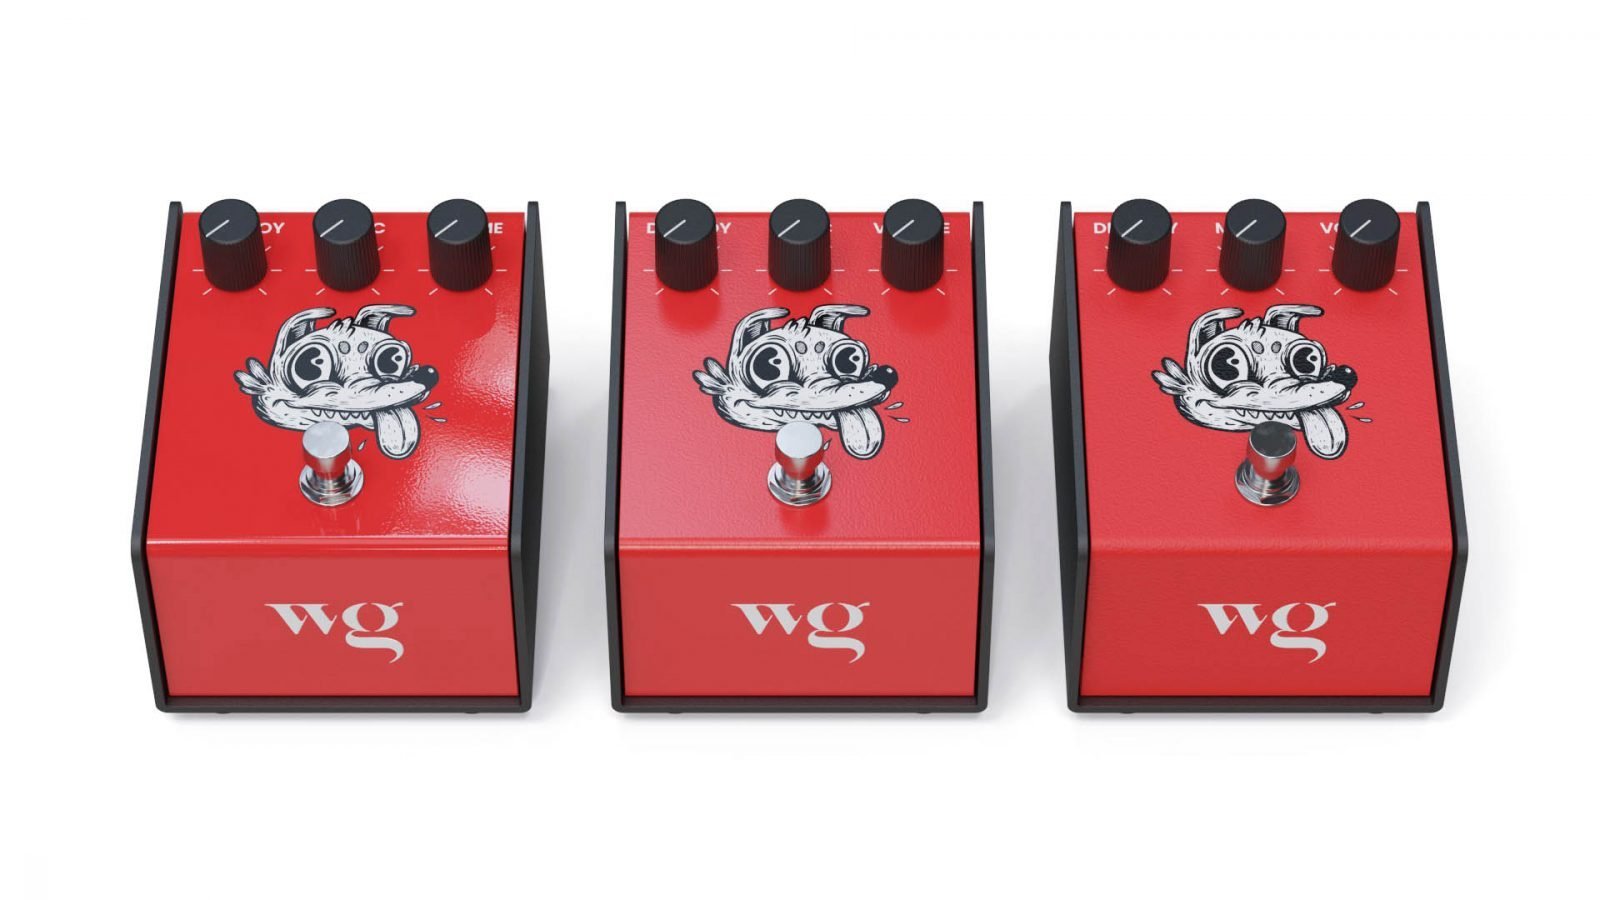
Creating color variations
If you have a single item that is available in several colors, Multi-Materials will do the job. This is probably the most common and obvious use of this feature.
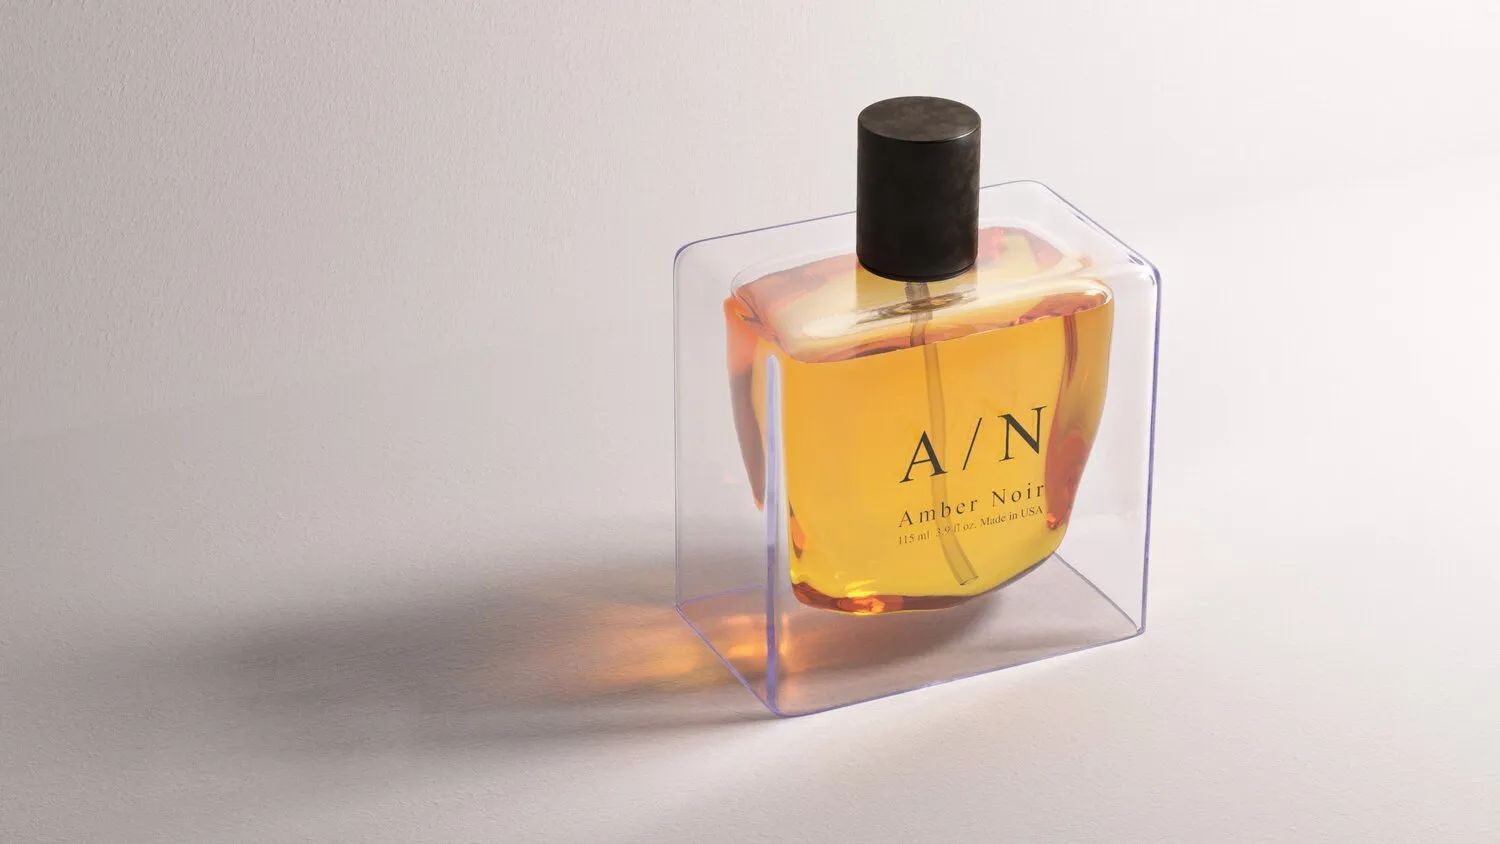
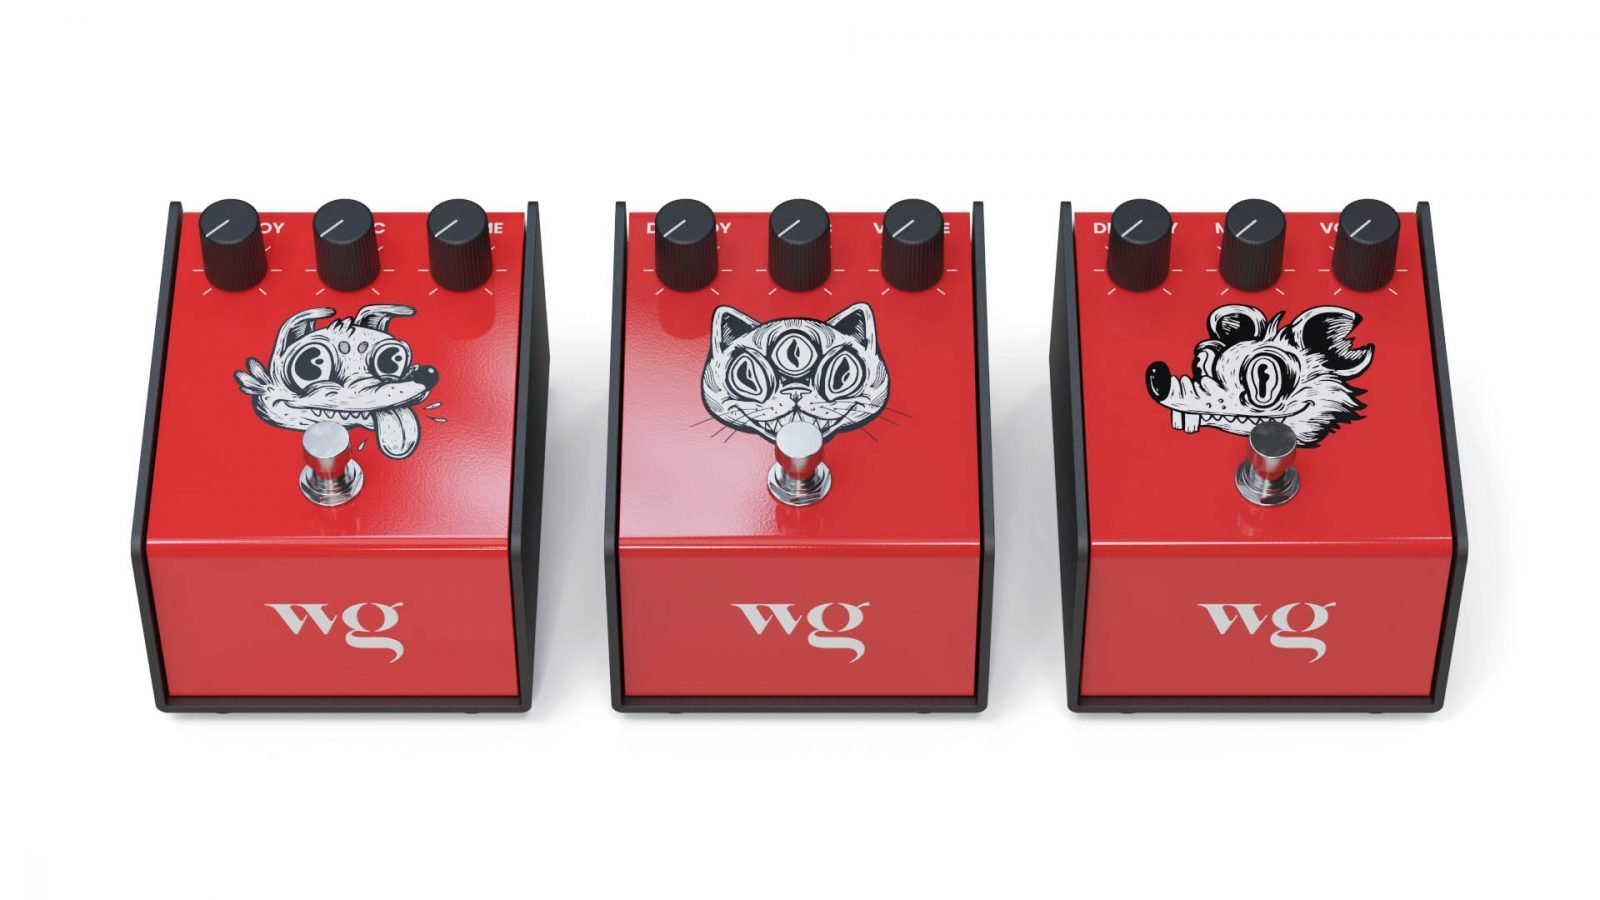
Creating label or graphic variations
Let’s say you’ve got a product that needs the same label but in several different languages. A Multi-Material with a unique label on each version will work well.
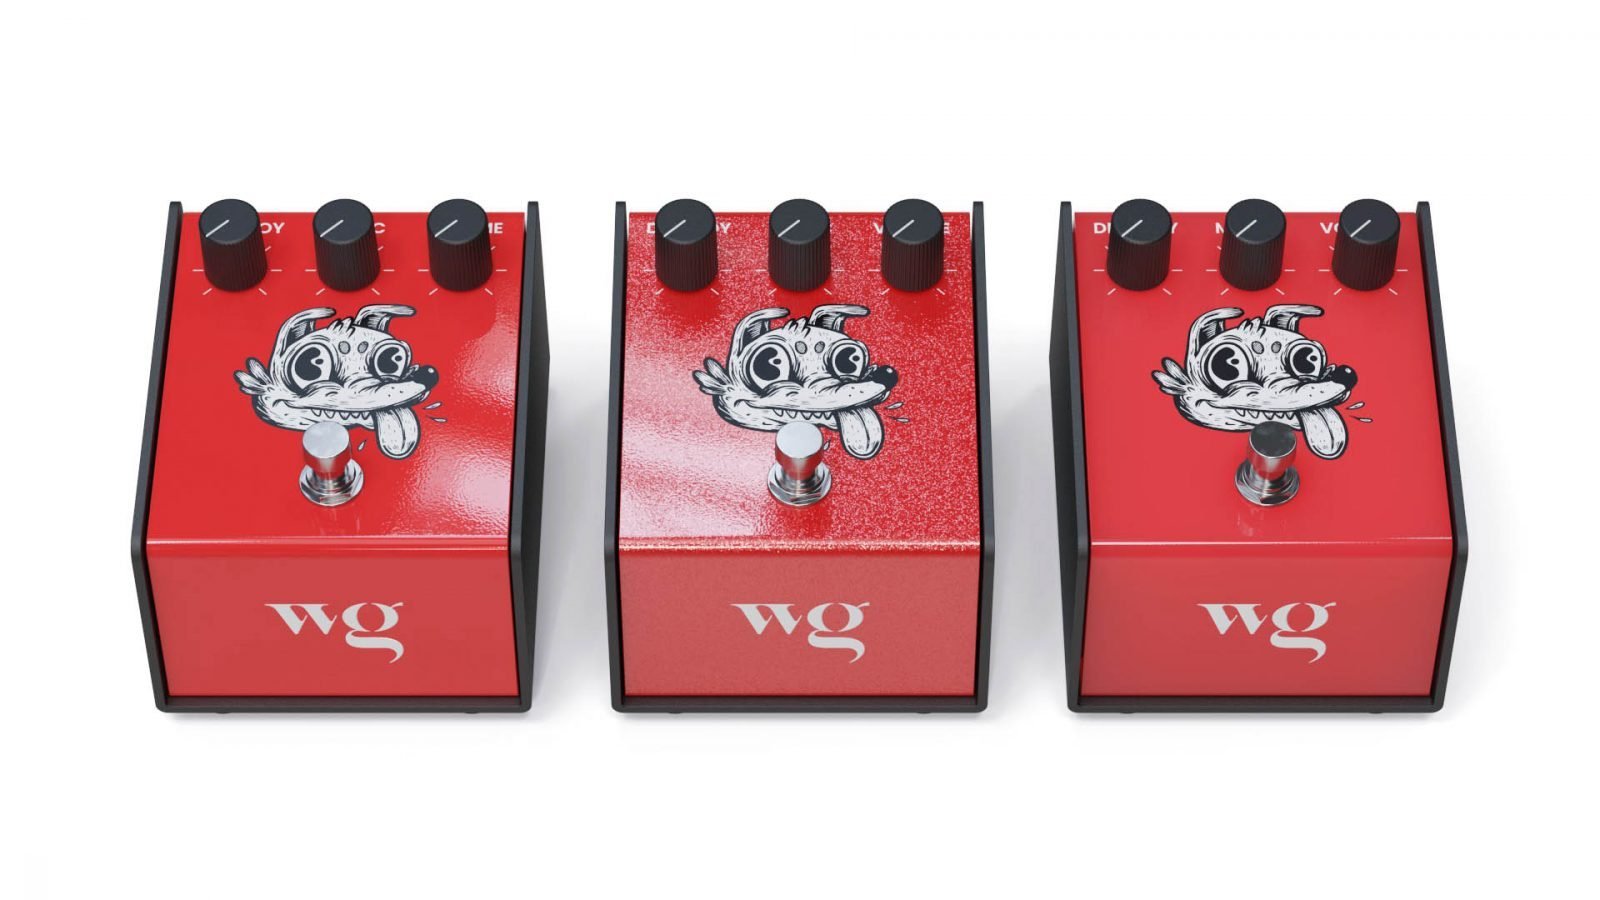
Creating finish variations
Perhaps you’re working though the design process and want to compare a few options for what a product might look like. You might want to present a matte, satin, semi-gloss and glossy version of a product. Once again Multi-Materials will work for this.
Creating material variations
You might want to offer the same product in several different materials. For example, a chair manufacturer might offer a wooden armchair in 4 unique woods. Yep. You guessed it. Multi-Materials.
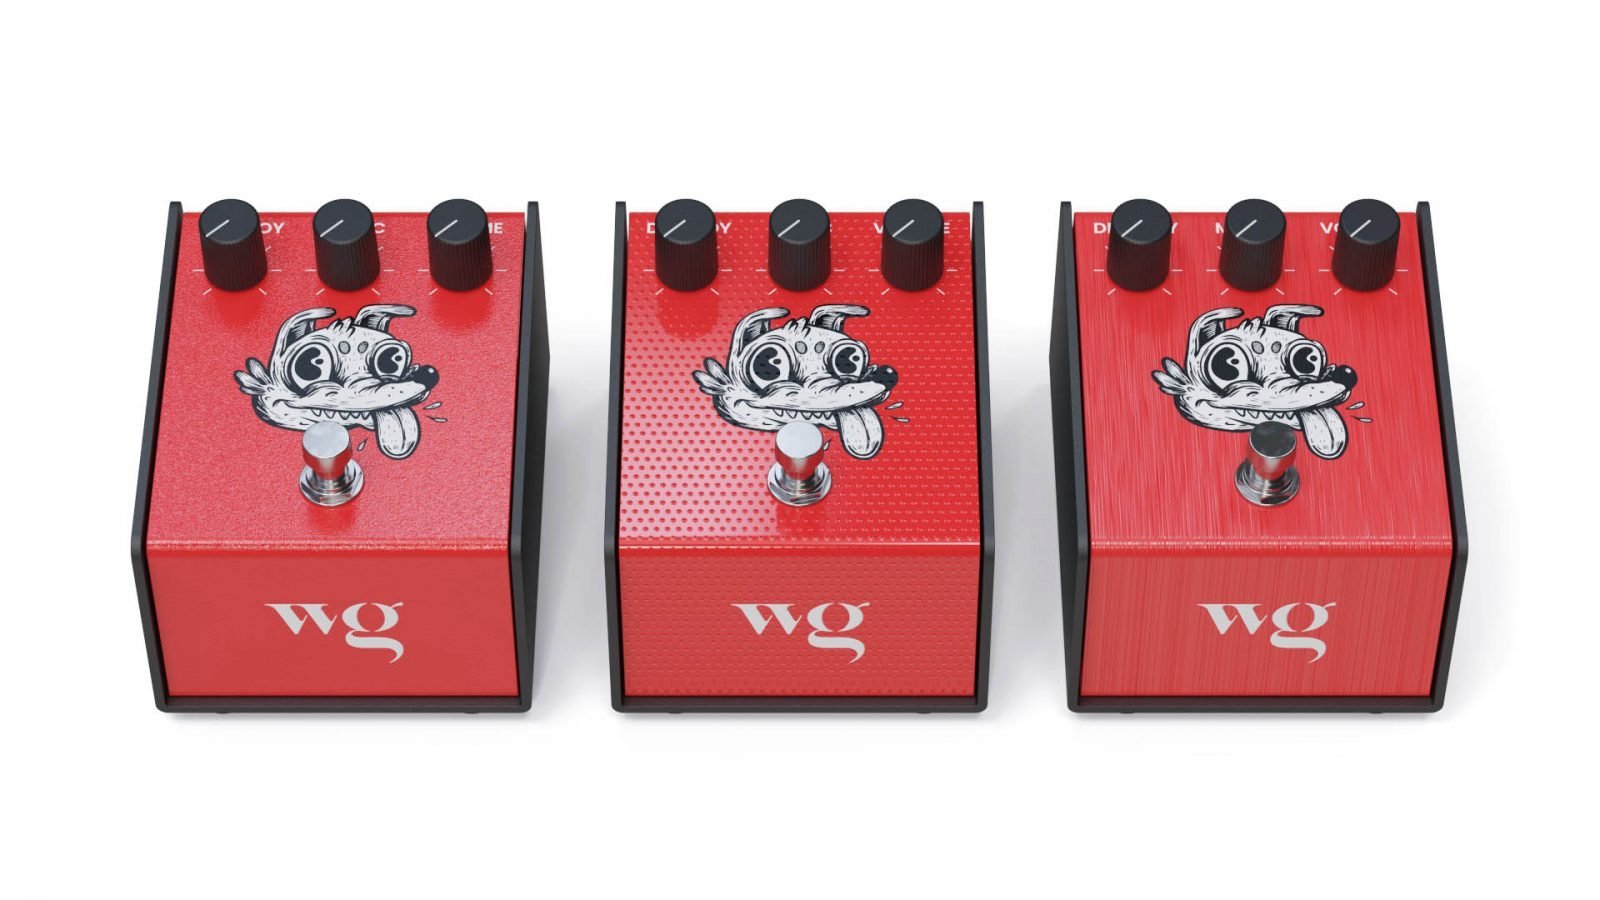
Creating texture variations
And finally, if you want to explore different possibilities when it comes to textures, either bump, color, roughness, Index of Refraction or even displacement, you can use Multi-Materials for this.
So, as you can see, there’s a lot of flexibility when it comes to Multi-Material use cases. Generally speaking though, as the name suggests, they’re all about capturing and grouping variations of materials. Nothing else. KeyShot has other tools for managing variations in other aspects such as lighting and more. I’ll save that for another time.
Level up your KeyShot Rendering skills
What you can’t do with KeyShot Multi-Materials
Despite the power and flexibility of Multi-Materials, there is one thing you can’t accomplish with them. I'm referring to colorways.
Colorways
In CMF design (color, finish and material), the term colorway describes a specific combination of color, finish and materials applied to specific products.
Let’s take shoes for example. The same shoe is often available in a few colorways. The sole, the shoe laces, the upper and other details will each have unique colors and attributes that go together in a pleasing way. These are examples of colorways.
To create colorways in KeyShot, you need to use the Configurator in KeyShot. This creates dependencies between materials and parts. You can control which material is applied to each part, locking in color combinations. You can let users toggle through the options too.
KeyShot 11 introduced a new tool called the CMF Tool. Surprisingly, this won't help you create colorways. However, it helps remove a step or two from the process of creating tech packs. These are documents used to describe what materials should be on the various parts of a product. Normally, these are shared with factories who produce products for a company. Those are still managed either through Studios or if you need more control, the configurator.
Using the Material Graph with Multi-Materials
The Material Graph is KeyShot’s node-based editing environment. Each node contains a handful of attributes. A node can be thought of as a building block. By connecting the nodes, you combine these attributes to create a material. As previously mentioned, node-based workflows tend to be more flexible and faster to create.
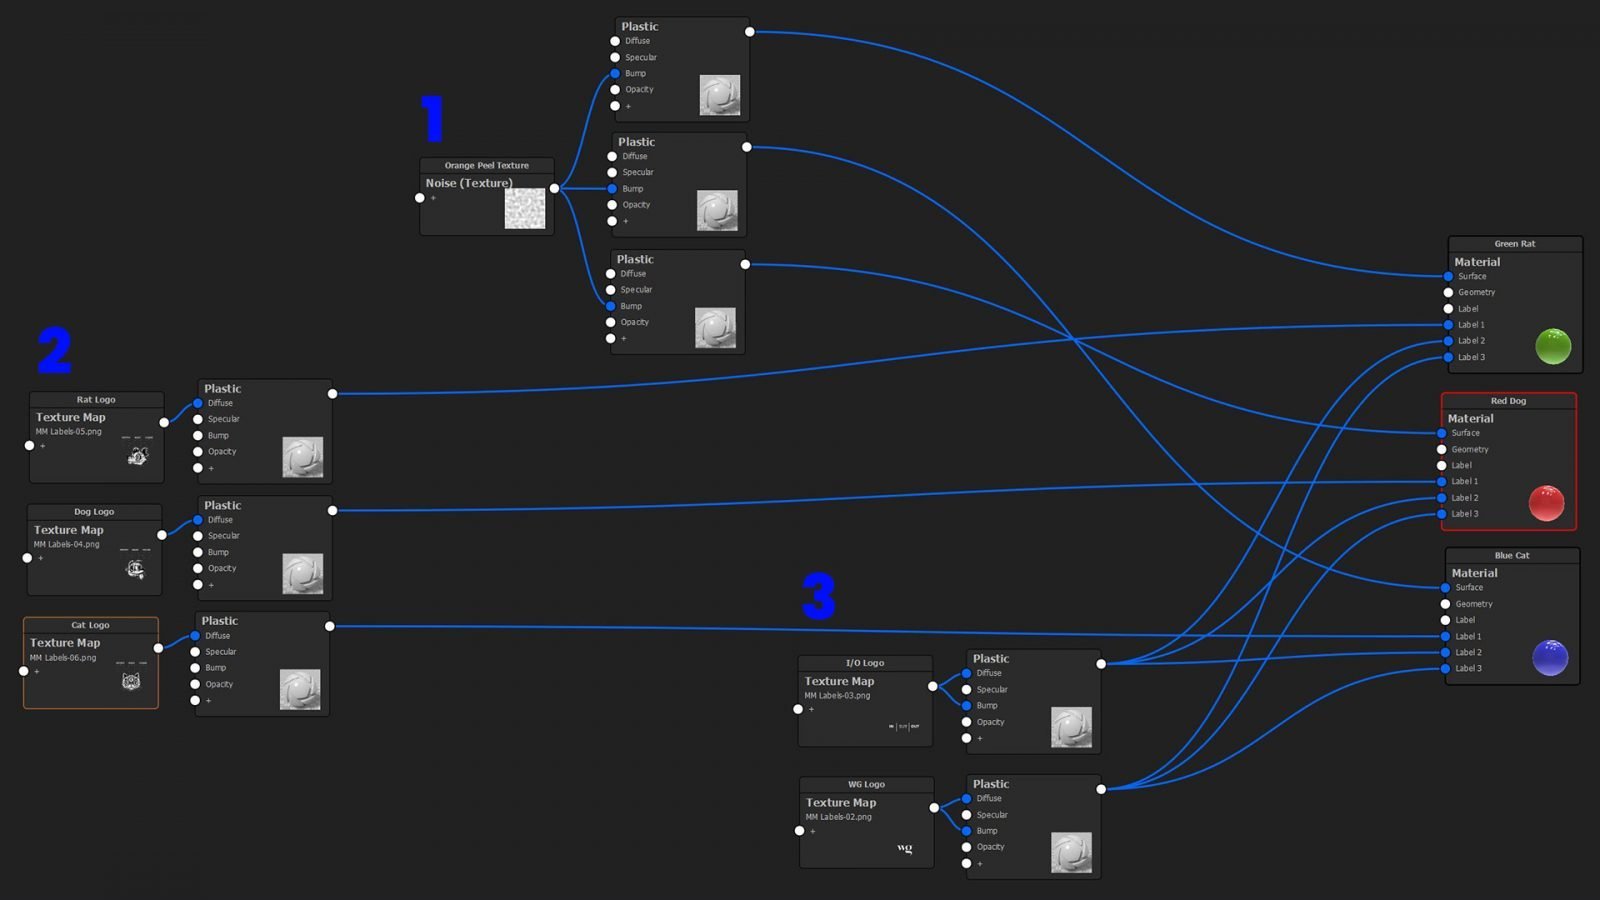
When working with Multi-Materials in the Material Graph, you’re able to hide everything but the nodes for the active Sub-Material. This is a great way to simplify the workspace and keep you from mistakenly editing the wrong node.
One benefit of editing Multi-Materials in the Material Graph is visibility. You can see each node and what affects each sub-material. Also, you can easily reuse nodes across multiple Sub-Materials. For example, you can use a texture that you wish to be visible on all Sub-Materials. Simply attach the same node to each appropriate input for all Sub-Materials. This approach makes it faster to edit properties of a node and have it affect all other Sub-Materials it’s connected to. It also reduces the visual clutter within the Material Graph.
How to save KeyShot Multi-Materials
After you’ve built a Multi-Material, you’re likely going to want to save it for future use. What’s great is that a Multi-Material behaves as a single, regular material in KeyShot.
I recommend giving some thought to the name you use for each Sub-Material and using a more generic name for the Multi-Material as a whole.
For example, if I make a Multi-Material for an iPhone case, I might name the Multi-Material iPhone X Case, then name the subsequence Sub-Materials something like black leather, yellow leather, red leather etc.
Once you’ve named everything appropriately, just save the Multi-Material to your library like you would any other material by pressing the save icon to the right of the name field.
Removing Sub-Materials from a Multi-Material
If you wish to remove a Sub-Material from a Multi-Material, double-click the part that has the Multi-Material applied to it. This will expose the Material Properties panel. Once there, select the Sub-Material from the list. Then, click the trash can icon to the left of the list.
How to render KeyShot Multi-Materials
When you’re ready to produce your final renderings, there are a few ways to ensure each Multi-Material is rendered correctly. How you’ll do this depends on your specific scenario and needs.
Scenario 1
In the most basic scenario, you’ll have a single body object. For example say a plastic clothes hanger. Let’s say it comes in white and black plastic. You make a Multi-Material with a white and black Sub-Material for it.
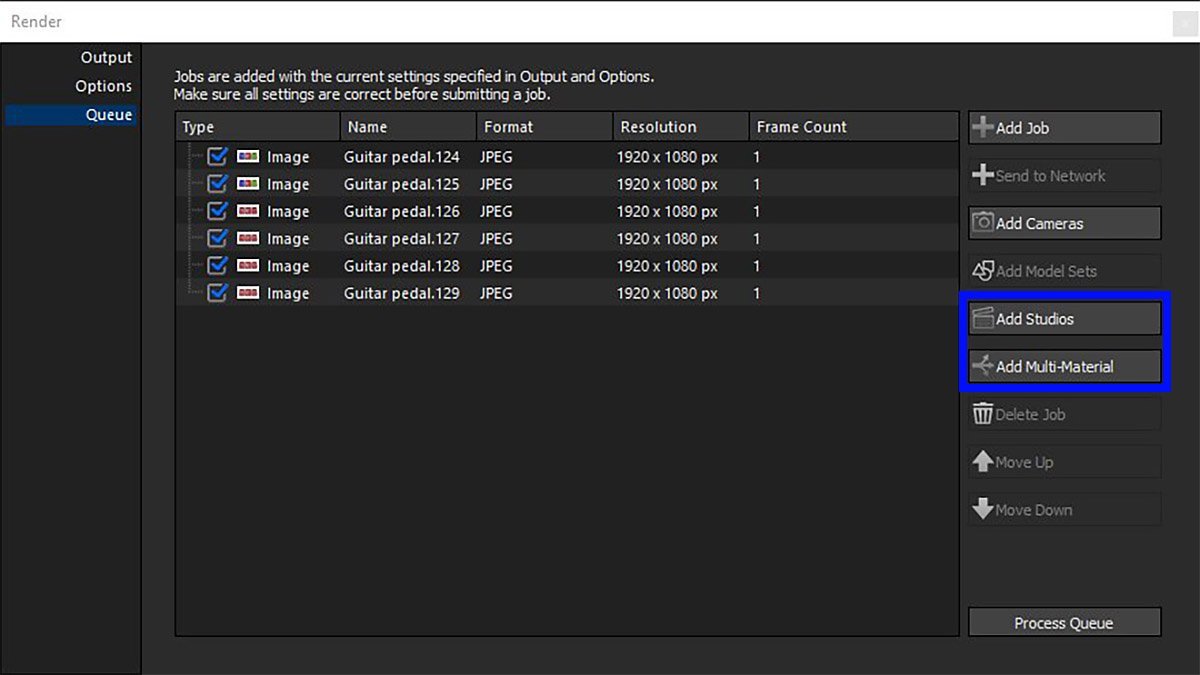
When you go to render, you can visit the render queue. Choose to render ‘All Multi-Materials’. Since there are two Sub-Materials, you’ll get two renderings of the hanger, one white and one black.
Scenario 2
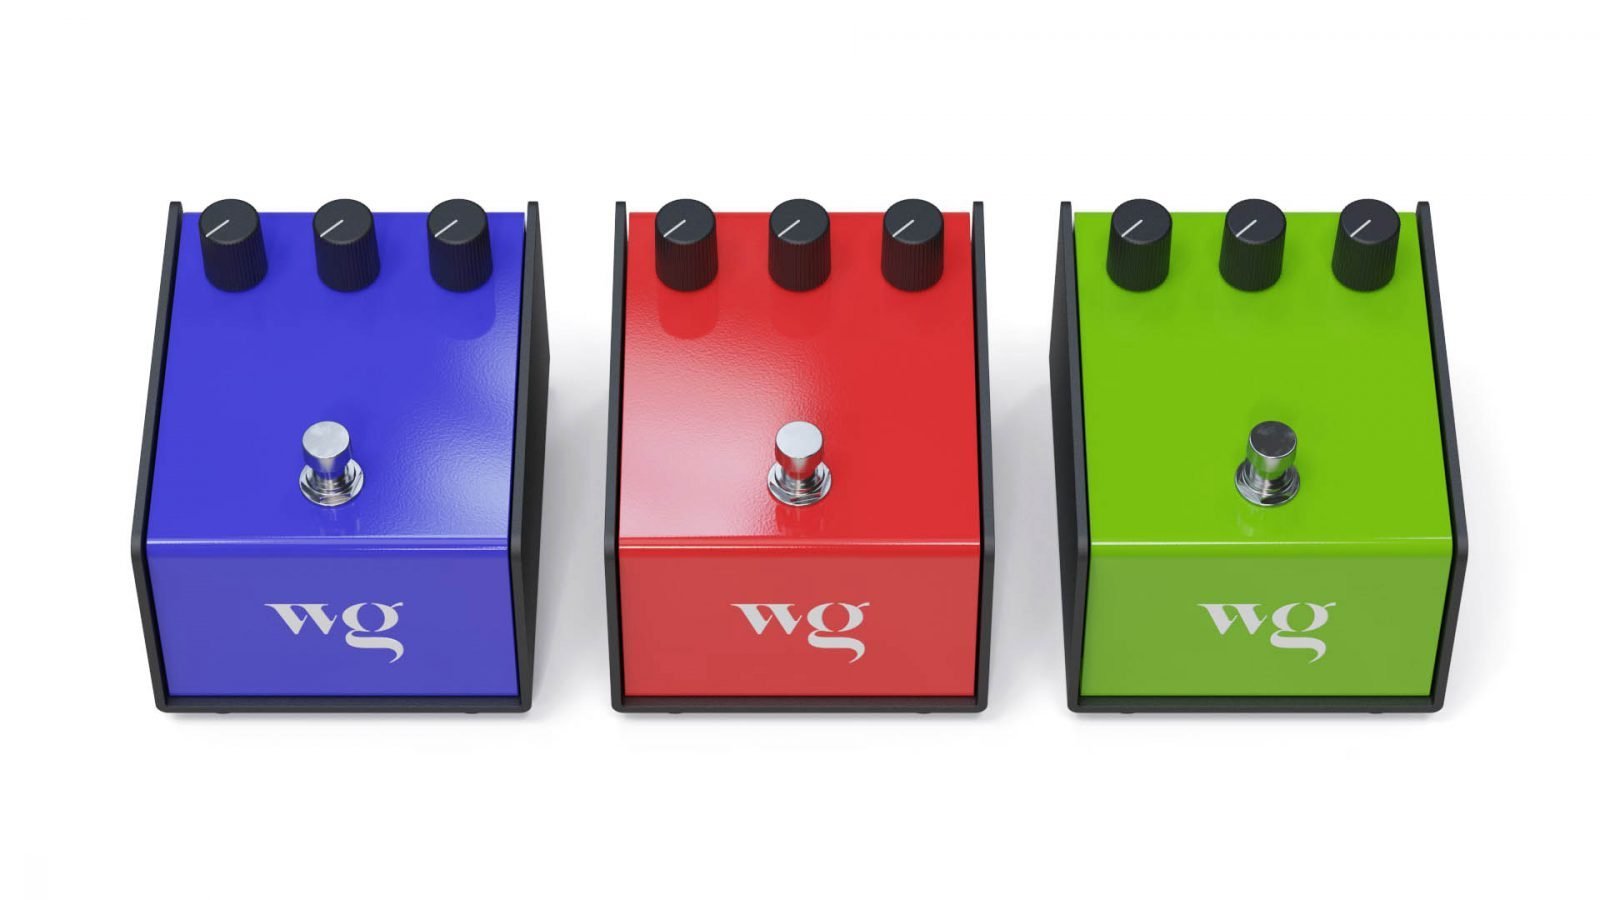
If you have a slightly more complicated scene, say a plastic water bottle, the workflow would be different. If you have three water bottles (red, green and blue for example) and each gets a different color cap (transparent red, transparent green and transparent blue). You can create three Studios and assign a Sub-Material to be active in each Studio for each Multi-Material.
When you go to render, you can visit the render queue. Choose to render ‘All Studios’. And since there are three Studios, you’ll get three renderings of the water bottle. One red with transparent red cap, one green with transparent green cap and one blue with transparent blue cap.
Get creative and save some time by paying attention to how you use the render queue to manage rendering out many Multi-Materials.
Good Luck!
Hopefully this article gave you plenty of insight and inspiration on how to use KeyShot Multi-Materials. They’re a fairly under-utilized feature in my opinion. Take advantage of them in your next project!
Frequently Asked Questions
How do you apply different materials to the same object in KeyShot?
Create a Multi-Material in KeyShot. From there, you can copy/paste it onto other materials (shift+lmb to copy, shift+rmb to paste linked) or you can save it to the material library. A Multi-Material in the library will have a special icon on it so you know it’s a Multi-Material. Then, just drag that onto the part you wish to apply it to in the real-time view. This applies all the Sub-Materials to the same object.
If you wish to apply different materials to different surfaces of a single object, you have a couple options. First, you’ll need to use the Split Separate Objects or Split Separate Surfaces function by right-clicking on the object and making a selection. In addition, you may break your model into smaller parts and then apply unique materials to them.
How do you link materials in KeyShot?
There are two ways to link materials in KeyShot. First, copy (shift+lmb) or right-click on the object and choose copy material. After that, paste linked (shift+rmb) or right-click on the object and choose paste linked. Alternatively, you can visit the in-scene materials panel and multi-select materials and then right-click and link them. The first material selected will be the one pasted over the others.
How do you transfer KeyShot Materials?
KeyShot materials are proprietary and not used in any other software. You can export materials from KeyShot using a Keyshot Material Package (.KMP). To do this, right-click a material or folder of materials from the KeyShot Material Library, and choose Export. To import materials into KeyShot, use the import button (a folder with an arrow on it) to the right of the Material Library search field. Next, select the .KMP you wish to import.