The 4 Archetypes of Rendering
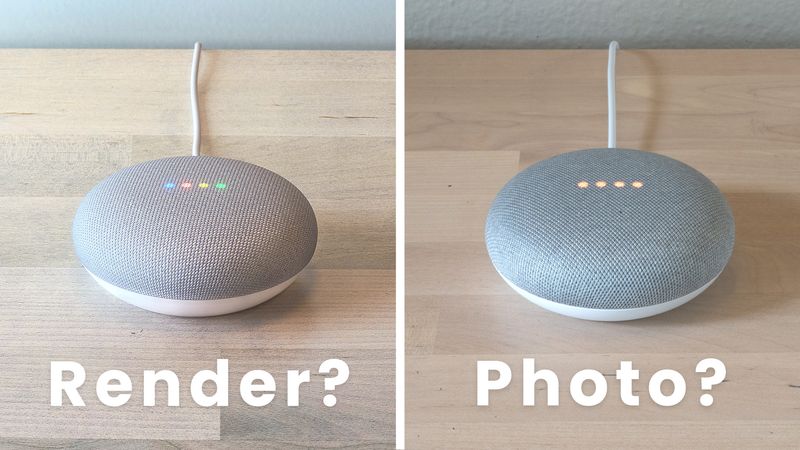
When I studied industrial design, one thing I struggled with was ambiguity. I didn't have a clear framework for what made a good portfolio, or what kind of image I was even supposed to be creating. Every project critique seemed to introduce a new, unspoken standard, and I'd spend as much time guessing what "good" looked like as I did actually rendering. I wanted rules, some kind of roadmap. Not because I thought design should be paint-by-numbers, but because without some structure, every project felt like starting from zero.
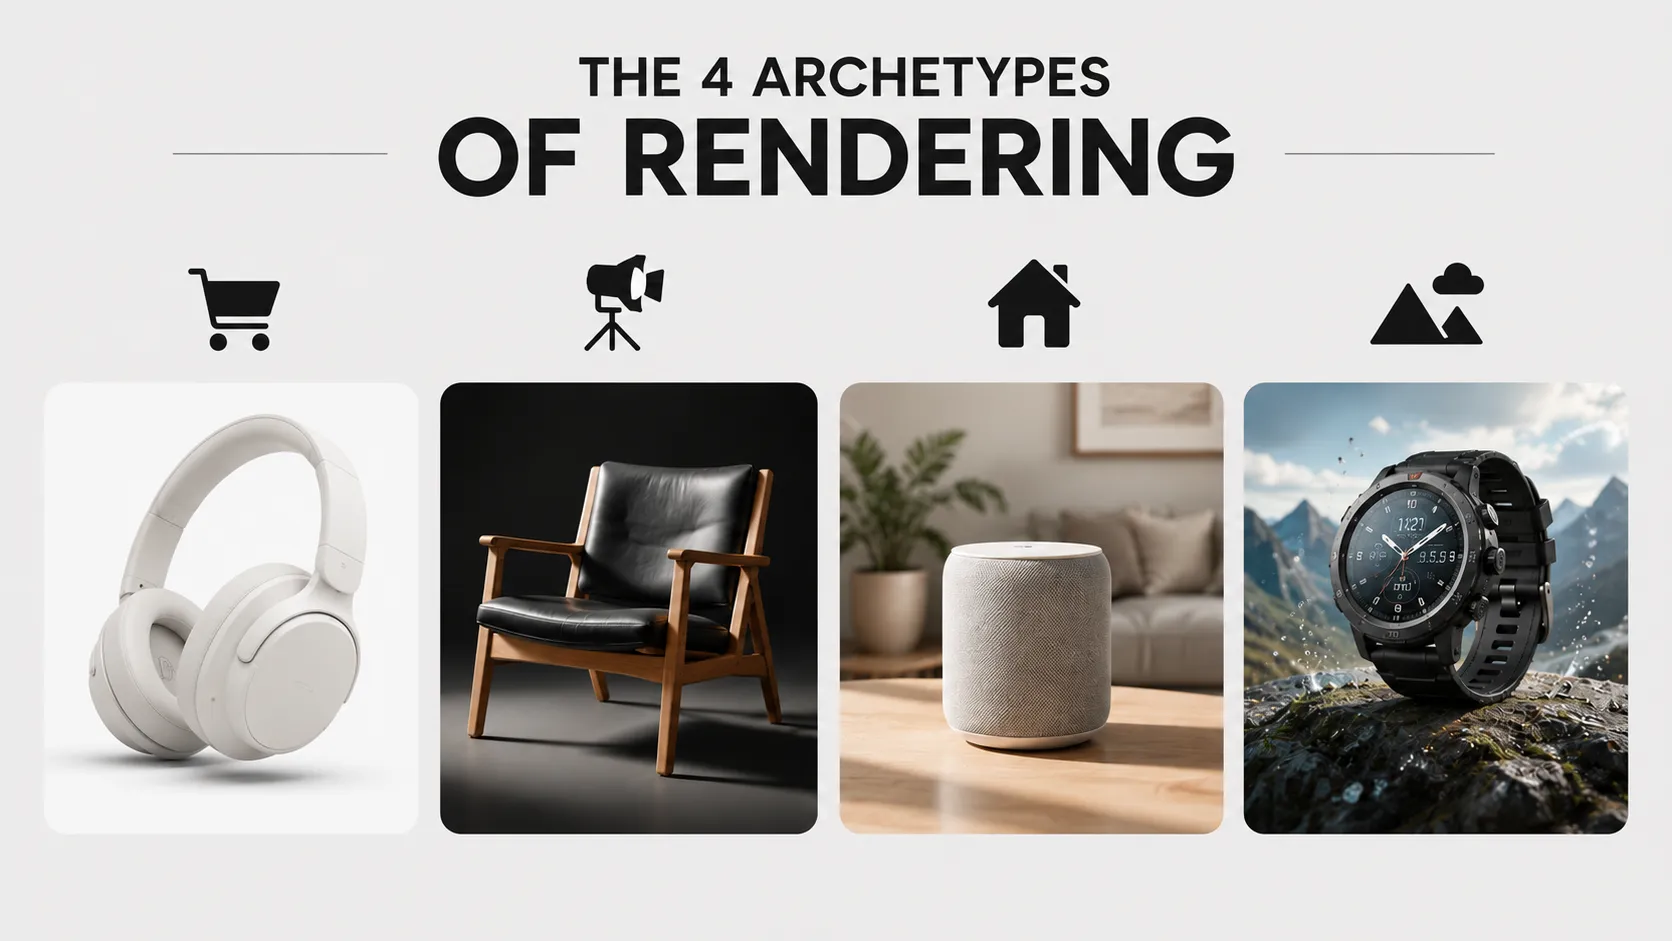
That struggle is part of why I teach what I call the 4 archetypes of rendering, a framework I use in my KeyShot Masterclass to help you quickly decide what kind of image (or animation) a project actually calls for, and scope out how much work it'll take. The idea is simple: instead of staring at a blank scene wondering how to light it, you first ask "what is this image for?" Once you know that, most of the big decisions: background, lighting, camera angle, how polished it needs to be, start making themselves. It's less about teaching you to render one specific way, and more about giving you a decision tree so you're never rendering blind.
Here they are, simplest to most complex:
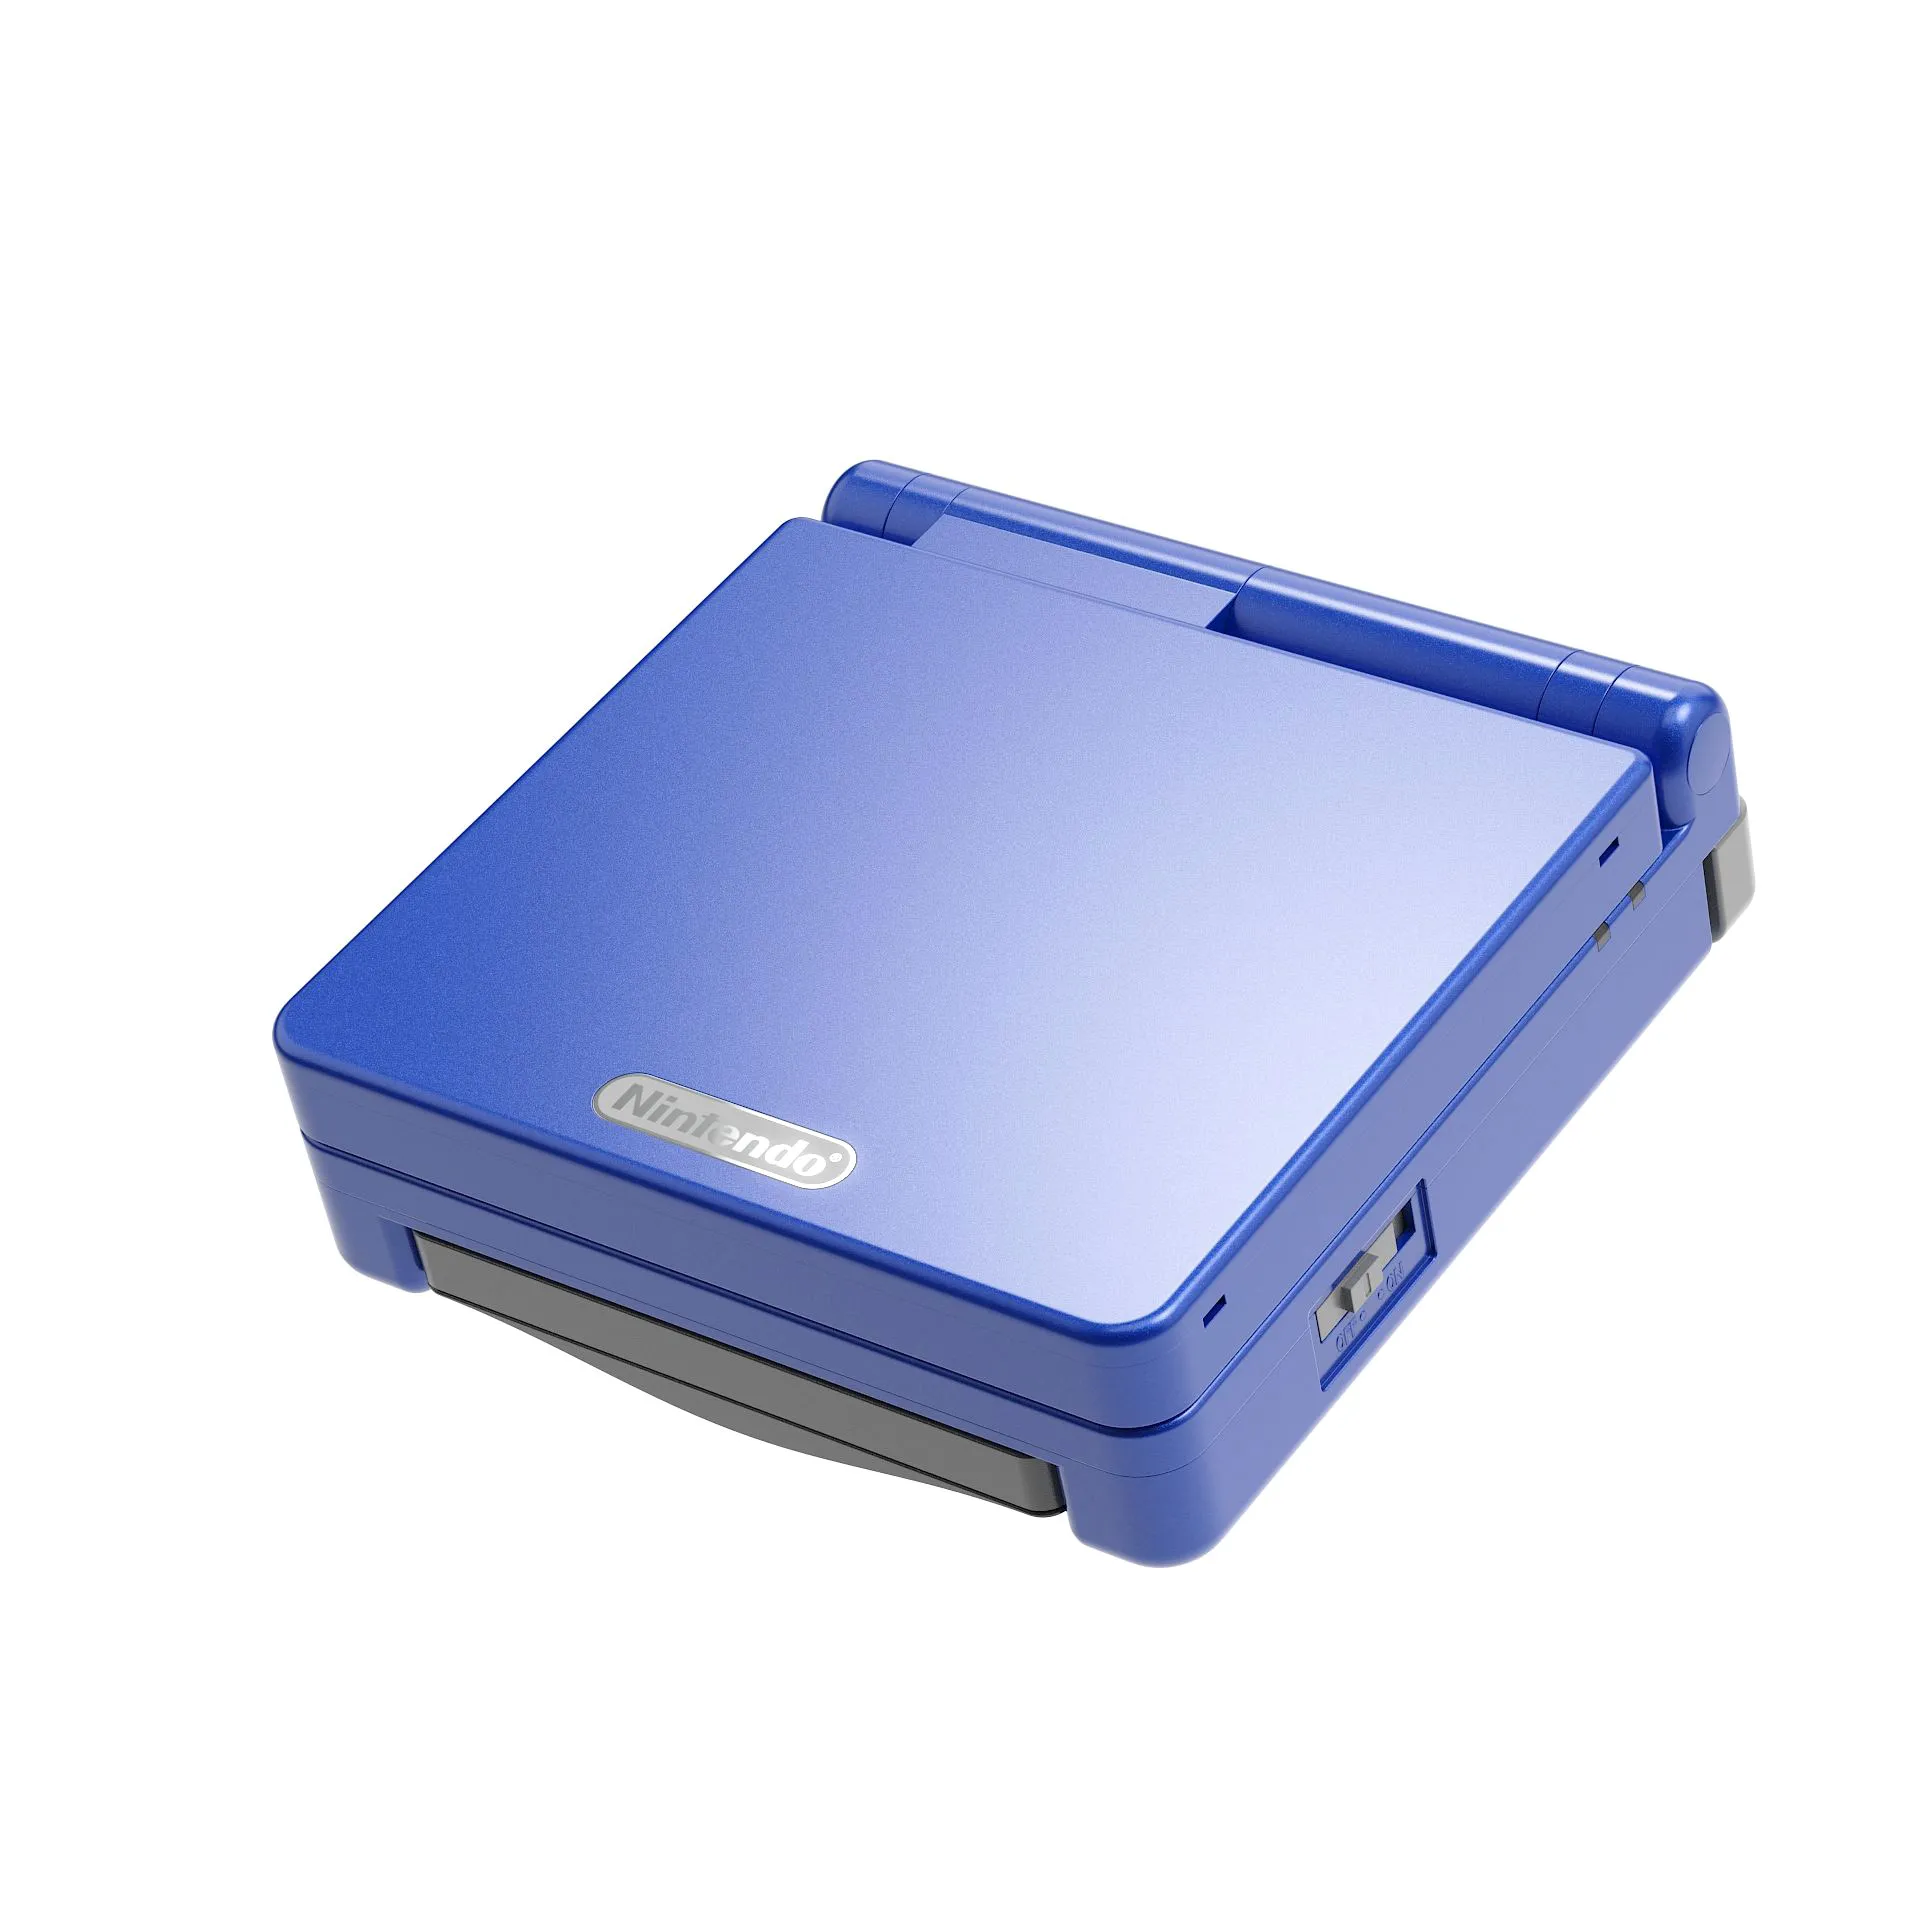
1. E-commerce
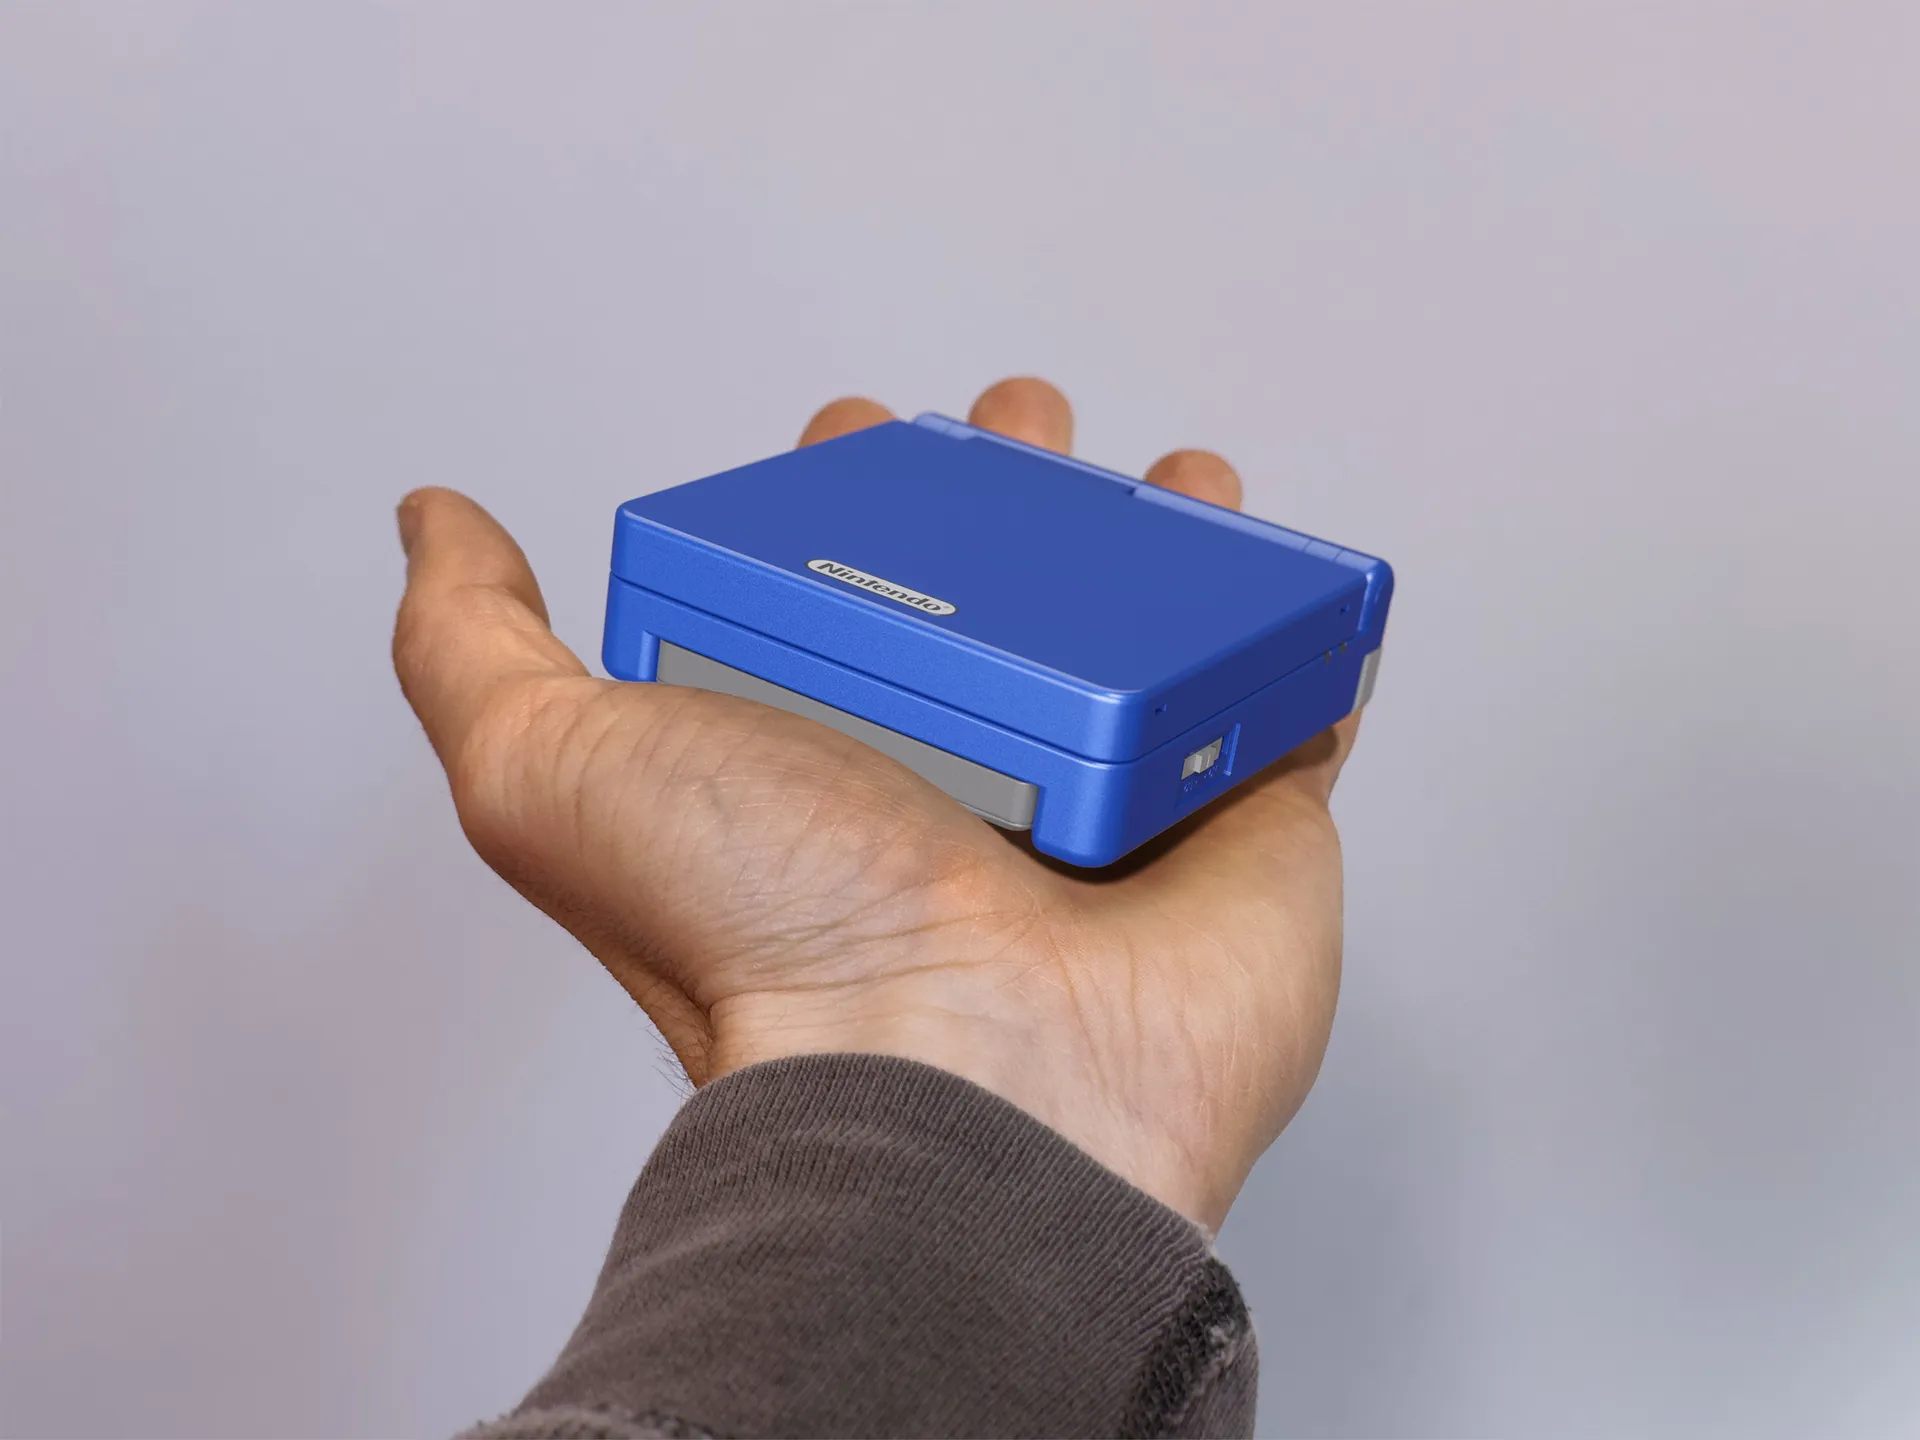
The workhorse shot. Solid white background, even lighting, longer lens to avoid distortion. The product is centered and fills 80 to 90% of the frame. No drama, just clarity, this is the shot that faithfully shows material and form. You'll see these on product pages, in catalogs, and on packaging.
Think of it as the mugshot of product photography: purely functional, meant to represent, not persuade. That's why it belongs at the "simplest" end of the framework. There's very little room for interpretation because the goal is narrow and specific: show the customer exactly what they're getting, with nothing distorting their perception of scale, color, or finish.
A longer lens (rather than a wide-angle one) keeps proportions honest instead of exaggerating the edges the way a phone camera would up close. Even lighting means no dramatic shadows hiding a seam line or a surface detail a buyer would want to see. It's also, practically speaking, the fastest archetype to produce and the one with the least creative ambiguity, which makes it a good starting point when you're first learning to scope a rendering job. If a client just needs e-commerce shots, you know almost immediately what the setup, timeline, and deliverable should look like.
2. Studio
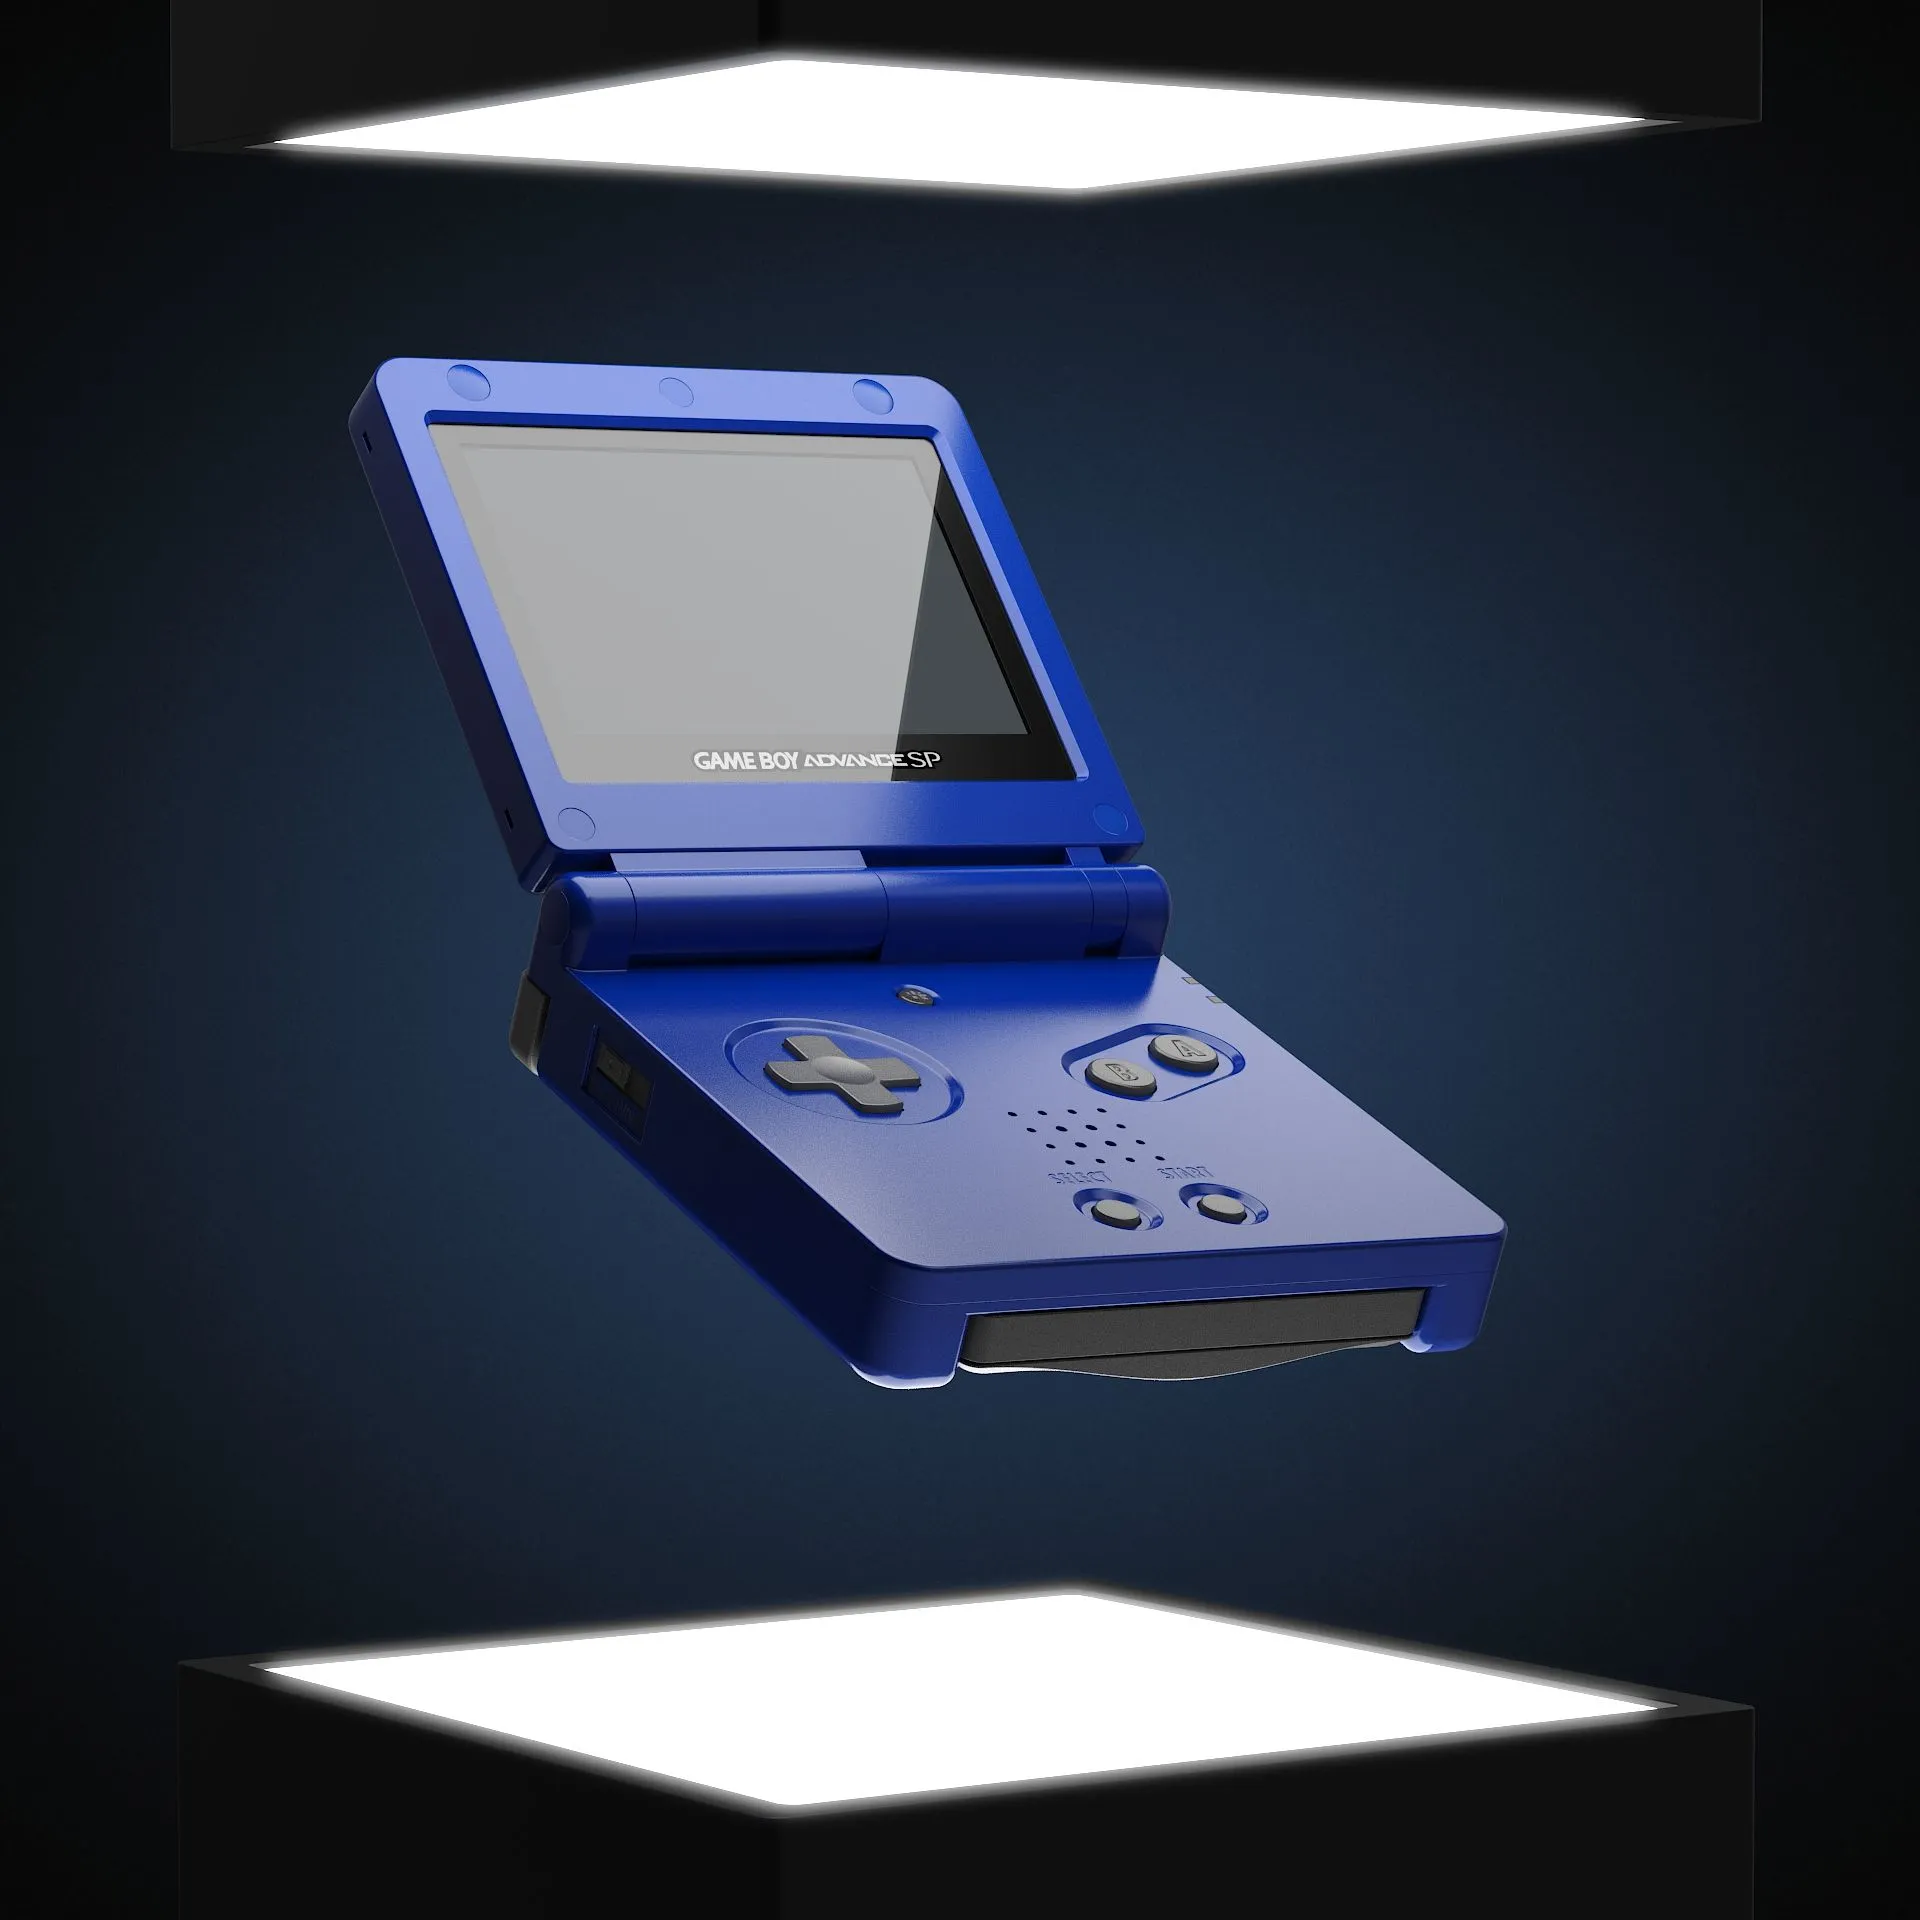
Same idea as e-com, but designed to grab attention instead of just inform. Swap the plain white background for a styled backdrop, pedestal, or abstract set piece. Lighting gets more creative: higher contrast, deeper shadows, maybe a rim light. This is your hero image: packaging, ad campaigns, the top of a product page.
If e-commerce answers "what is this product," studio answers "why should you want it." The goal shifts from documentation to desire, so the rules loosen up considerably. You're no longer trying to neutrally represent the product, you're trying to make it look expensive, desirable, or covetable. That's why a pedestal or a swept backdrop shows up so often here. It gives the product a sense of place and importance without introducing a literal environment (that's a different archetype entirely, coming up next).
The lighting is where studio gets its "hero shot" reputation. A rim light, for instance, is a light placed behind or to the side of the product to trace a bright edge along its silhouette, separating it from the background and giving it that glossy, catalog-cover quality. Deeper shadows do double duty. They add contrast and drama, and they also imply form more strongly than the flat, even lighting of an e-commerce shot ever could. None of this is arbitrary. Every choice, backdrop, contrast, shadow depth, is in service of one thing: making a viewer stop scrolling.
This is also the archetype where a designer's personal style starts to show. Two people can render the same product on a pedestal and land in very different places tonally, moody and minimal versus bright and punchy, and both can be "correct" studio shots. That flexibility is part of what makes it more complex than e-commerce: there's no single formula, just a clear intent to design toward.
Level up your KeyShot Rendering skills
3. Lifestyle
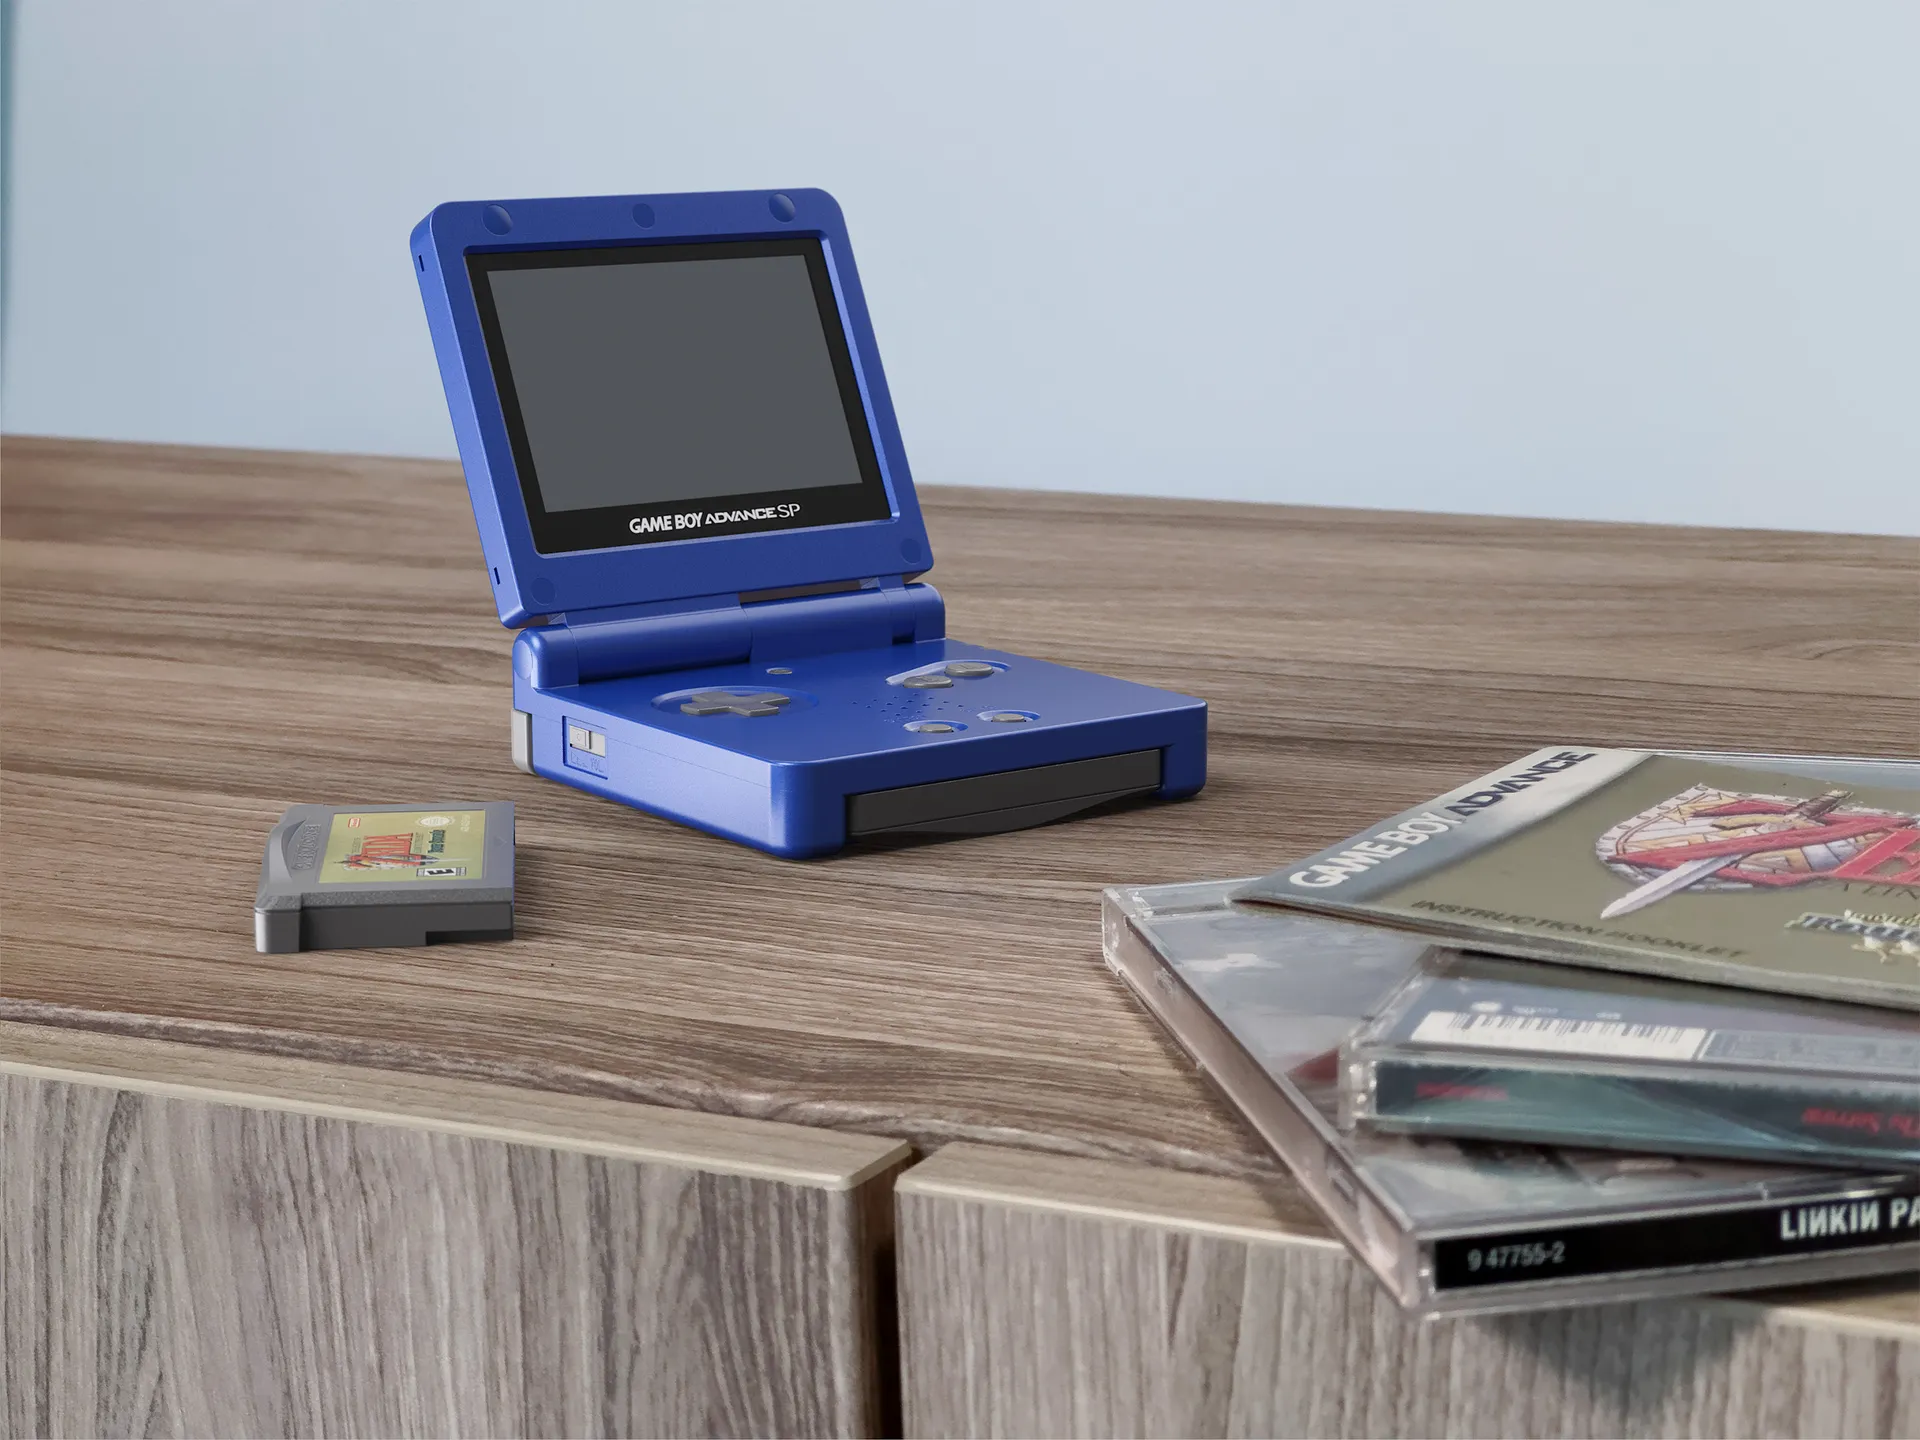
Now we're telling a story, not just showing a product. Lifestyle shots add context: how the product is used, who it's for, what world it lives in. Think a skincare product surrounded by its raw, natural ingredients, the image is doing emotional work, not just informational work. These are usually cropped, detail-focused, and meant to support other images rather than stand alone.
This is the point in the framework where rendering stops being about the object and starts being about the audience. E-commerce sells the fact of the product, studio sells the desirability of the product, but lifestyle sells the feeling of owning it. The identity. That's a fundamentally different design problem, because now you're not just building a scene around a product, you're building a small piece of a customer's imagined life around it.
The skincare example is a good one because it shows how associative this archetype can get. You're not rendering the bottle in use, necessarily, you're rendering the ingredients, the raw almonds, the sprig of lavender, the water droplets, all of which say "natural" and "gentle" without a single word of copy. A furniture brand might do the same thing with a cropped shot of a chair leg against a sunlit wood floor, or a tech brand with a close-up of a hand reaching for a device on a cluttered desk. None of these images are trying to fully represent the product the way an e-commerce shot does. They're deliberately partial, letting the crop and the context imply the rest.
That partiality is also why lifestyle shots rarely work alone. They're built to sit inside a bigger set, alongside an e-commerce shot for clarity and maybe a studio shot for impact, filling in the emotional gap that the other two archetypes intentionally leave out. Which is also what makes this archetype trickier to scope: you're not just rendering a product, you're rendering a mood, and moods are a lot harder to brief and a lot easier to get subtly wrong.
4. Situational
The most complex archetype: showing the product actually in use, or demonstrating a specific feature. A hatchet split into wood by a campfire. A bike's quick-release seat clamp shown mid-adjustment. This is where you communicate scale, user, and function all at once, sometimes even with a diagram-style "ghosted" overlay to show how a feature works.
This is the archetype where rendering starts to overlap with technical communication. Unlike lifestyle, which leans on mood and association, situational is about proof. It's answering a very specific question: does this thing actually work the way it's supposed to? A hatchet mid-swing tells you something a studio shot never could, how it handles, how it's held, what it's capable of. A quick-release clamp shown mid-adjustment does the same job an exploded diagram would in a manual, except it's doing it inside a piece of marketing or portfolio work instead of an instruction booklet.
That dual purpose is part of what makes situational the most demanding archetype to pull off. You need a believable environment (the campfire, the trailside), a sense of human interaction or scale (a hand gripping the handle, a body positioned naturally around the bike), and often a technical callout on top of all that. The ghosted overlay is a good example of this layering. It's a semi-transparent version of the product, or a cutaway of an internal mechanism, placed over the "real" render to show something the eye can't normally see, like how a hinge rotates or where a cable routes internally. Getting that overlay to read clearly, without undermining the realism of the scene around it, is its own small design problem.
It's also the archetype most likely to require research beyond the product itself. To render a hatchet convincingly split into a log, you need to understand how wood grain splits, how a fire pit is typically arranged, what a campsite actually looks like at that time of day. None of that is optional detail, it's what makes the "situation" believable enough to sell the function. That's ultimately why situational sits at the top of the complexity ladder. It asks you to be a photographer, a technical illustrator, and a storyteller all in the same frame.
Why this matters
As you move from archetype 1 to 4, complexity (and cost) goes up. Running through this list before you start a project tells you what you actually need to build, how long it'll take, and how to price it. It also works the same way for animation, not just stills.
The real value of a framework like this isn't the categories themselves, it's what they save you from. Without it, every new project starts with an open-ended question: what should this image look like? That's a hard question to answer under a deadline, and it's the exact kind of ambiguity I struggled with as a student. With it, the question becomes much smaller: which of these four jobs am I actually doing? An e-commerce shot and a situational shot aren't just different in style, they're different in scope, skillset, and time investment, and knowing that upfront changes how you plan the project, not just how you render it.
This matters just as much on the business side as the creative side. If you're quoting a client, "product renders" isn't a real scope, it could mean a two-hour e-commerce shot or a two-week situational animation. Naming the archetype turns a vague request into something you can actually estimate, price, and schedule. Even if you're not client-facing, running through the list before opening KeyShot forces you to commit to an intent for the image, which tends to produce stronger, more decisive work than starting from a blank scene and hoping the right choices reveal themselves along the way.
If you want to see this framework actually applied, how each of these gets built in KeyShot, that's exactly what I walk through inside the KeyShot Masterclass Level 1.
Level up your KeyShot Rendering skills