
KeyShot Material Masterclass























Unconvincing Materials?
Materials are the single biggest factor separating a convincing rendering from a fake-looking one. You can have perfect lighting, great camera angles, and a beautifully modeled product, and still produce a rendering that looks wrong, because the materials aren't right.
You know thefeeling. The plastic looks too shiny or not shiny enough. The metal doesn't have the right depth. The fabric looks flat. And the frustrating part is not knowing exactly why, or how to fix it.
So you search YouTube. The content is thin. You check the KeyShot Cloud Library and come up empty. You post in an online forum and get an answer that doesn't match your version of the software. You try using purchased textures but the results are disappointing because you're not sure you're applying them correctly.
You settle for close enough. And then you do it all over again on the next project.
The problem isn't the software. The problem is not understanding how KeyShot's material system actually works at a foundational level. Once you do, the guesswork disappears.
What Actually Works
When I joined Luxion as a Global Training Specialist, I had a lot to learn about materials. The team taught me how KeyShot's material and sampling system works, along with its limitations, quirks, and optimal workflows. I was able to ask questions directly to the software developers and chief scientist. I read books on 3D rendering, computer graphics, photography, lighting, and cinematography to understand how materials interact with light in the real world.
Years of study and practice eventually made material creation one of my strongest skills. Today, the Material Graph feels like an extension of my thinking. I can look at a material in a photo or in the real world and immediately understand what it would look like as a network of nodes.
Not everyone has the opportunity to work for KeyShot or spend years studying its intricacies. Nor should they have to. That's why I built this course: to give you the foundation I had to spend years building, in a fraction of the time.
Why Material Skills Matter More Right Now
Companies are replacing expensive photography with rendering. It's faster, cheaper, and more flexible. And in a world where clients expect photo-real results, materials are what make or break the illusion.
You might be wondering whether AI tools can handle material creation for you. AI can be genuinely useful for generating a starting point, but it can't replace a real understanding of how materials work. When a client needs you to match a specific CMF spec, getting the roughness value wrong on an anodized aluminum surface isn't just an aesthetic problem. It's a communication failure that can affect manufacturing decisions.
Real client work involves granular, precise revisions: adjust the surface finish slightly, match this specific colorway, make this texture more subtle. That level of control requires understanding how materials actually behave in KeyShot, not just generating something that looks approximately right. AI is a useful tool in the hands of someone who already knows what they're doing. This course is how you get there.
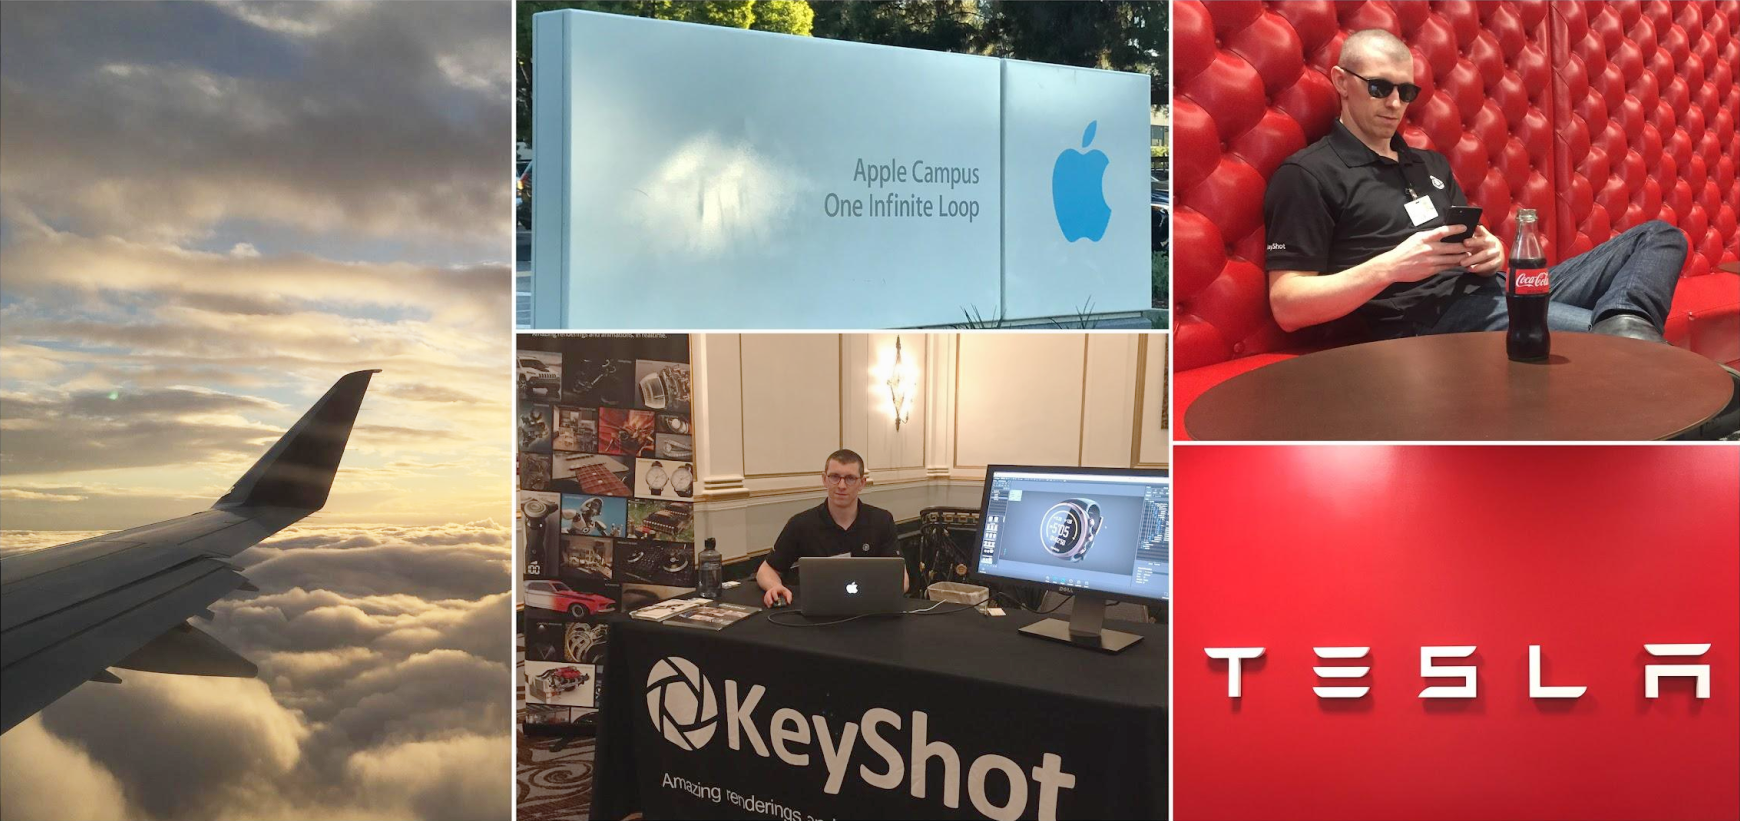
During my three years as KeyShot's Global Training Specialist, I taught design and engineering teams in person at companies including Apple, Tesla, Peloton, and Intel, along with dozens of others. Since then, professionals from many of those same companies have gone on to enroll in my courses independently. This course distills everything I learned from those years into the most comprehensive resource on KeyShot materials available anywhere.
Everything Covered in This Course
The KeyShot Material Masterclass is organized into three sections that build on each other progressively.
Build Real Materials for Real Scenarios
The project-based section of this course is built around a single throughline: a fully detailed bathroom interior scene. But before you apply a single material to that scene, you'll spend time building each one from scratch in a controlled studio environment.
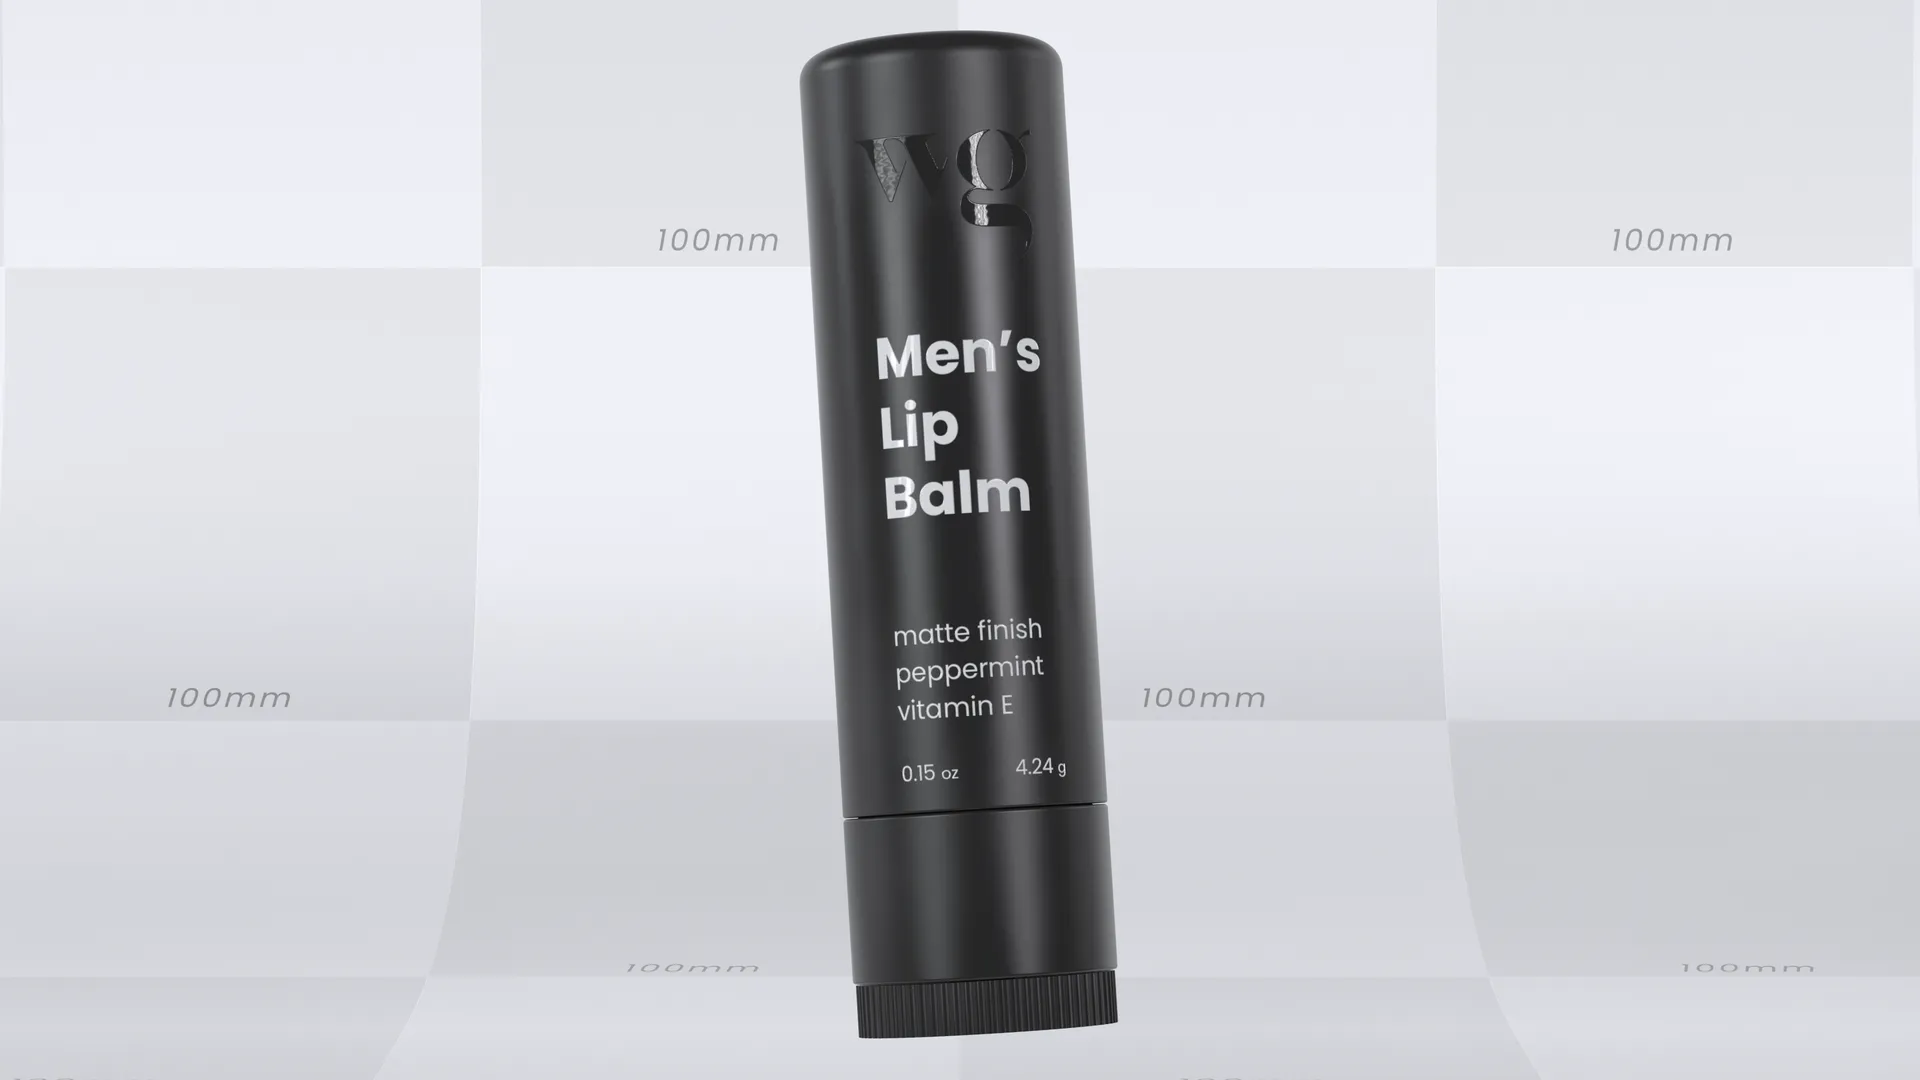
Stage 1 — The MatLAB
Before touching the bathroom scene, you'll work in a dedicated material studio environment called the MatLAB. Using this approach we can ensure consistency across all materials that we create because we built them in the same calibrated scene.
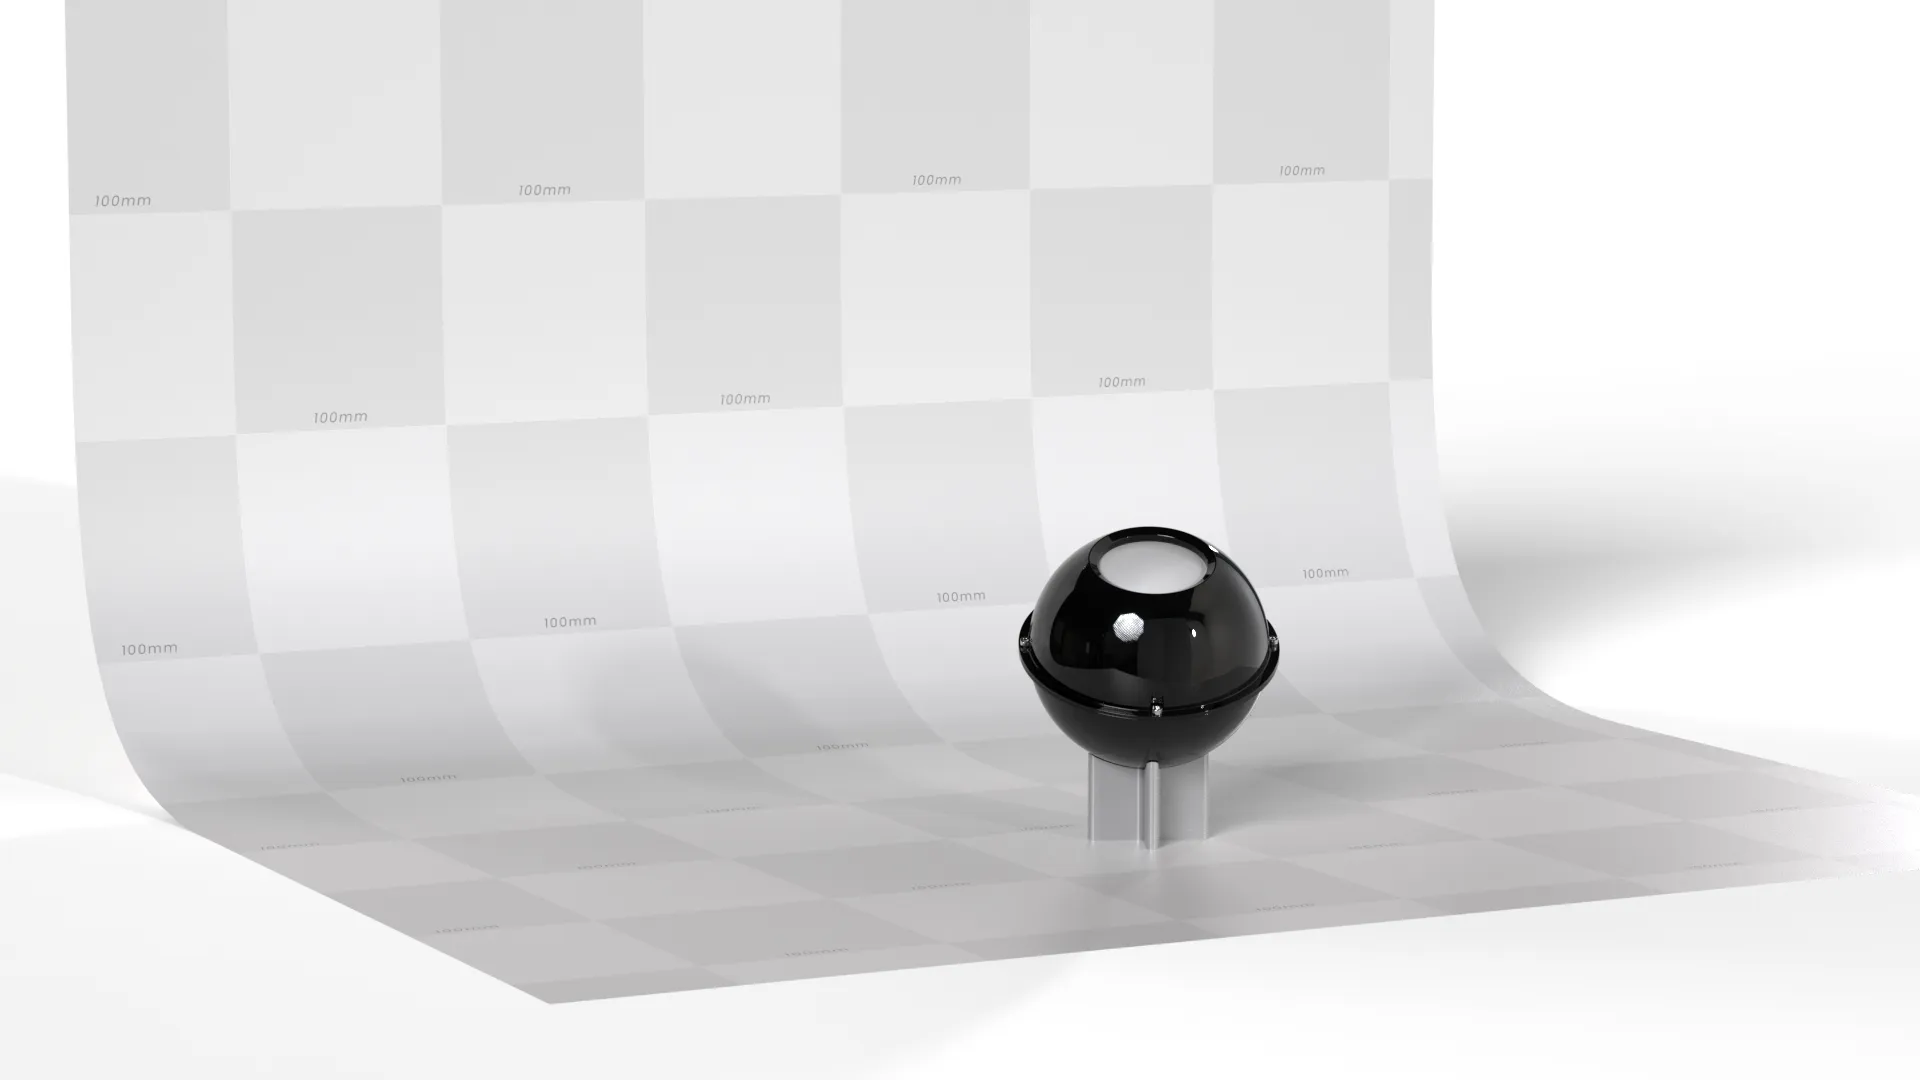
Using a collection of purpose-built 3D models, you'll create detailed, realistic materials one by one. Each object presents its own material challenges and teaches you something specific about how to get a convincing result. By the end of this stage, you'll have a growing library of custom materials saved and ready to use.
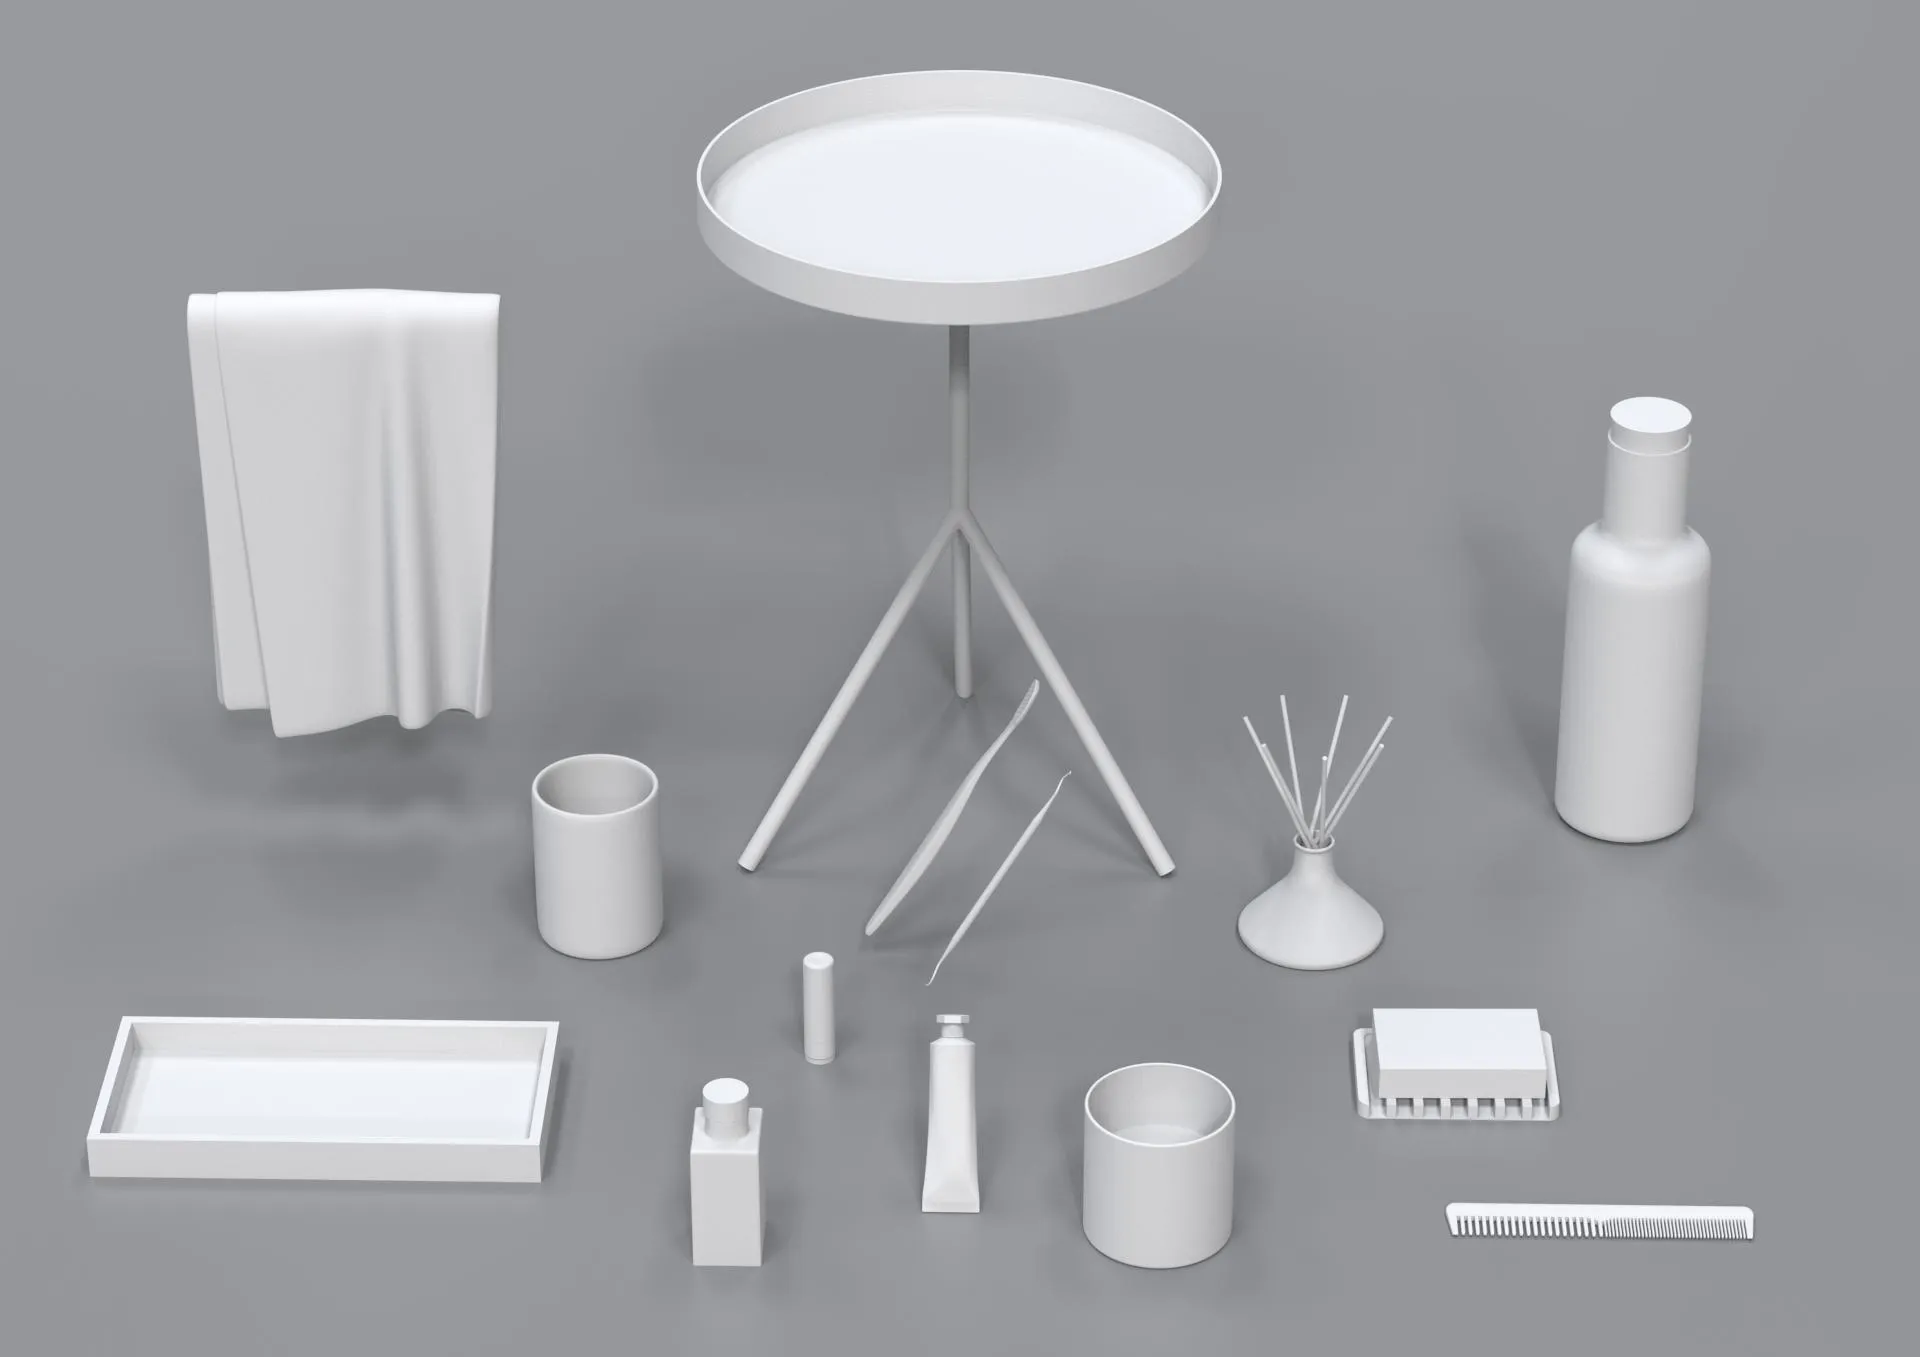
Stage 2 — The Bathroom Scene
With your material library built, you'll bring everything into a fully loaded bathroom interior featuring a concrete sink, tiled backsplash, wood cabinetry, floor tile, mirror, faucet, and more. This is where the real complexity begins.
Materials that looked great in isolation now need to work together across an entire environment. Bright daylight streams through a window. Camera angles shift what details matter. You'll work through the full pipeline: applying your saved materials, creating additional surfaces for the space itself, setting up cameras, adding physical lights, making per-camera material refinements, painting in dust and fuzz, and finishing with post-production in Photoshop.
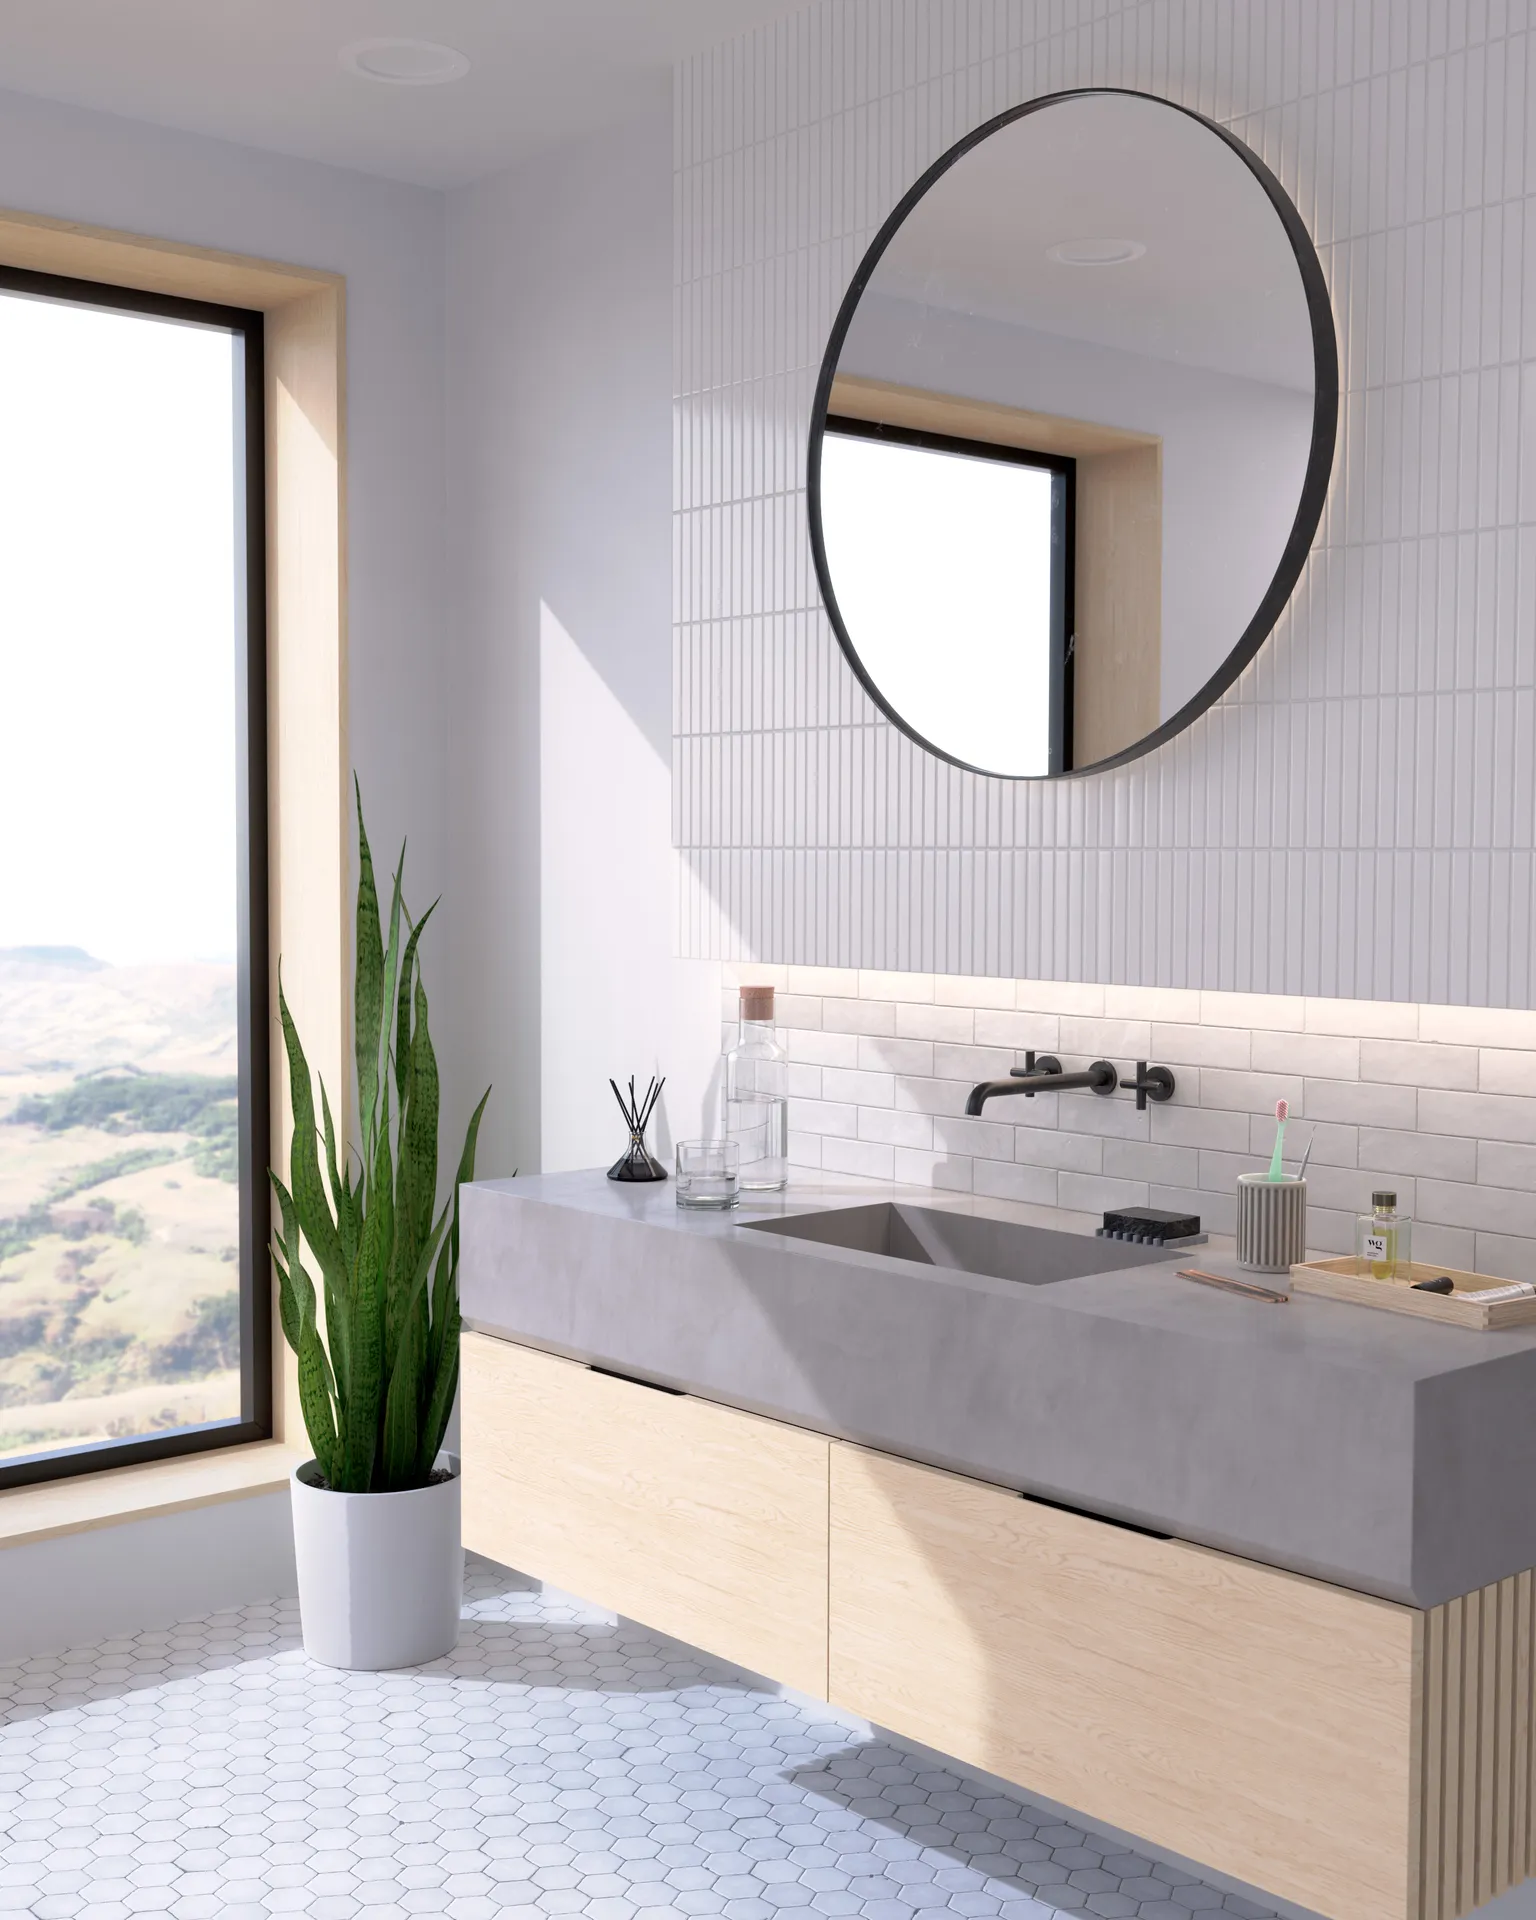
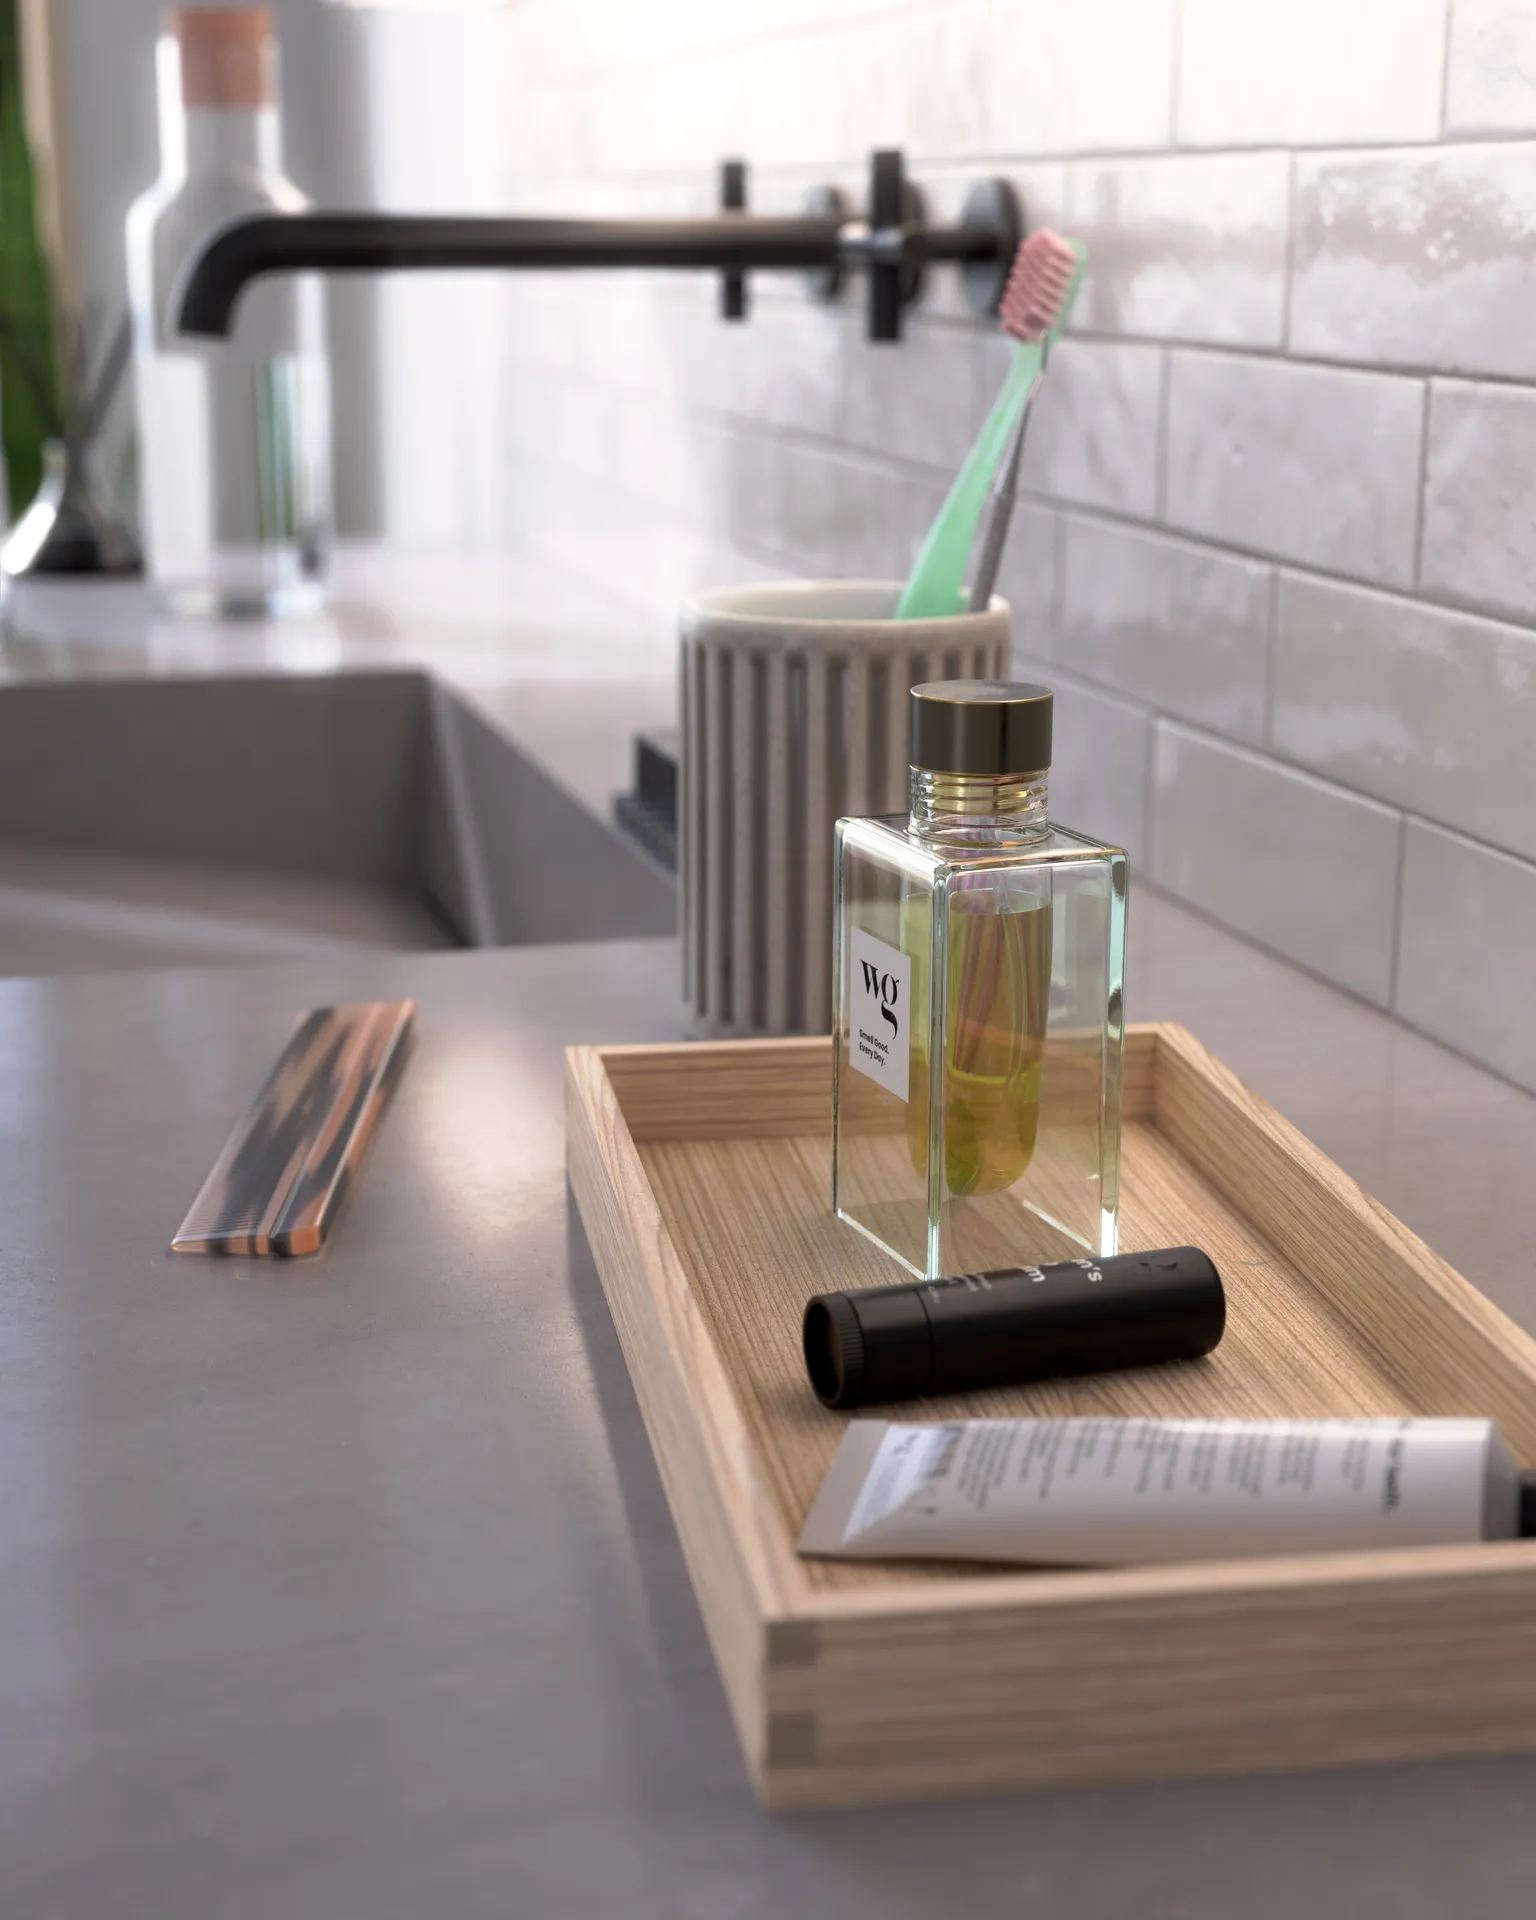
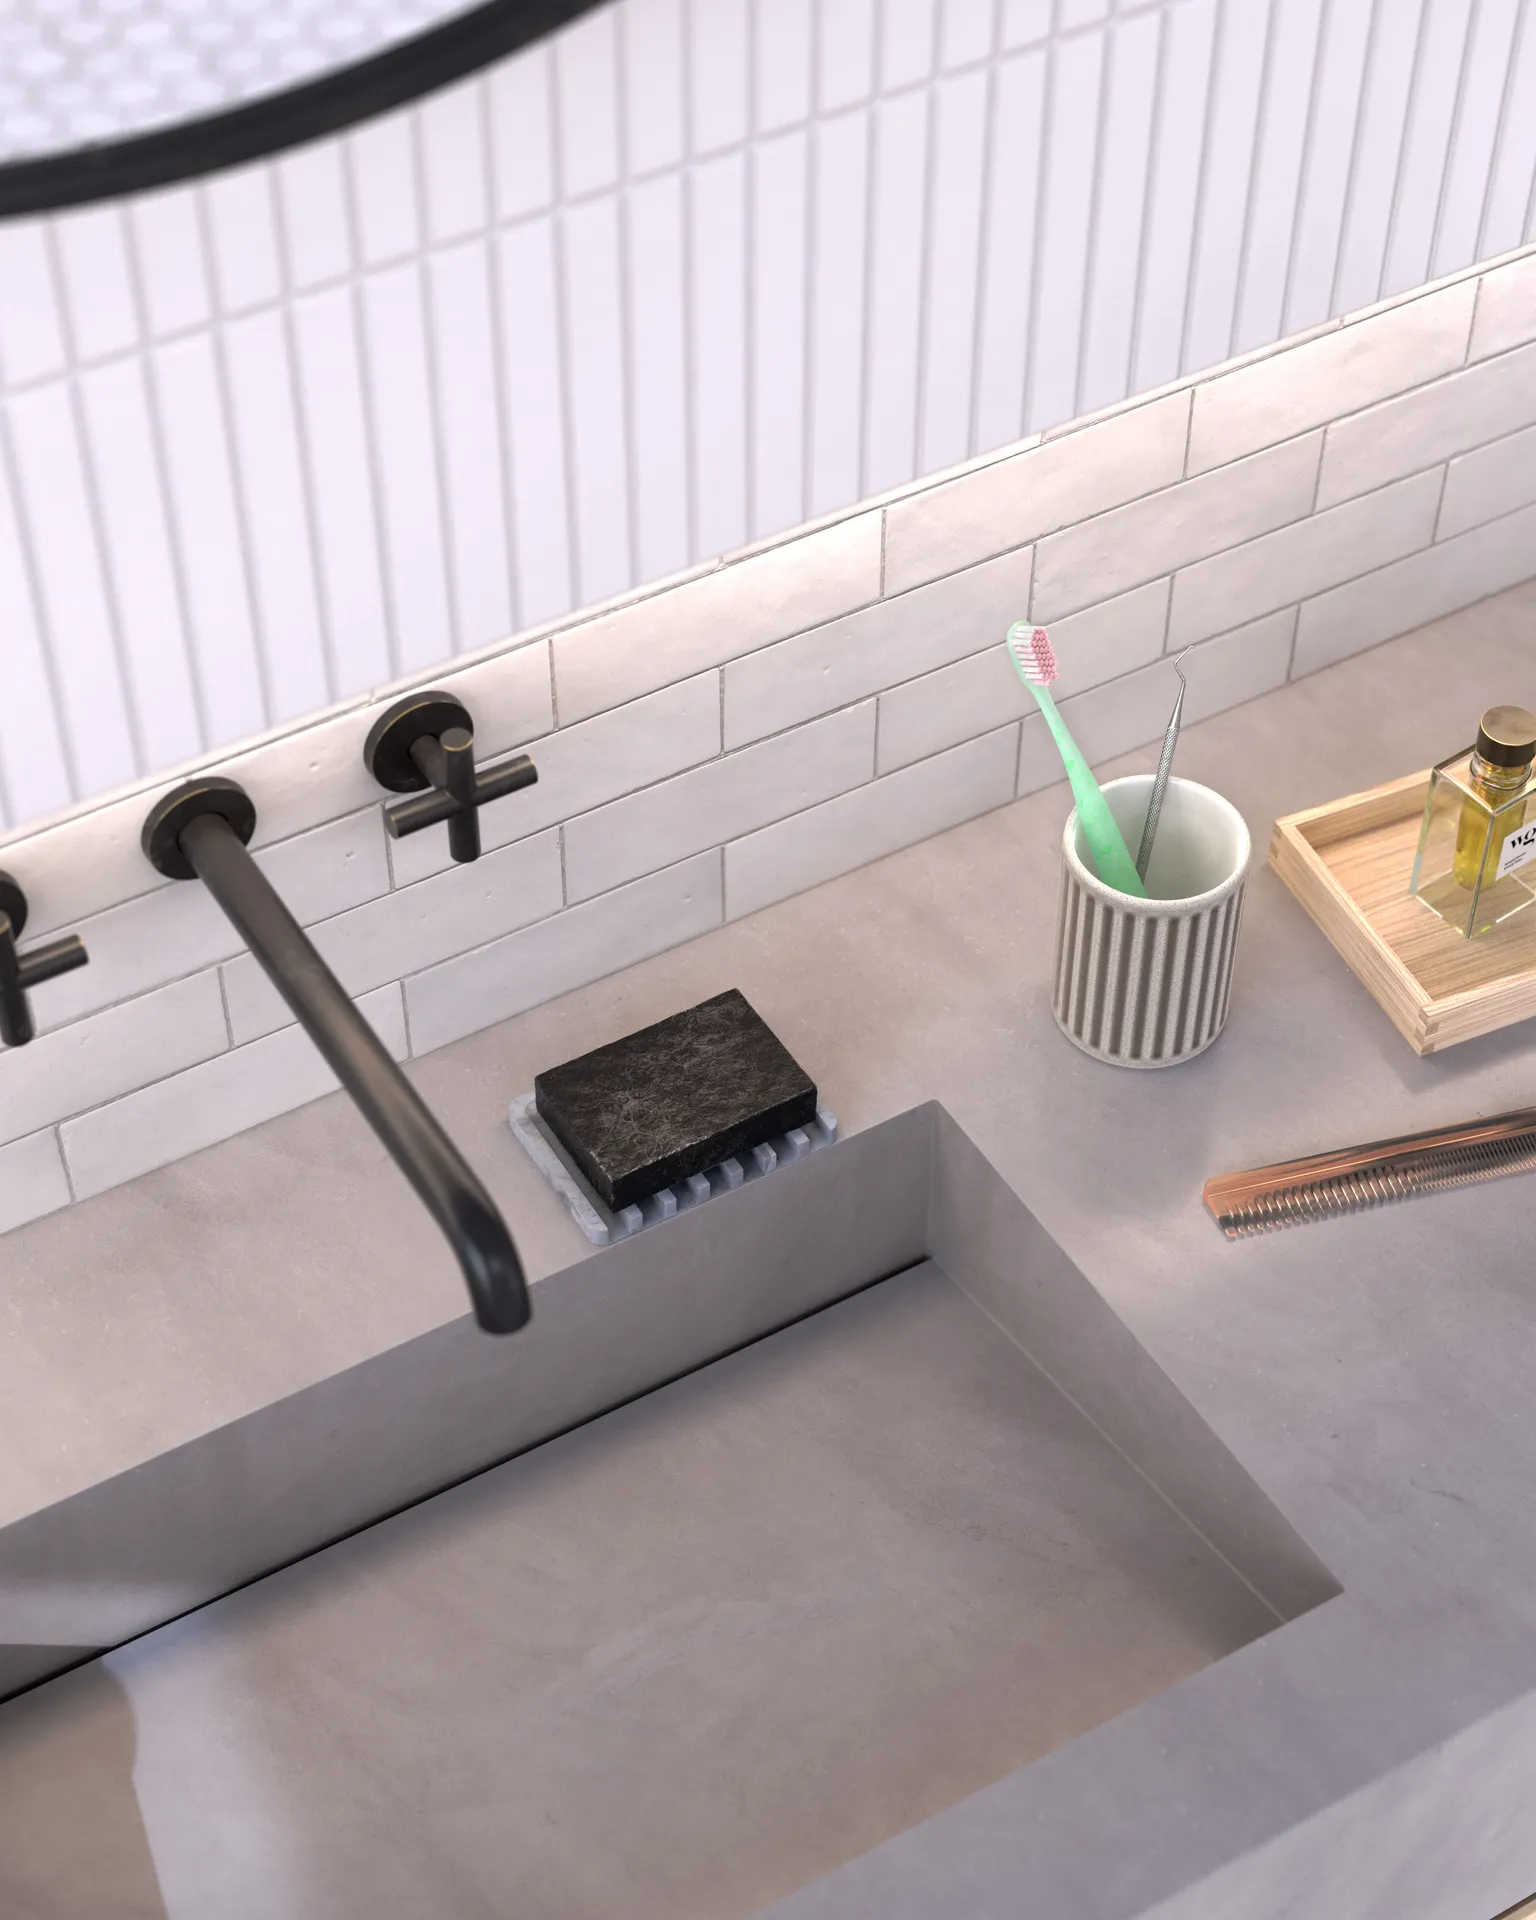


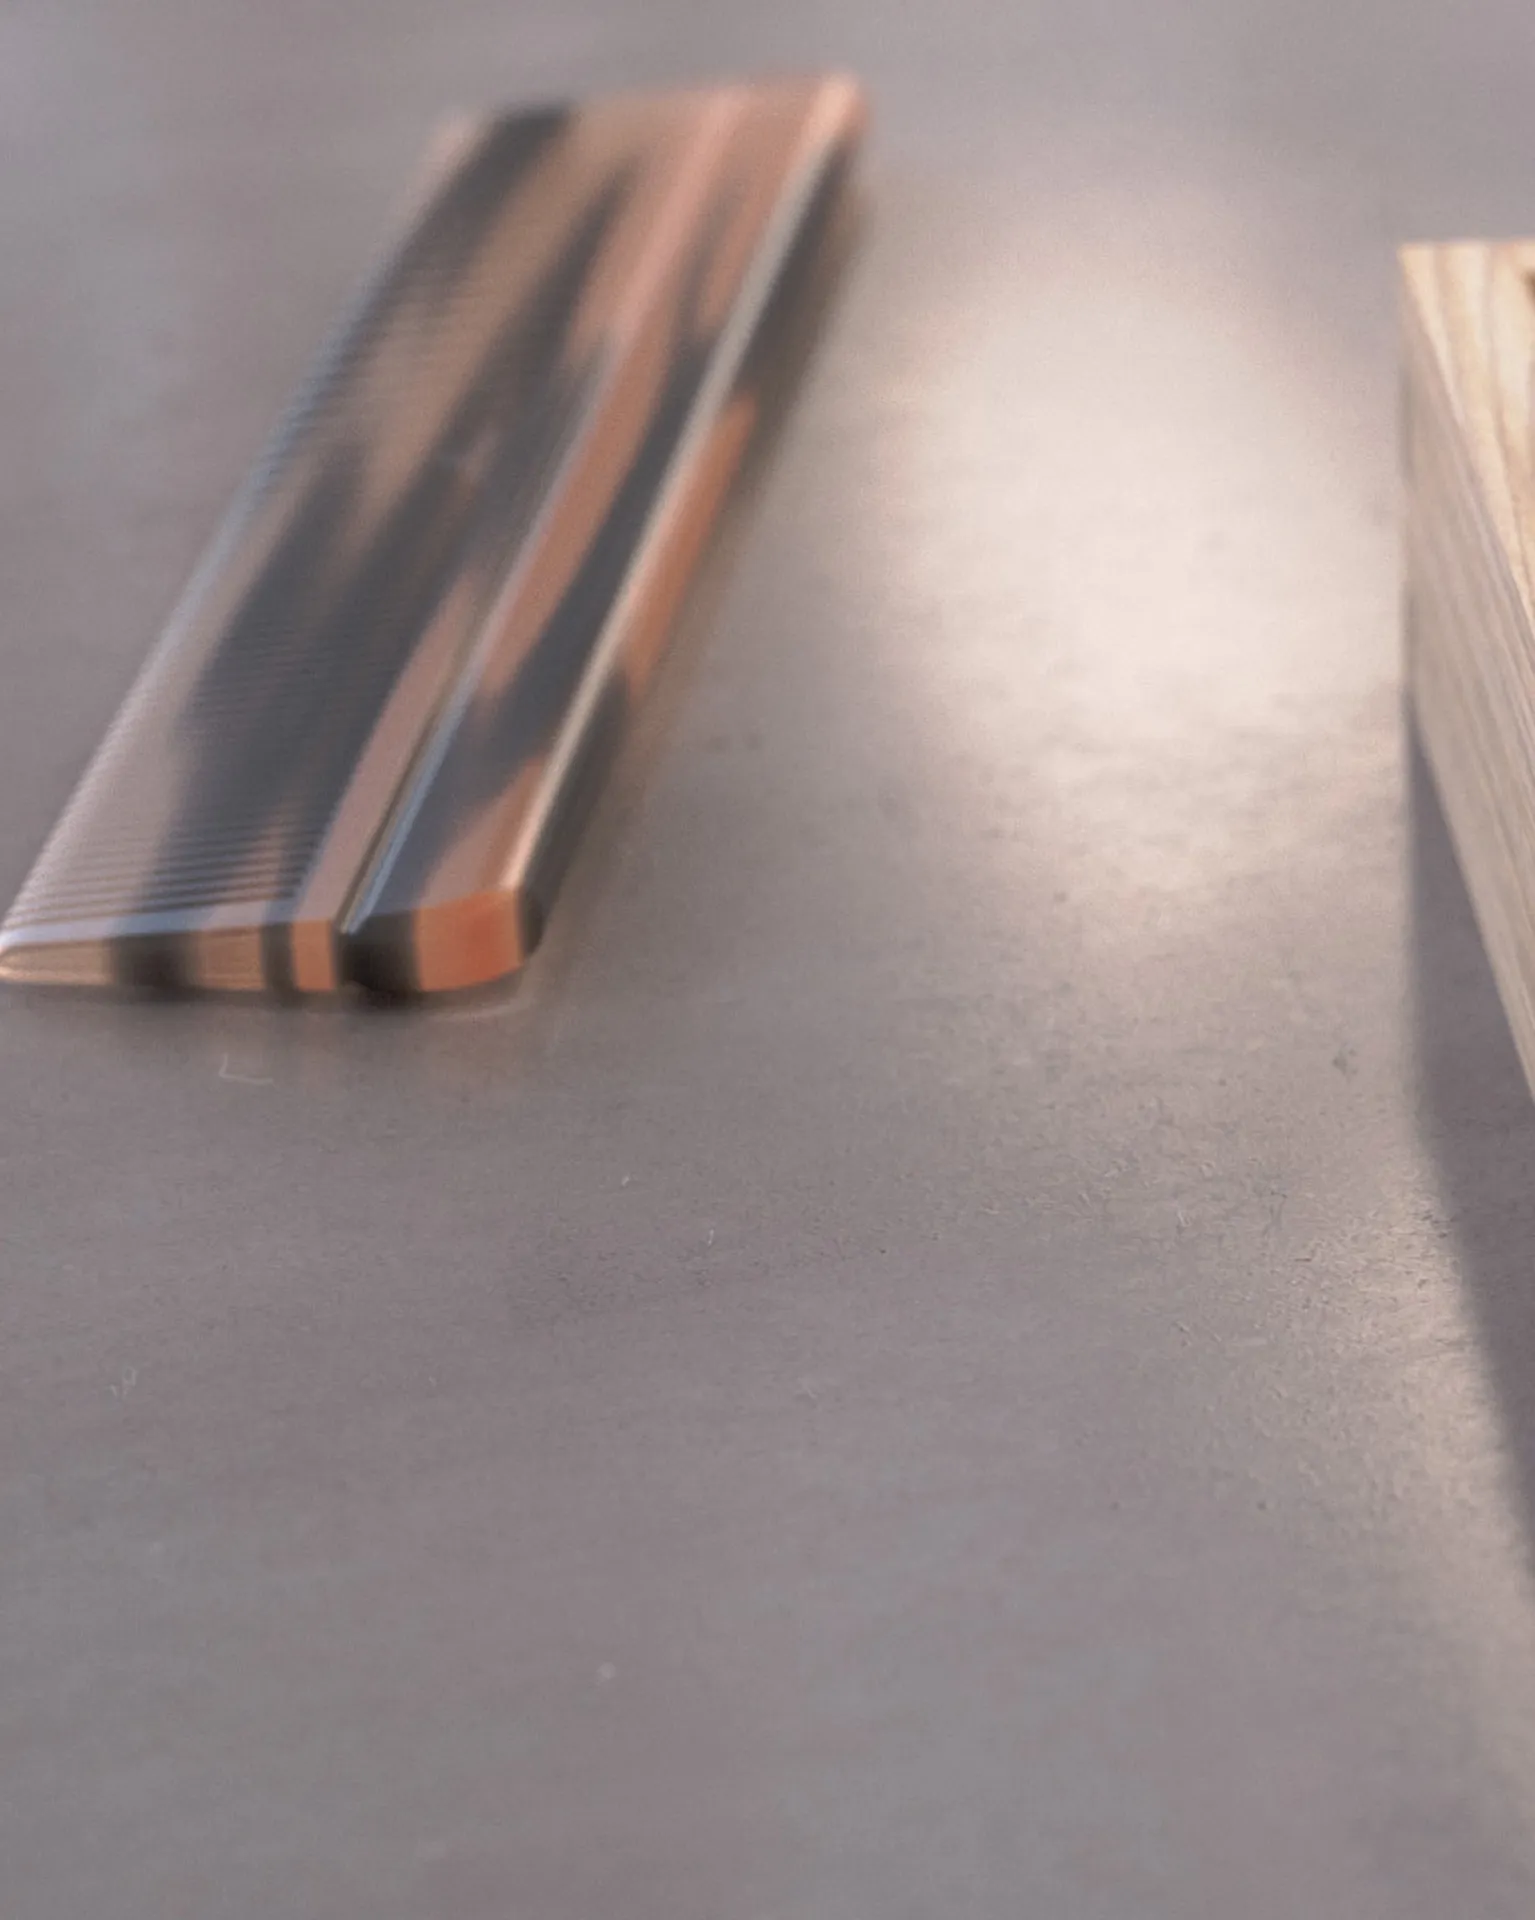
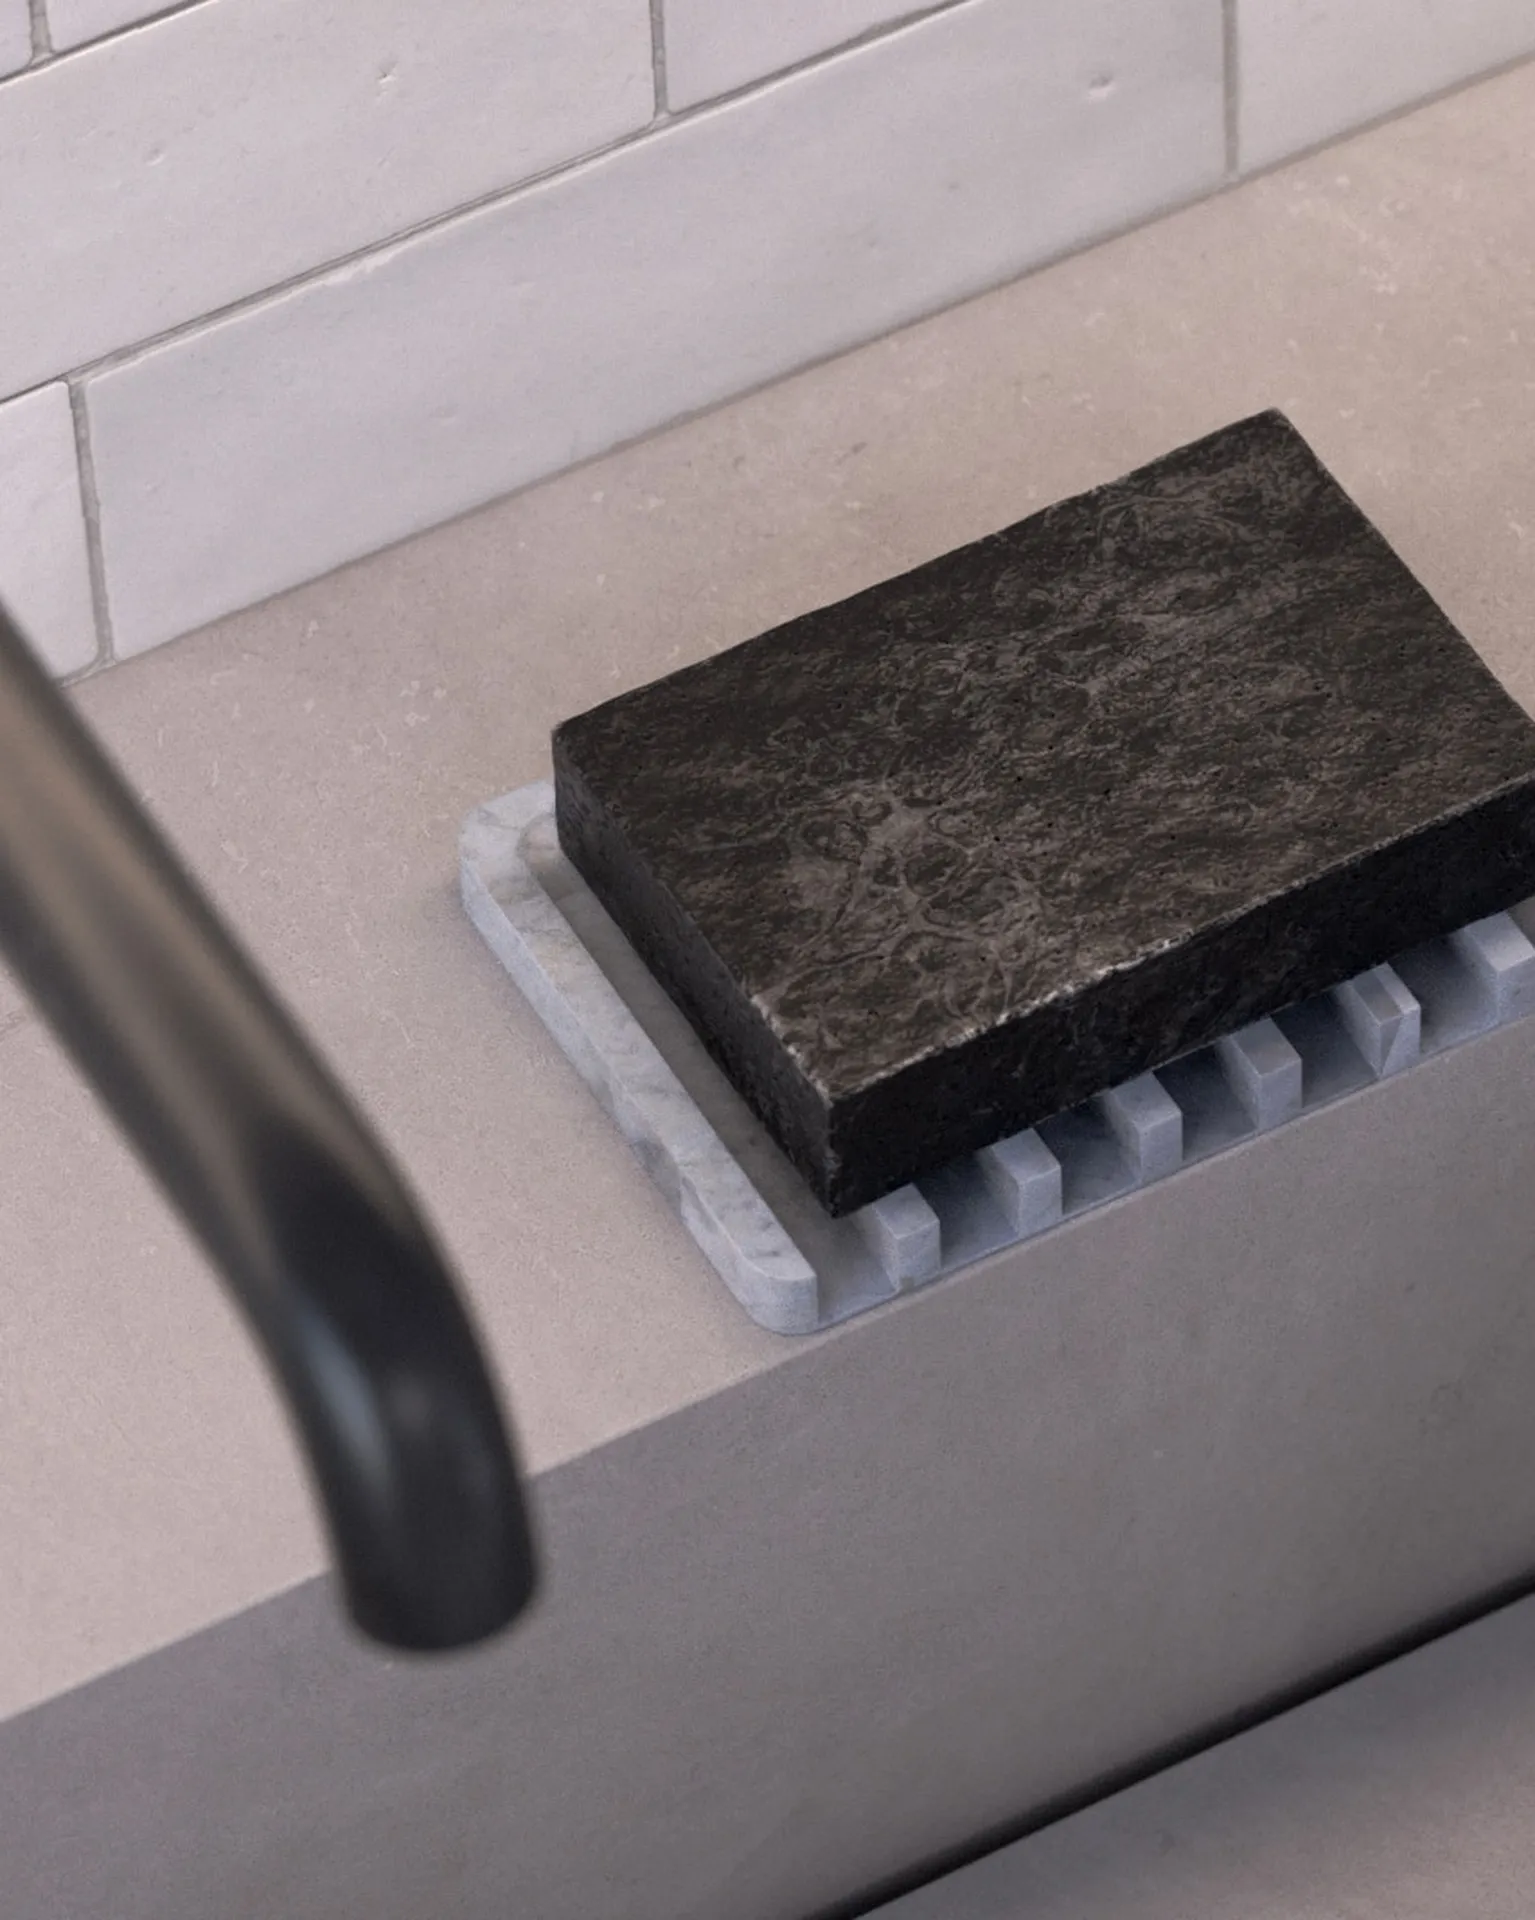
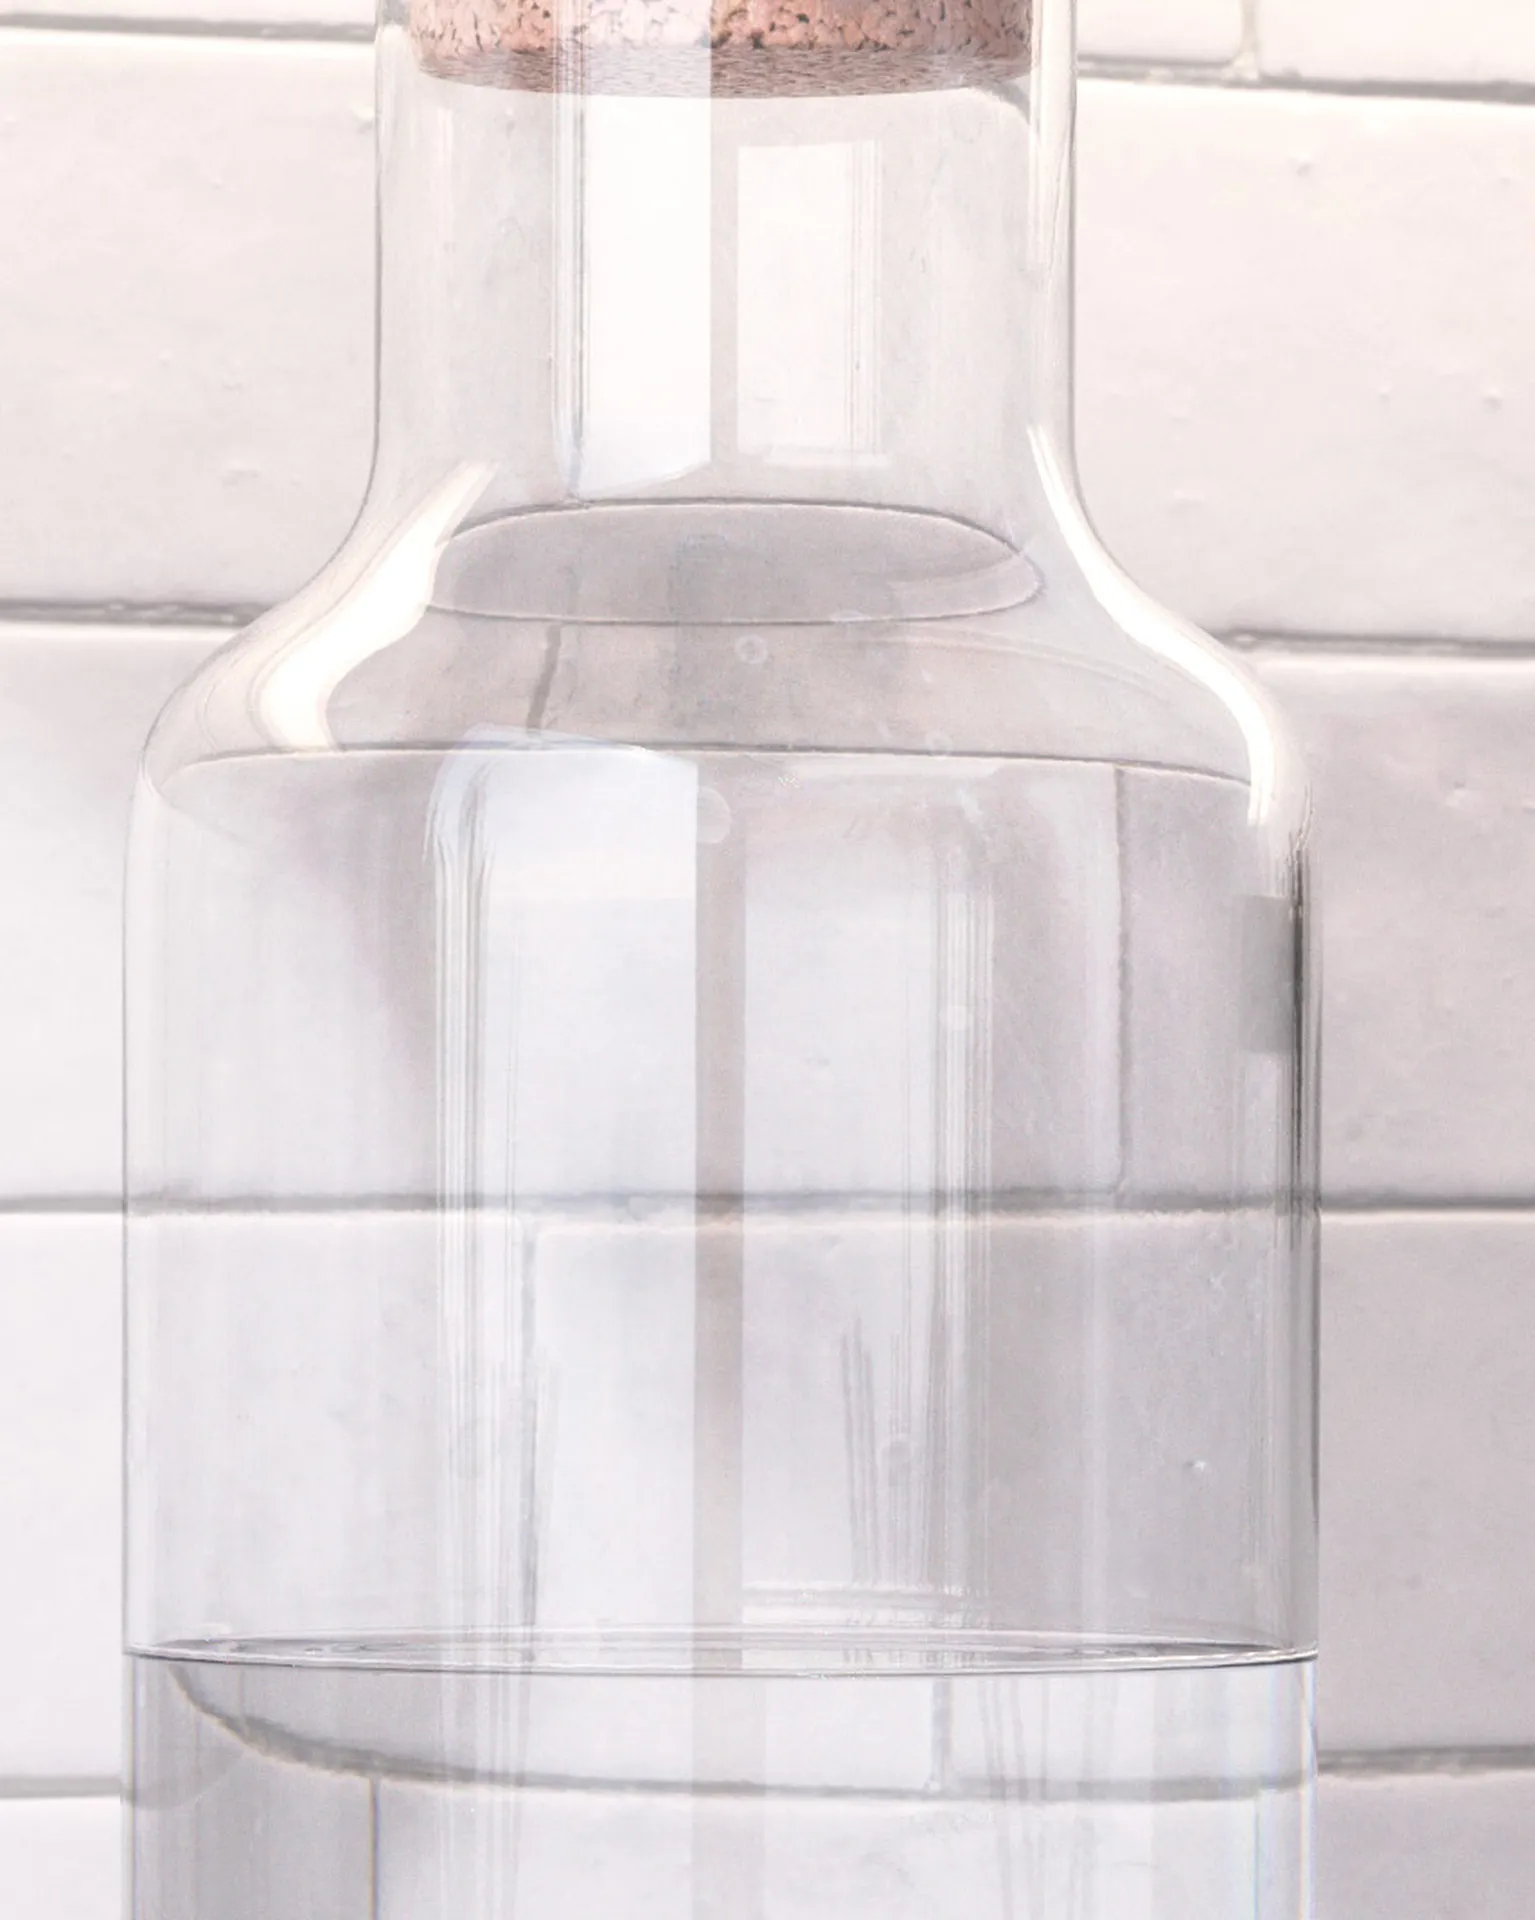
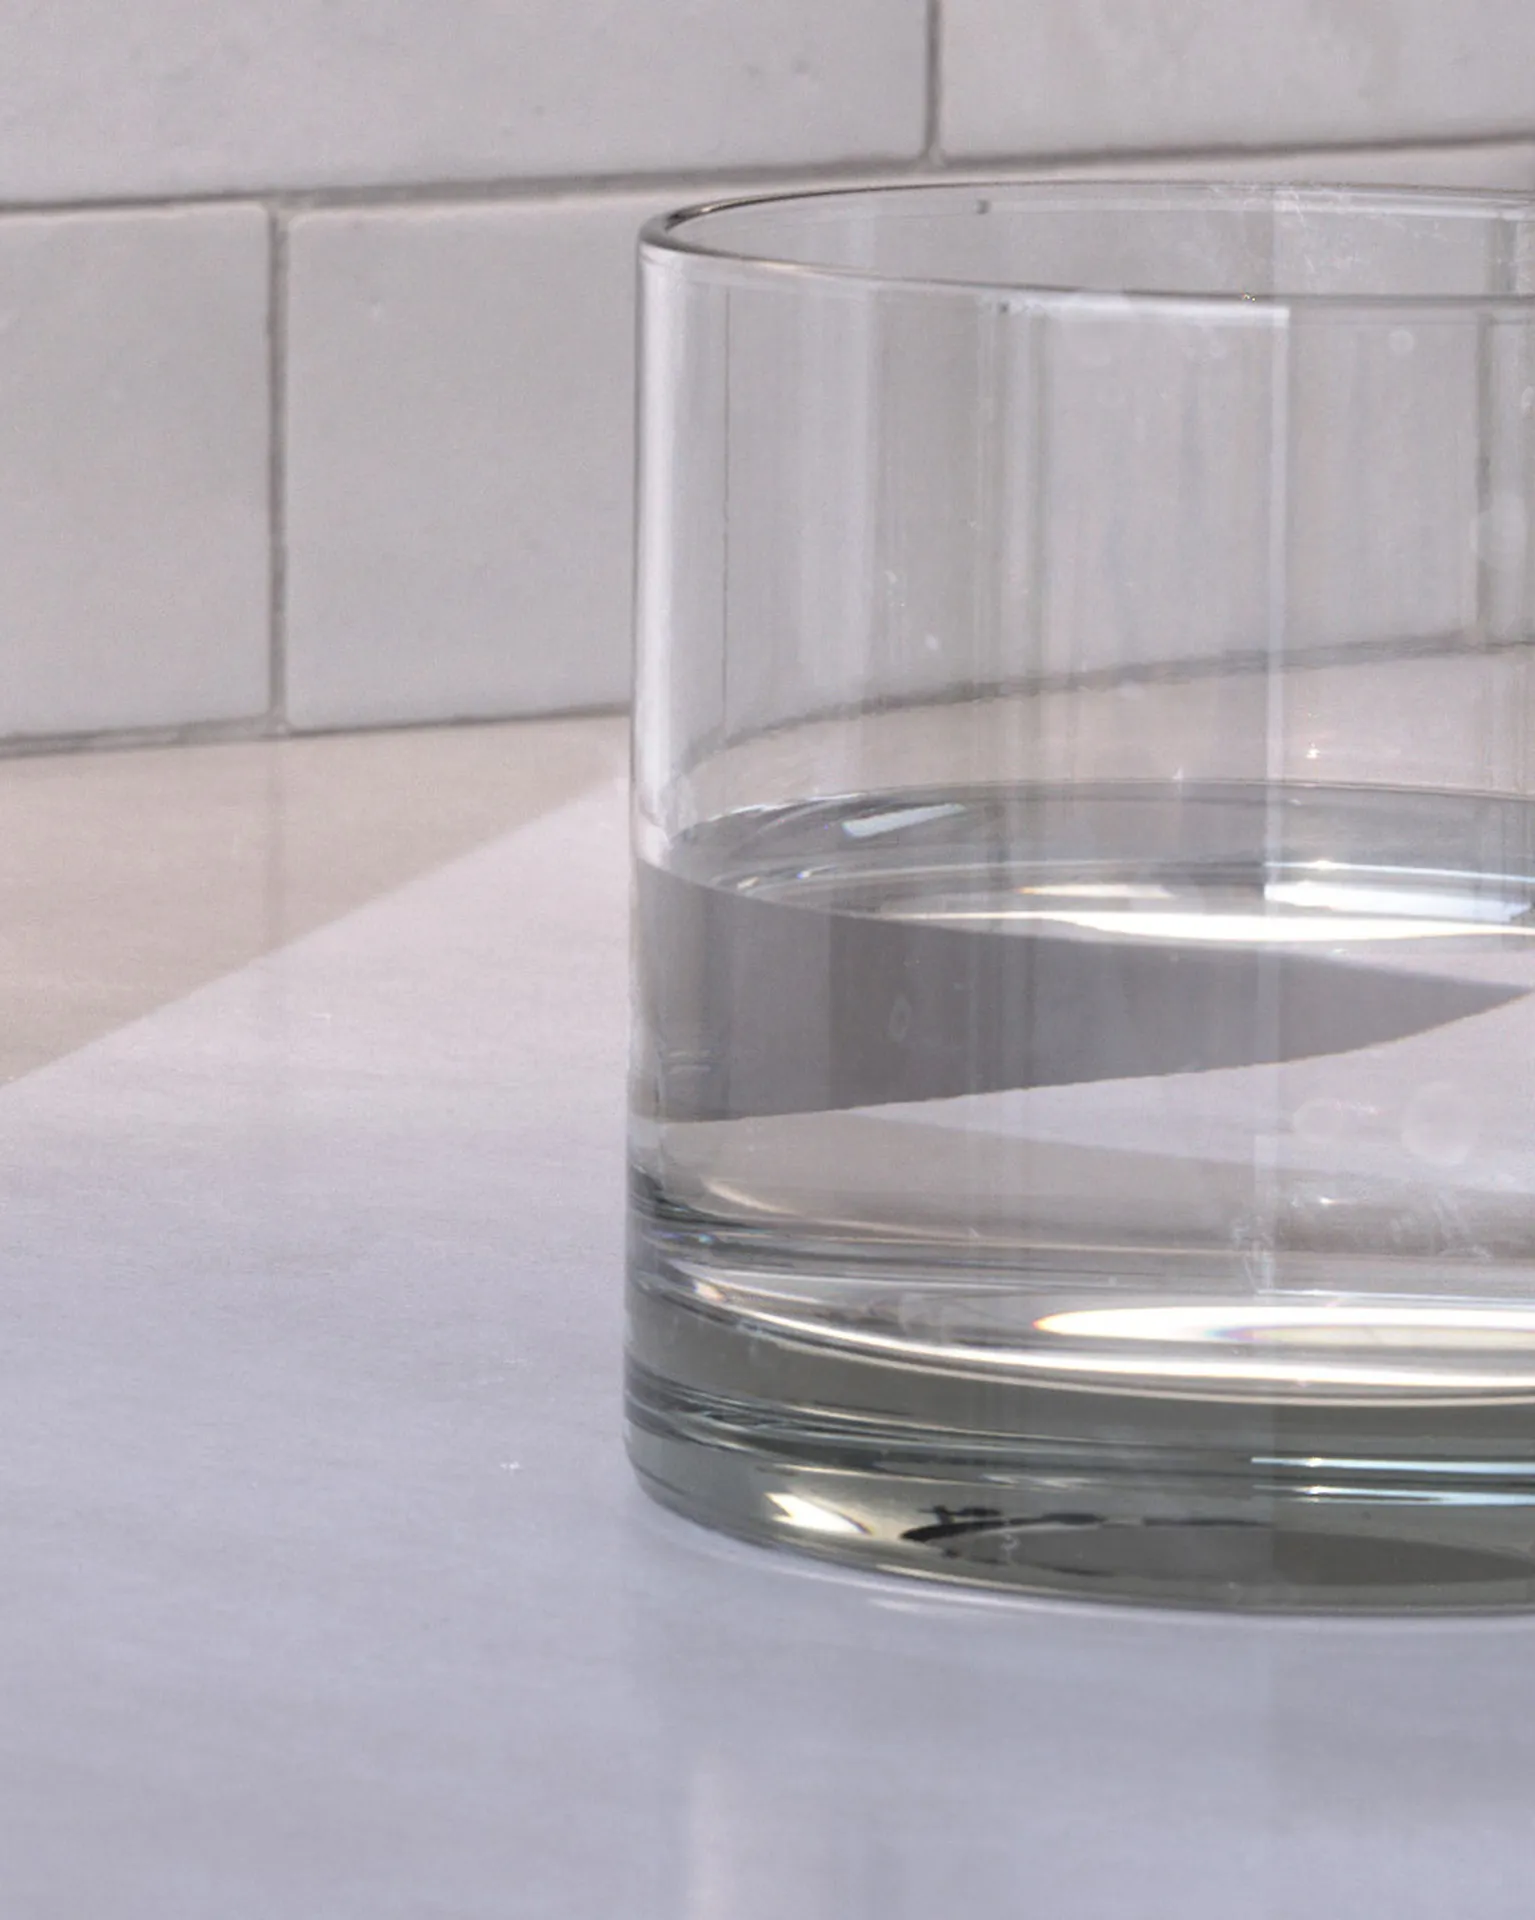
By the time you're done, you'll have a complete, professional interior scene rendered from multiple camera positions, with materials detailed enough to hold up under close inspection.
Everything You Get When You Enroll
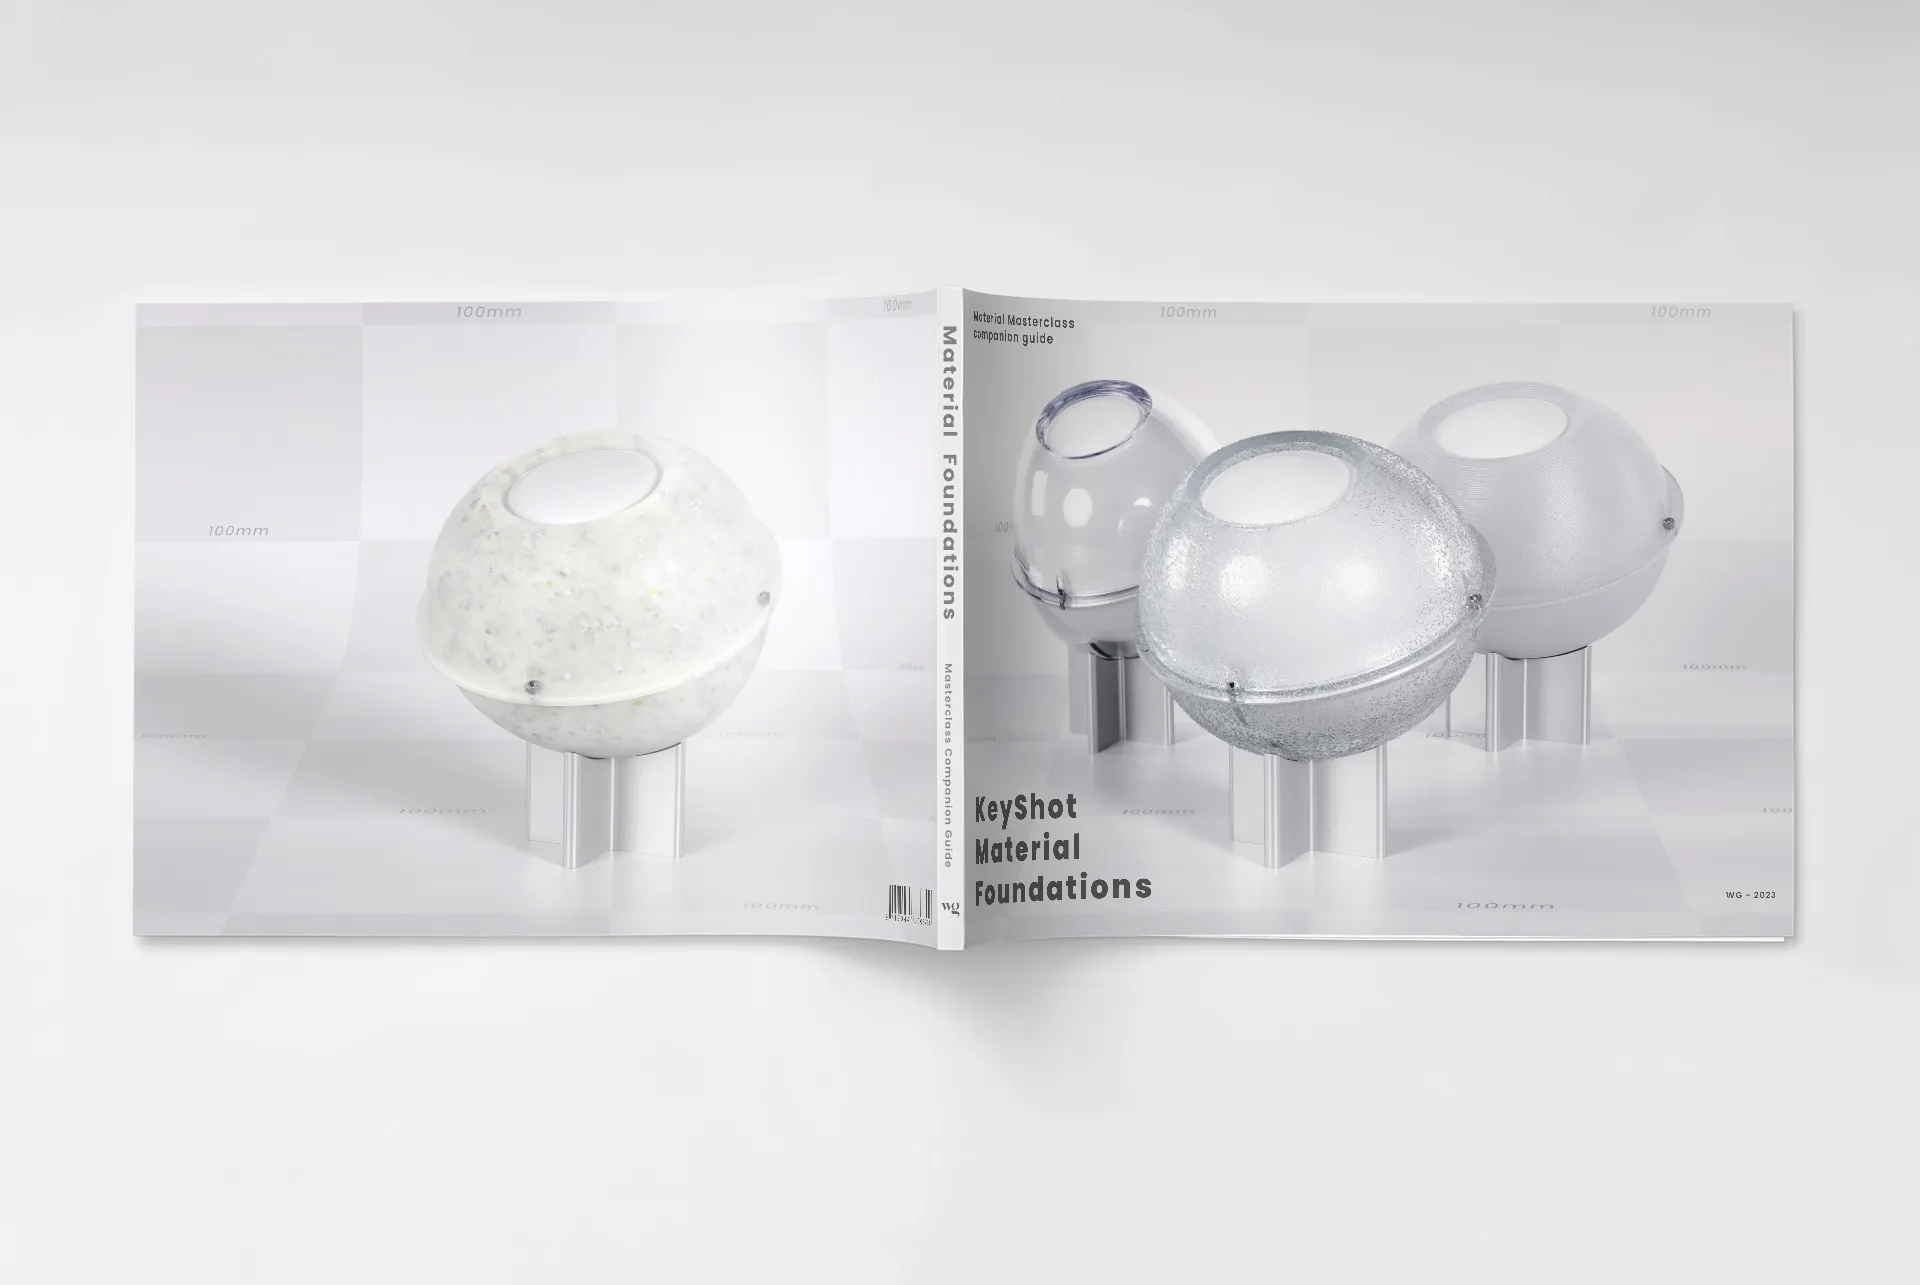
10 Common Materials From Scratch
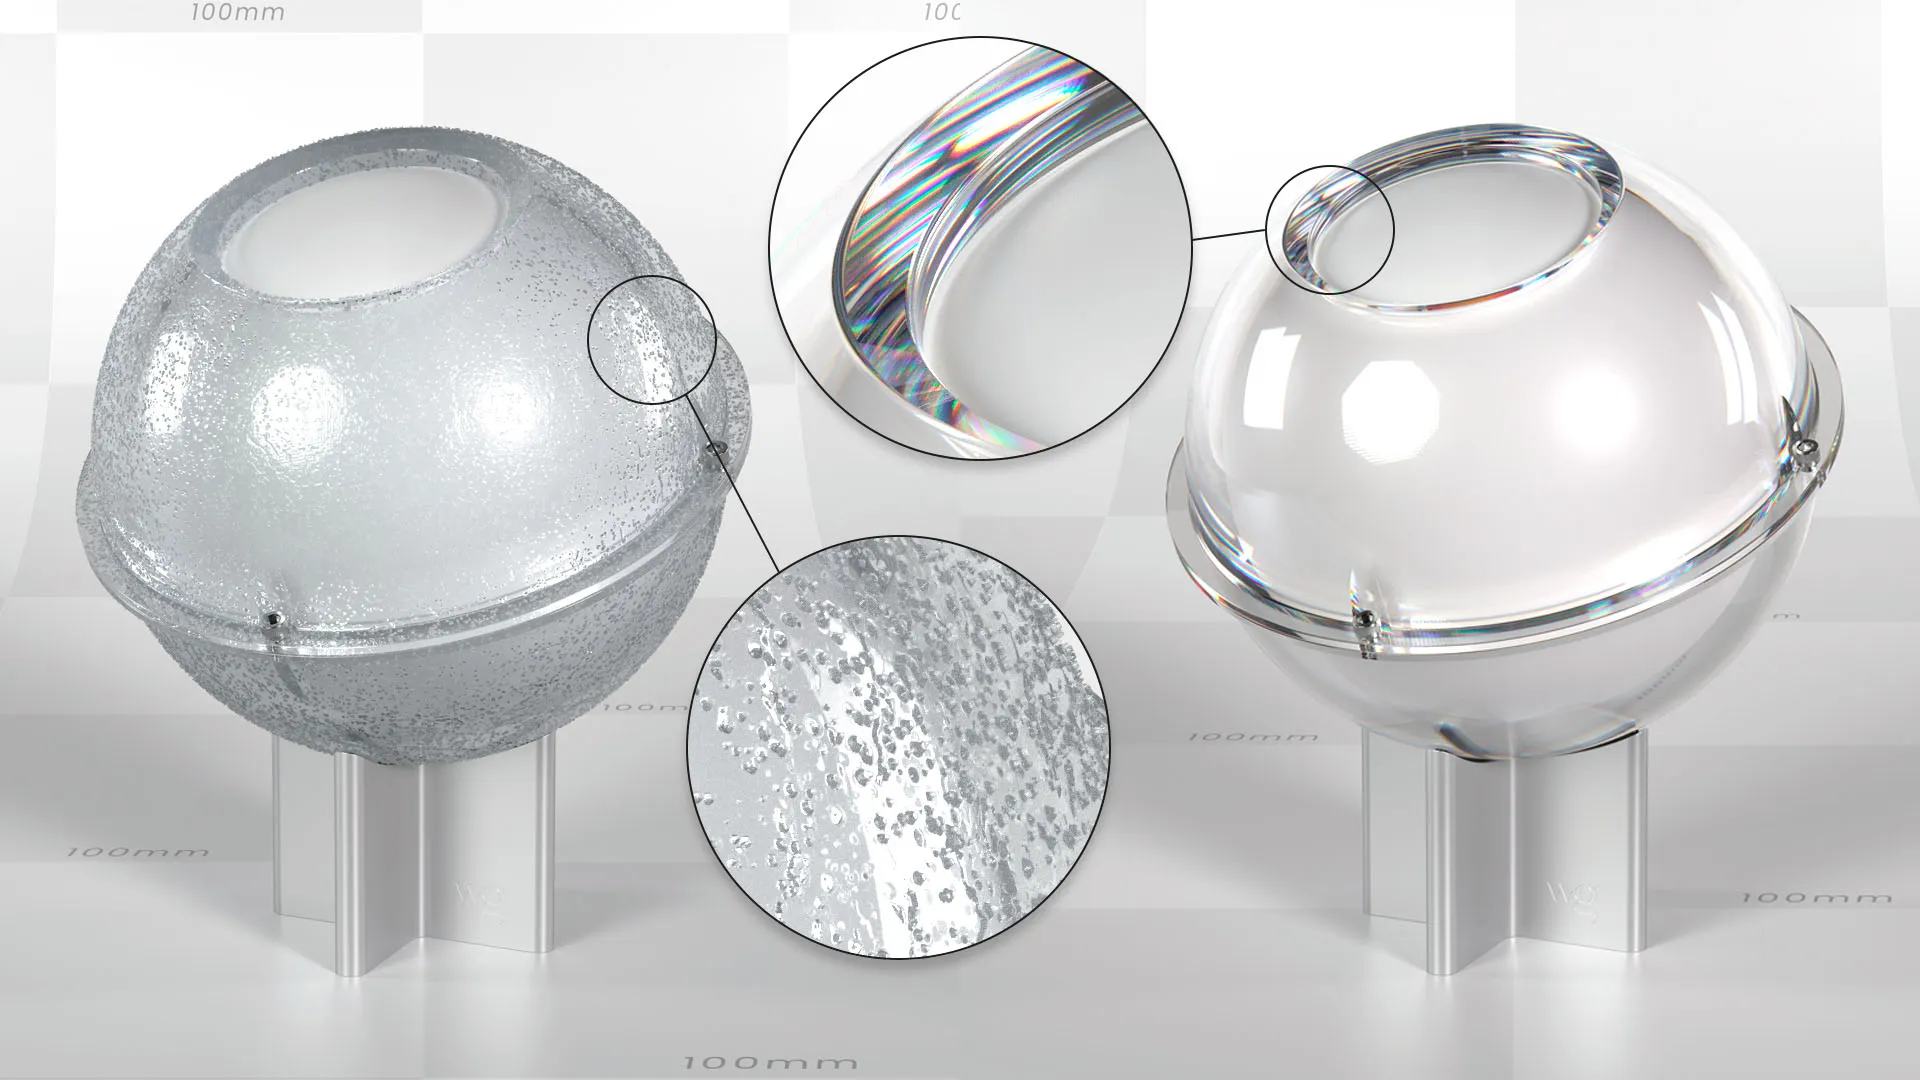
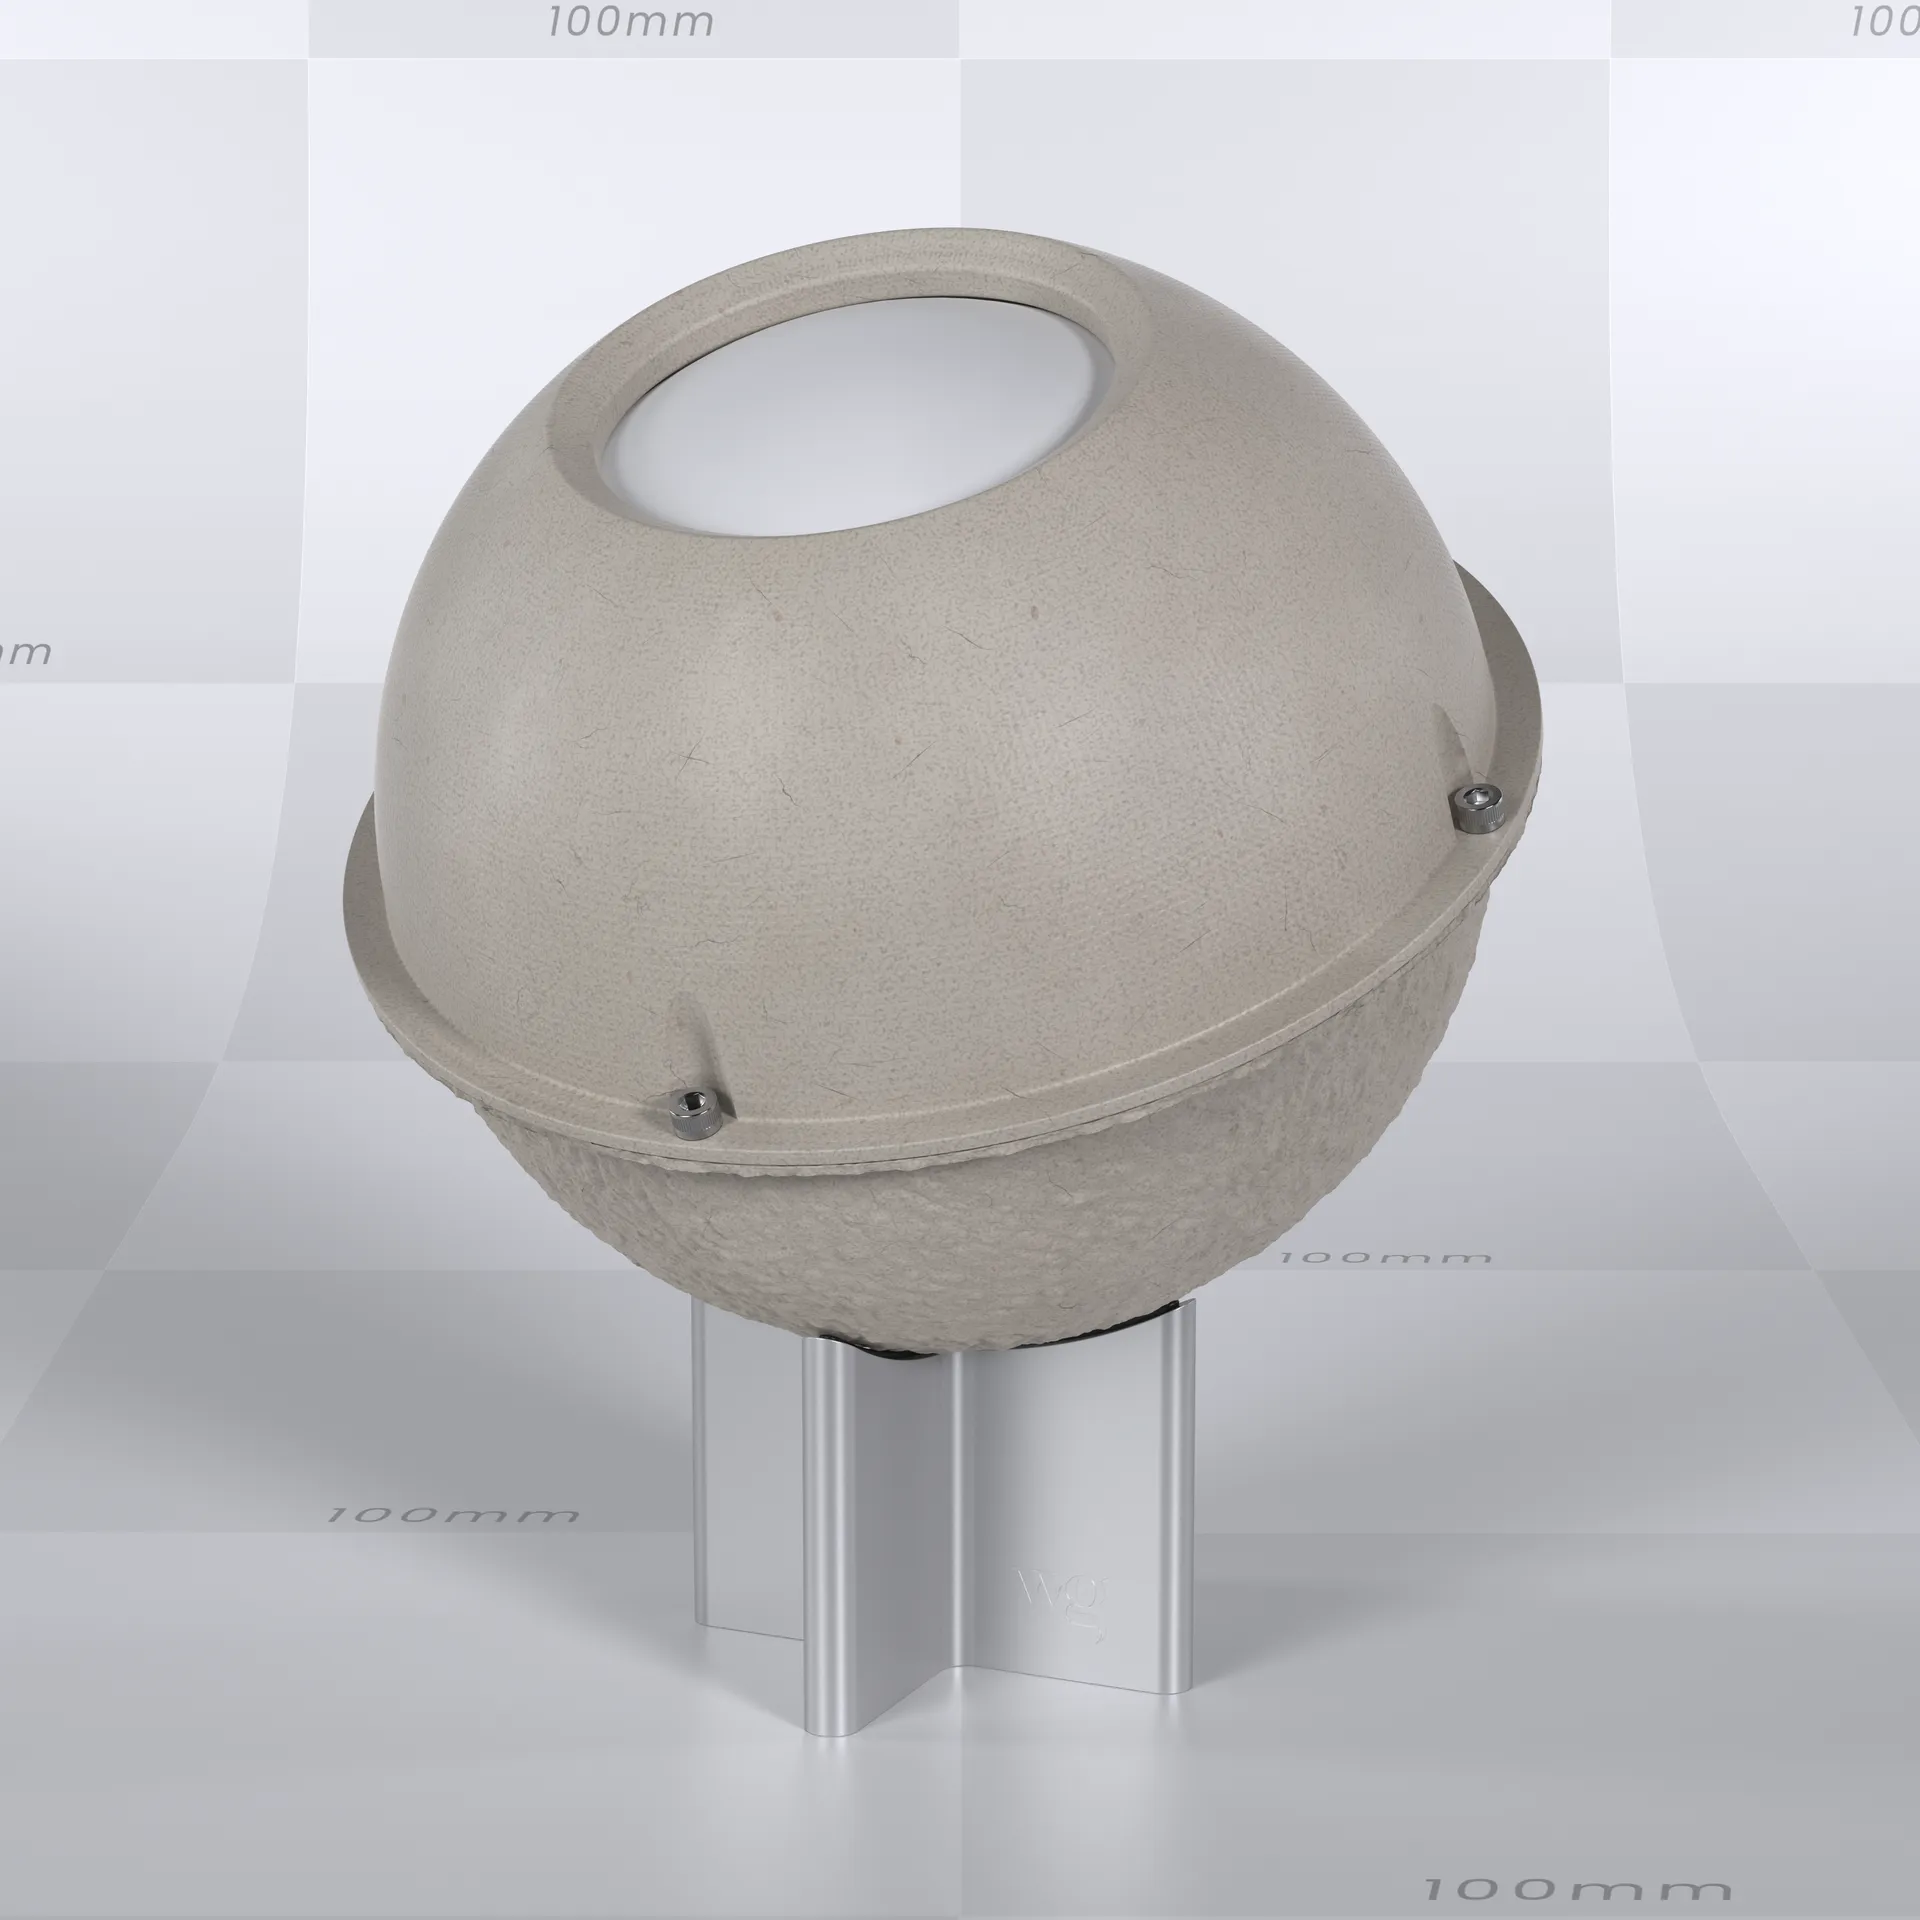
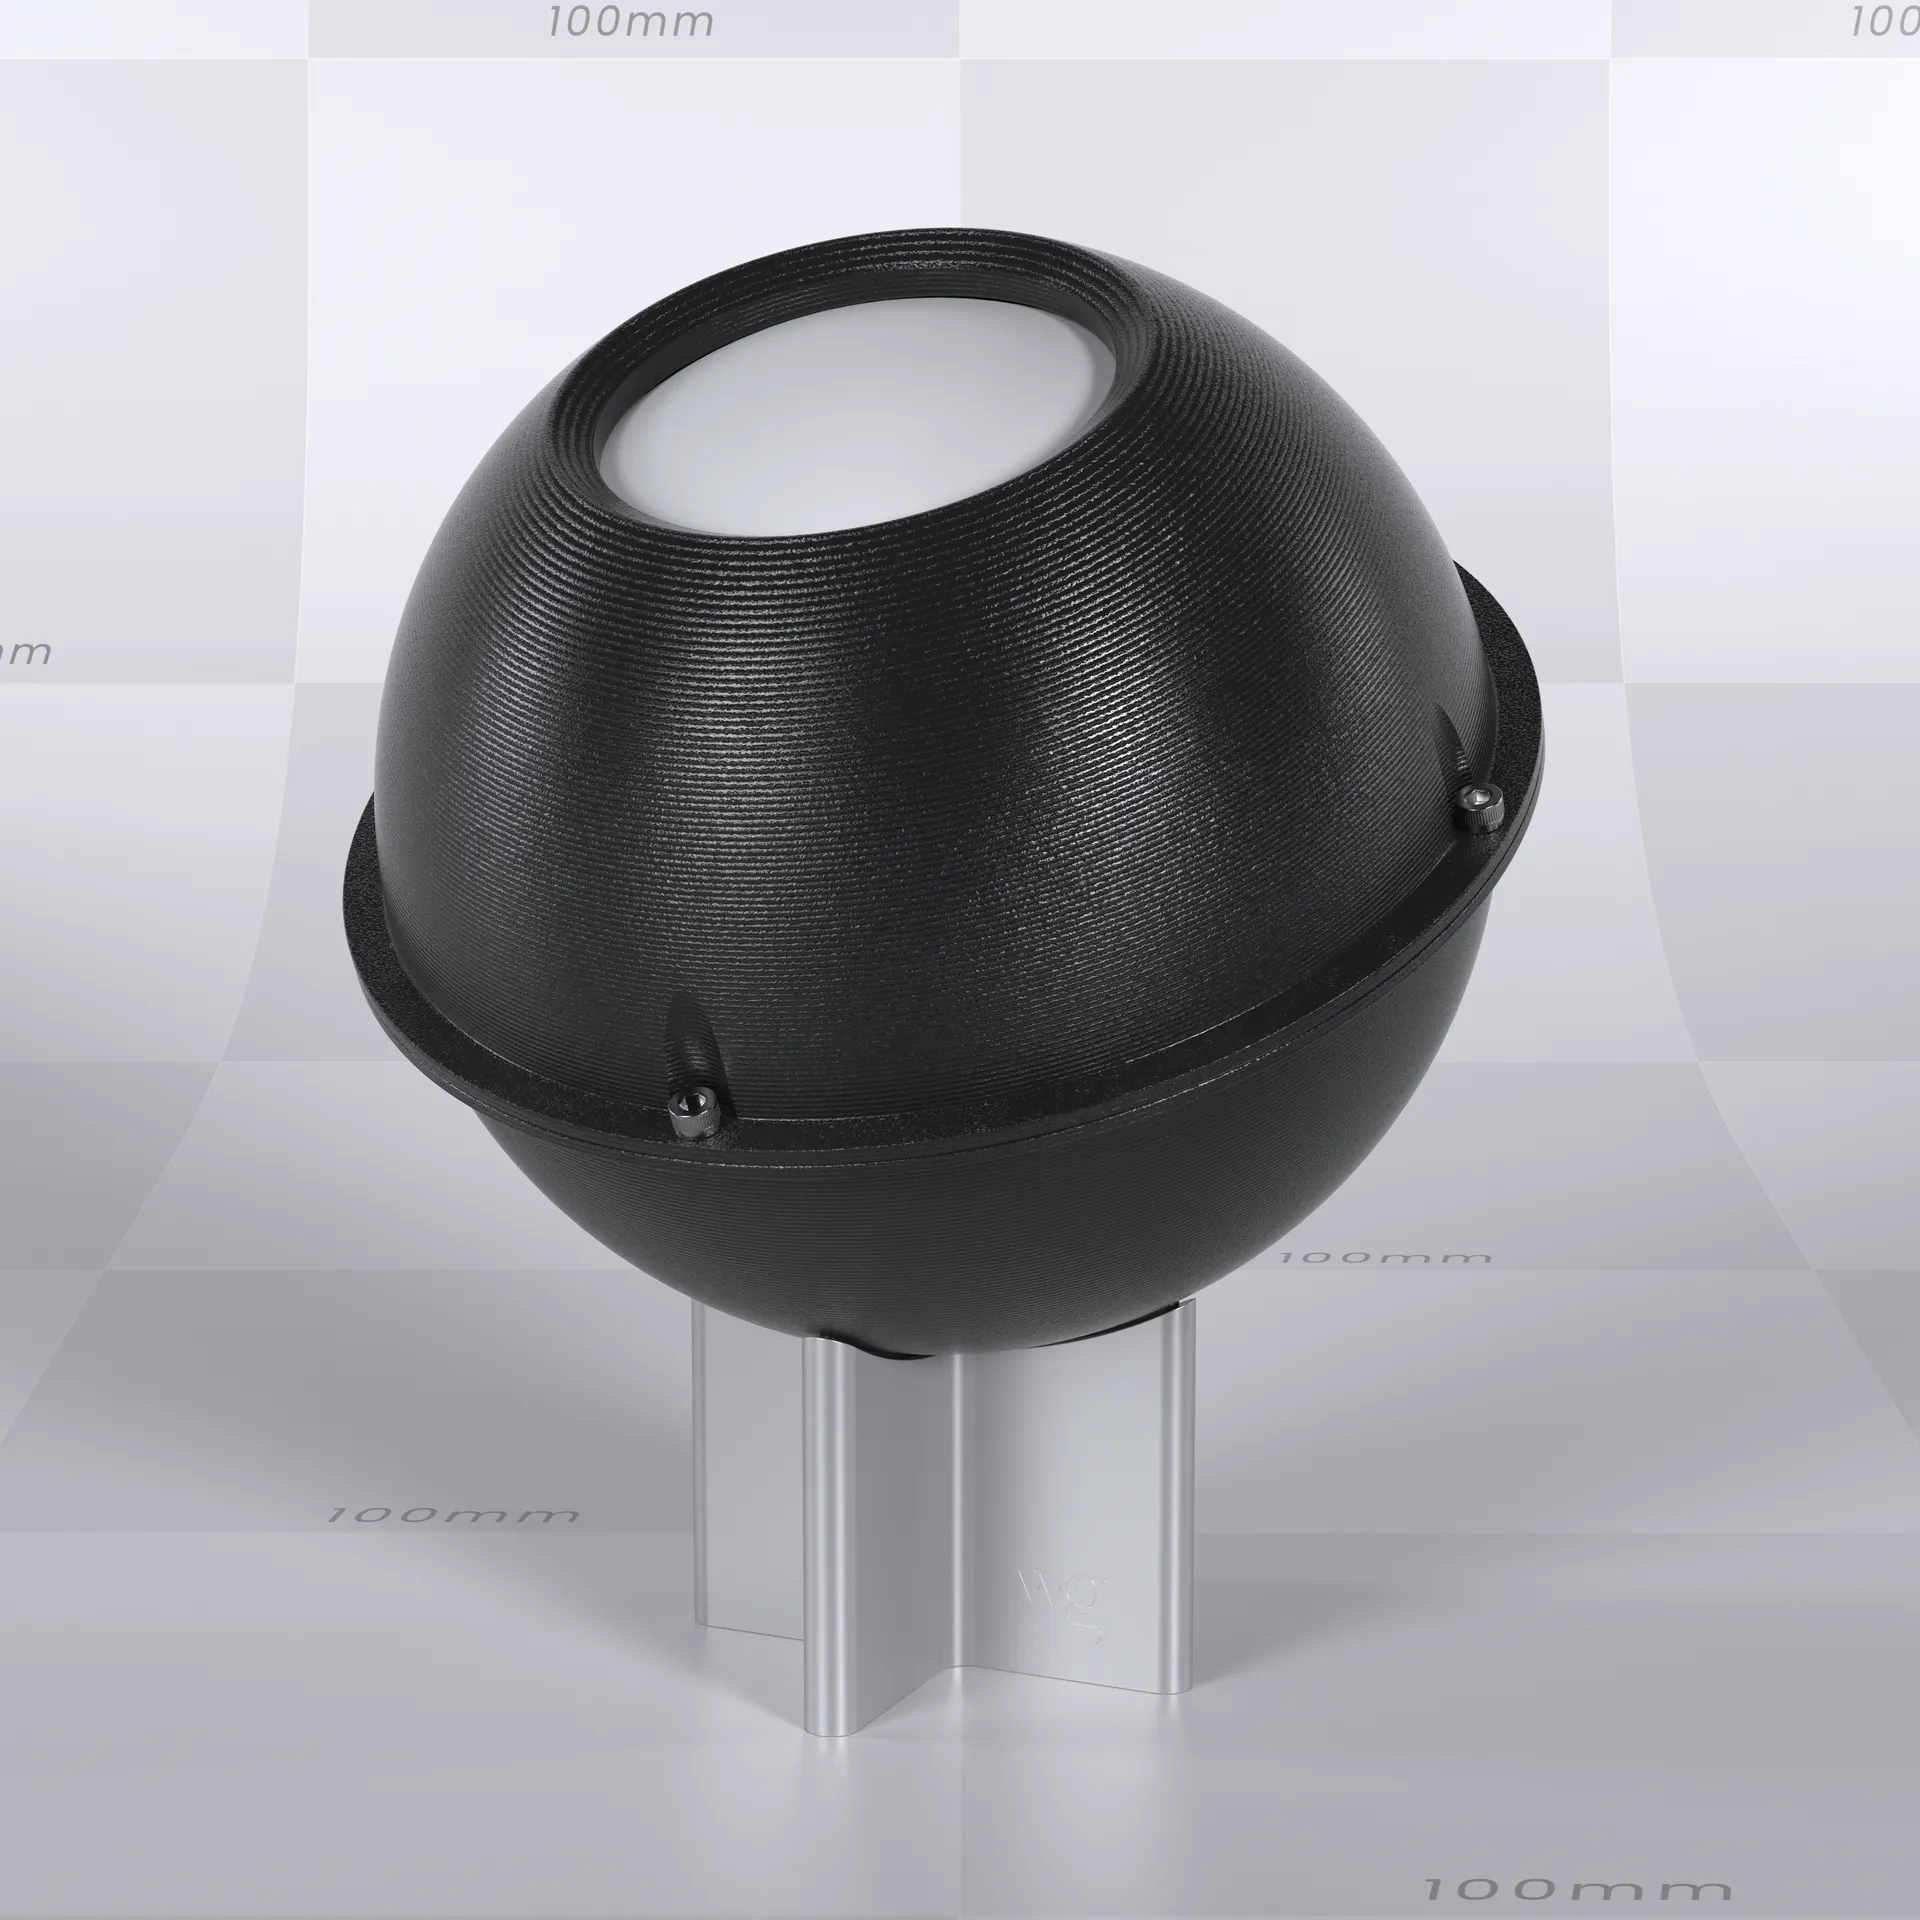
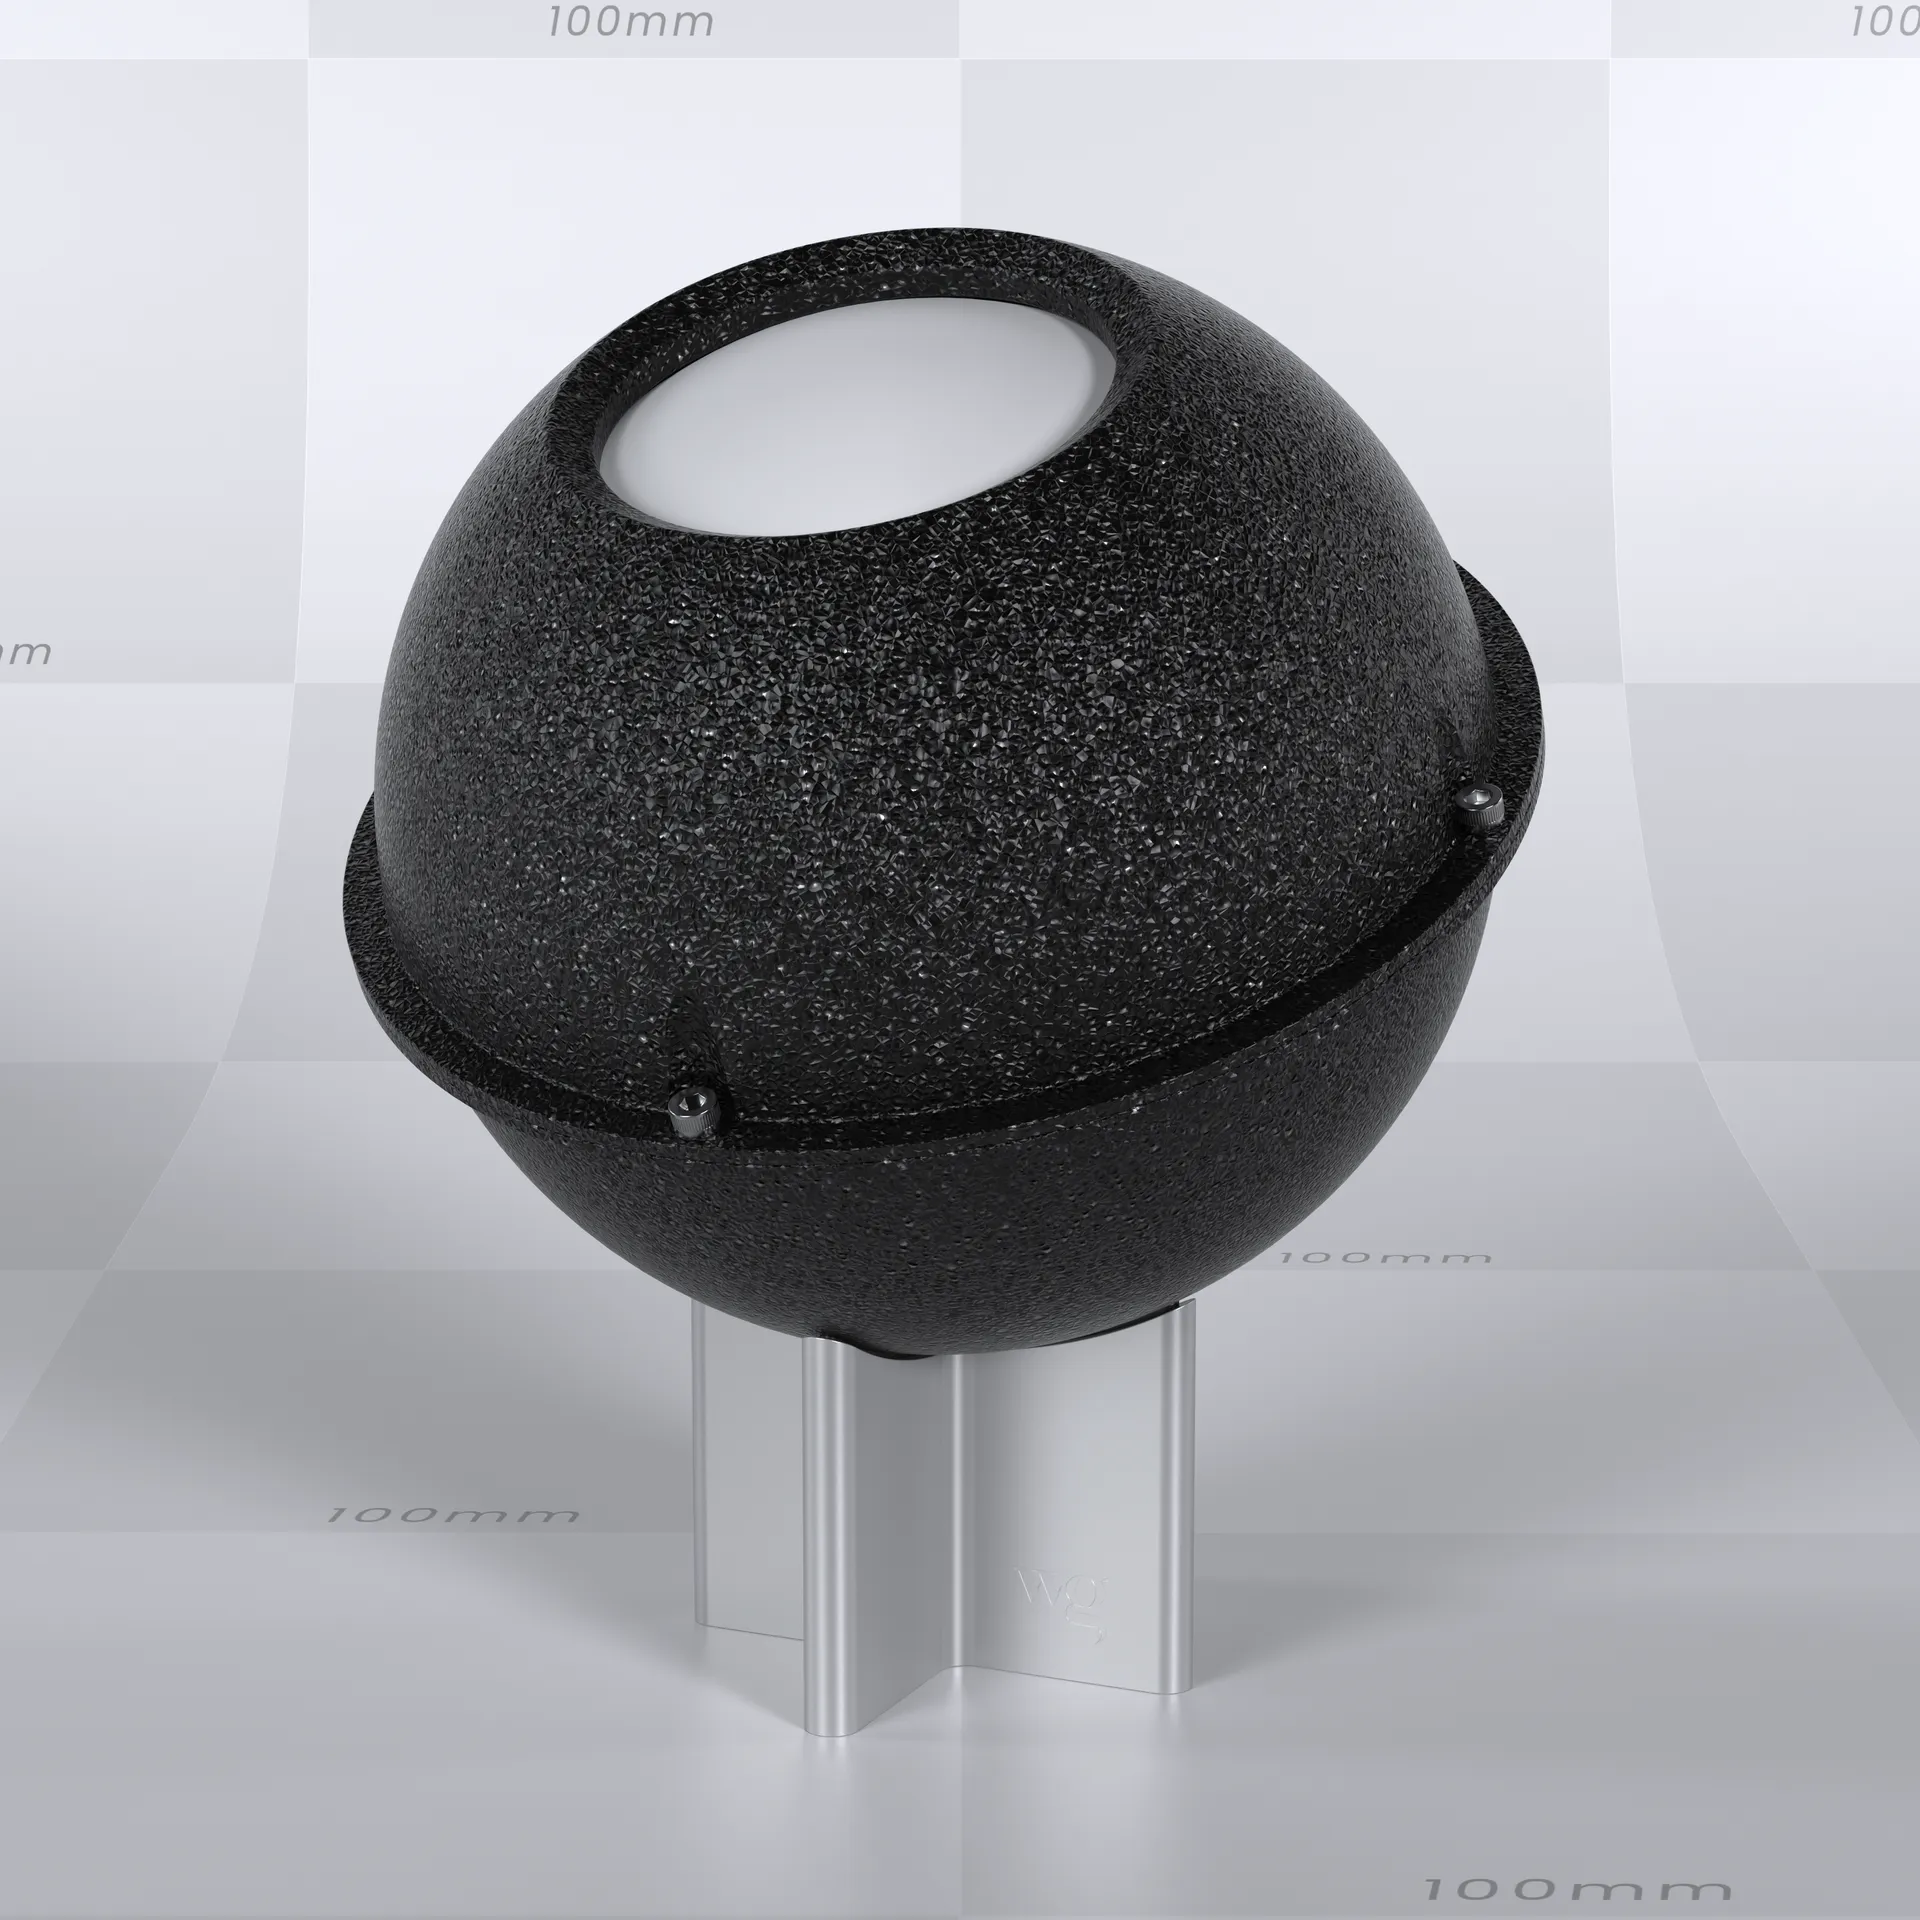
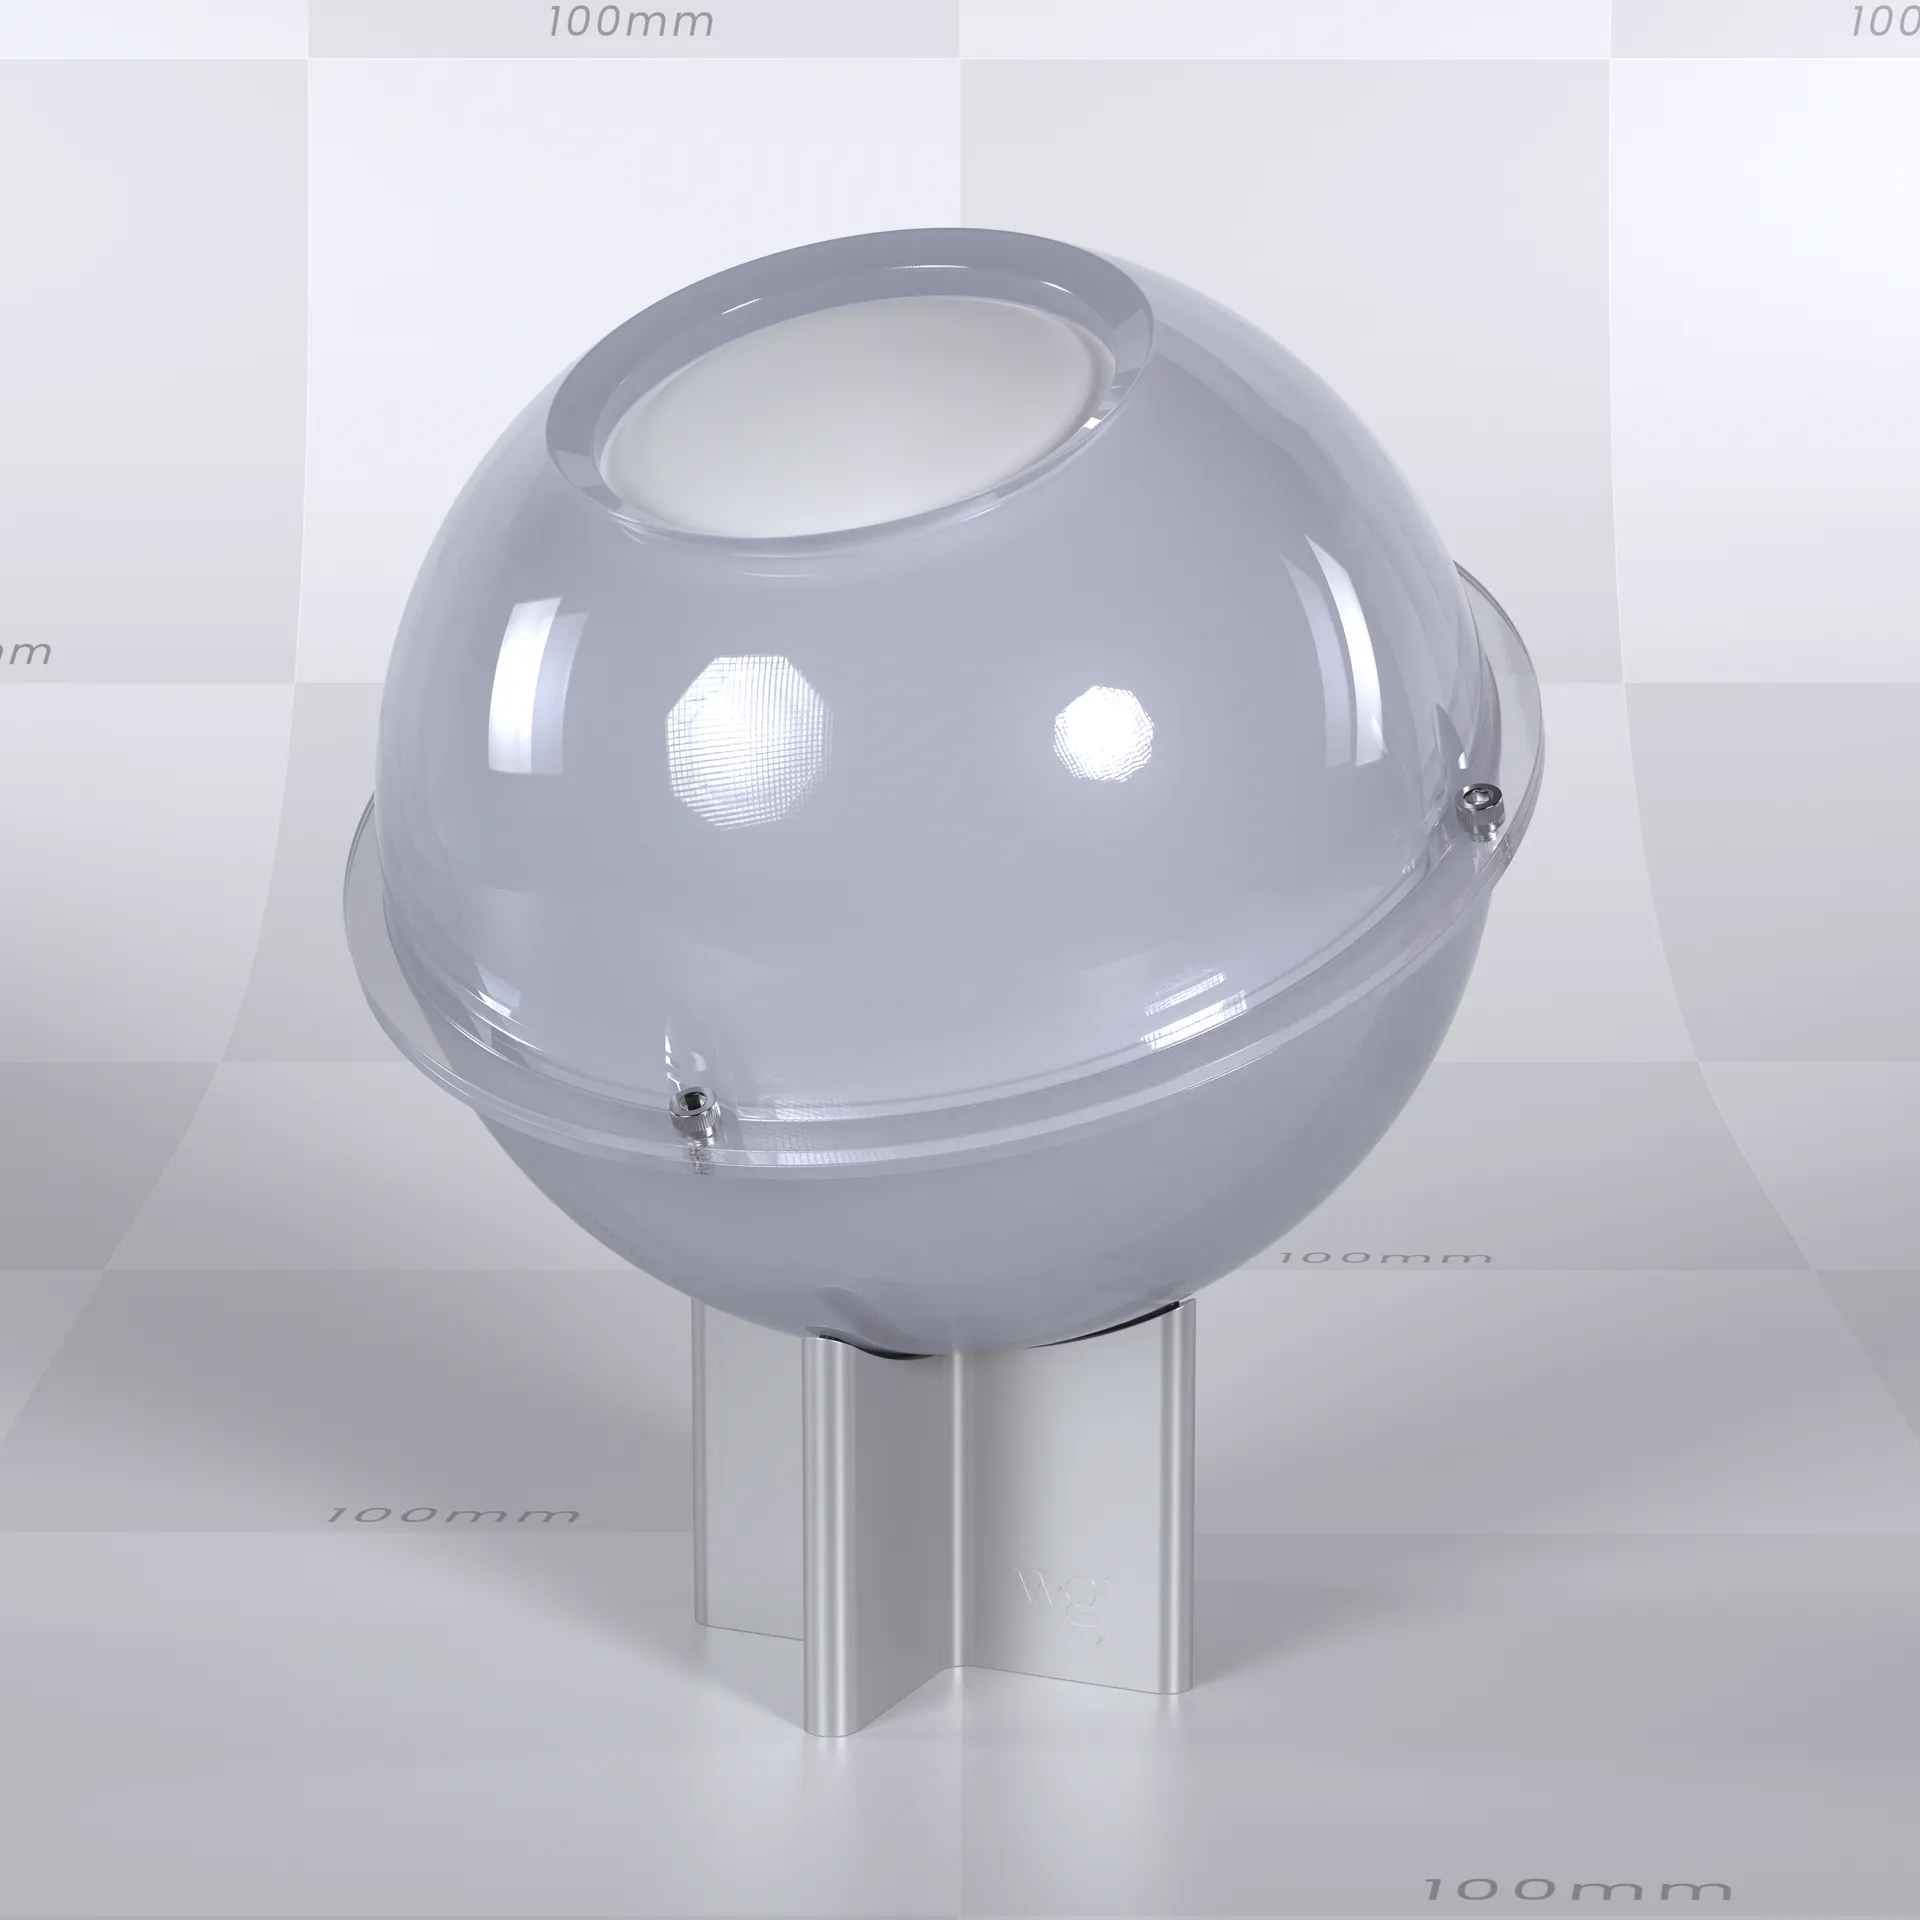
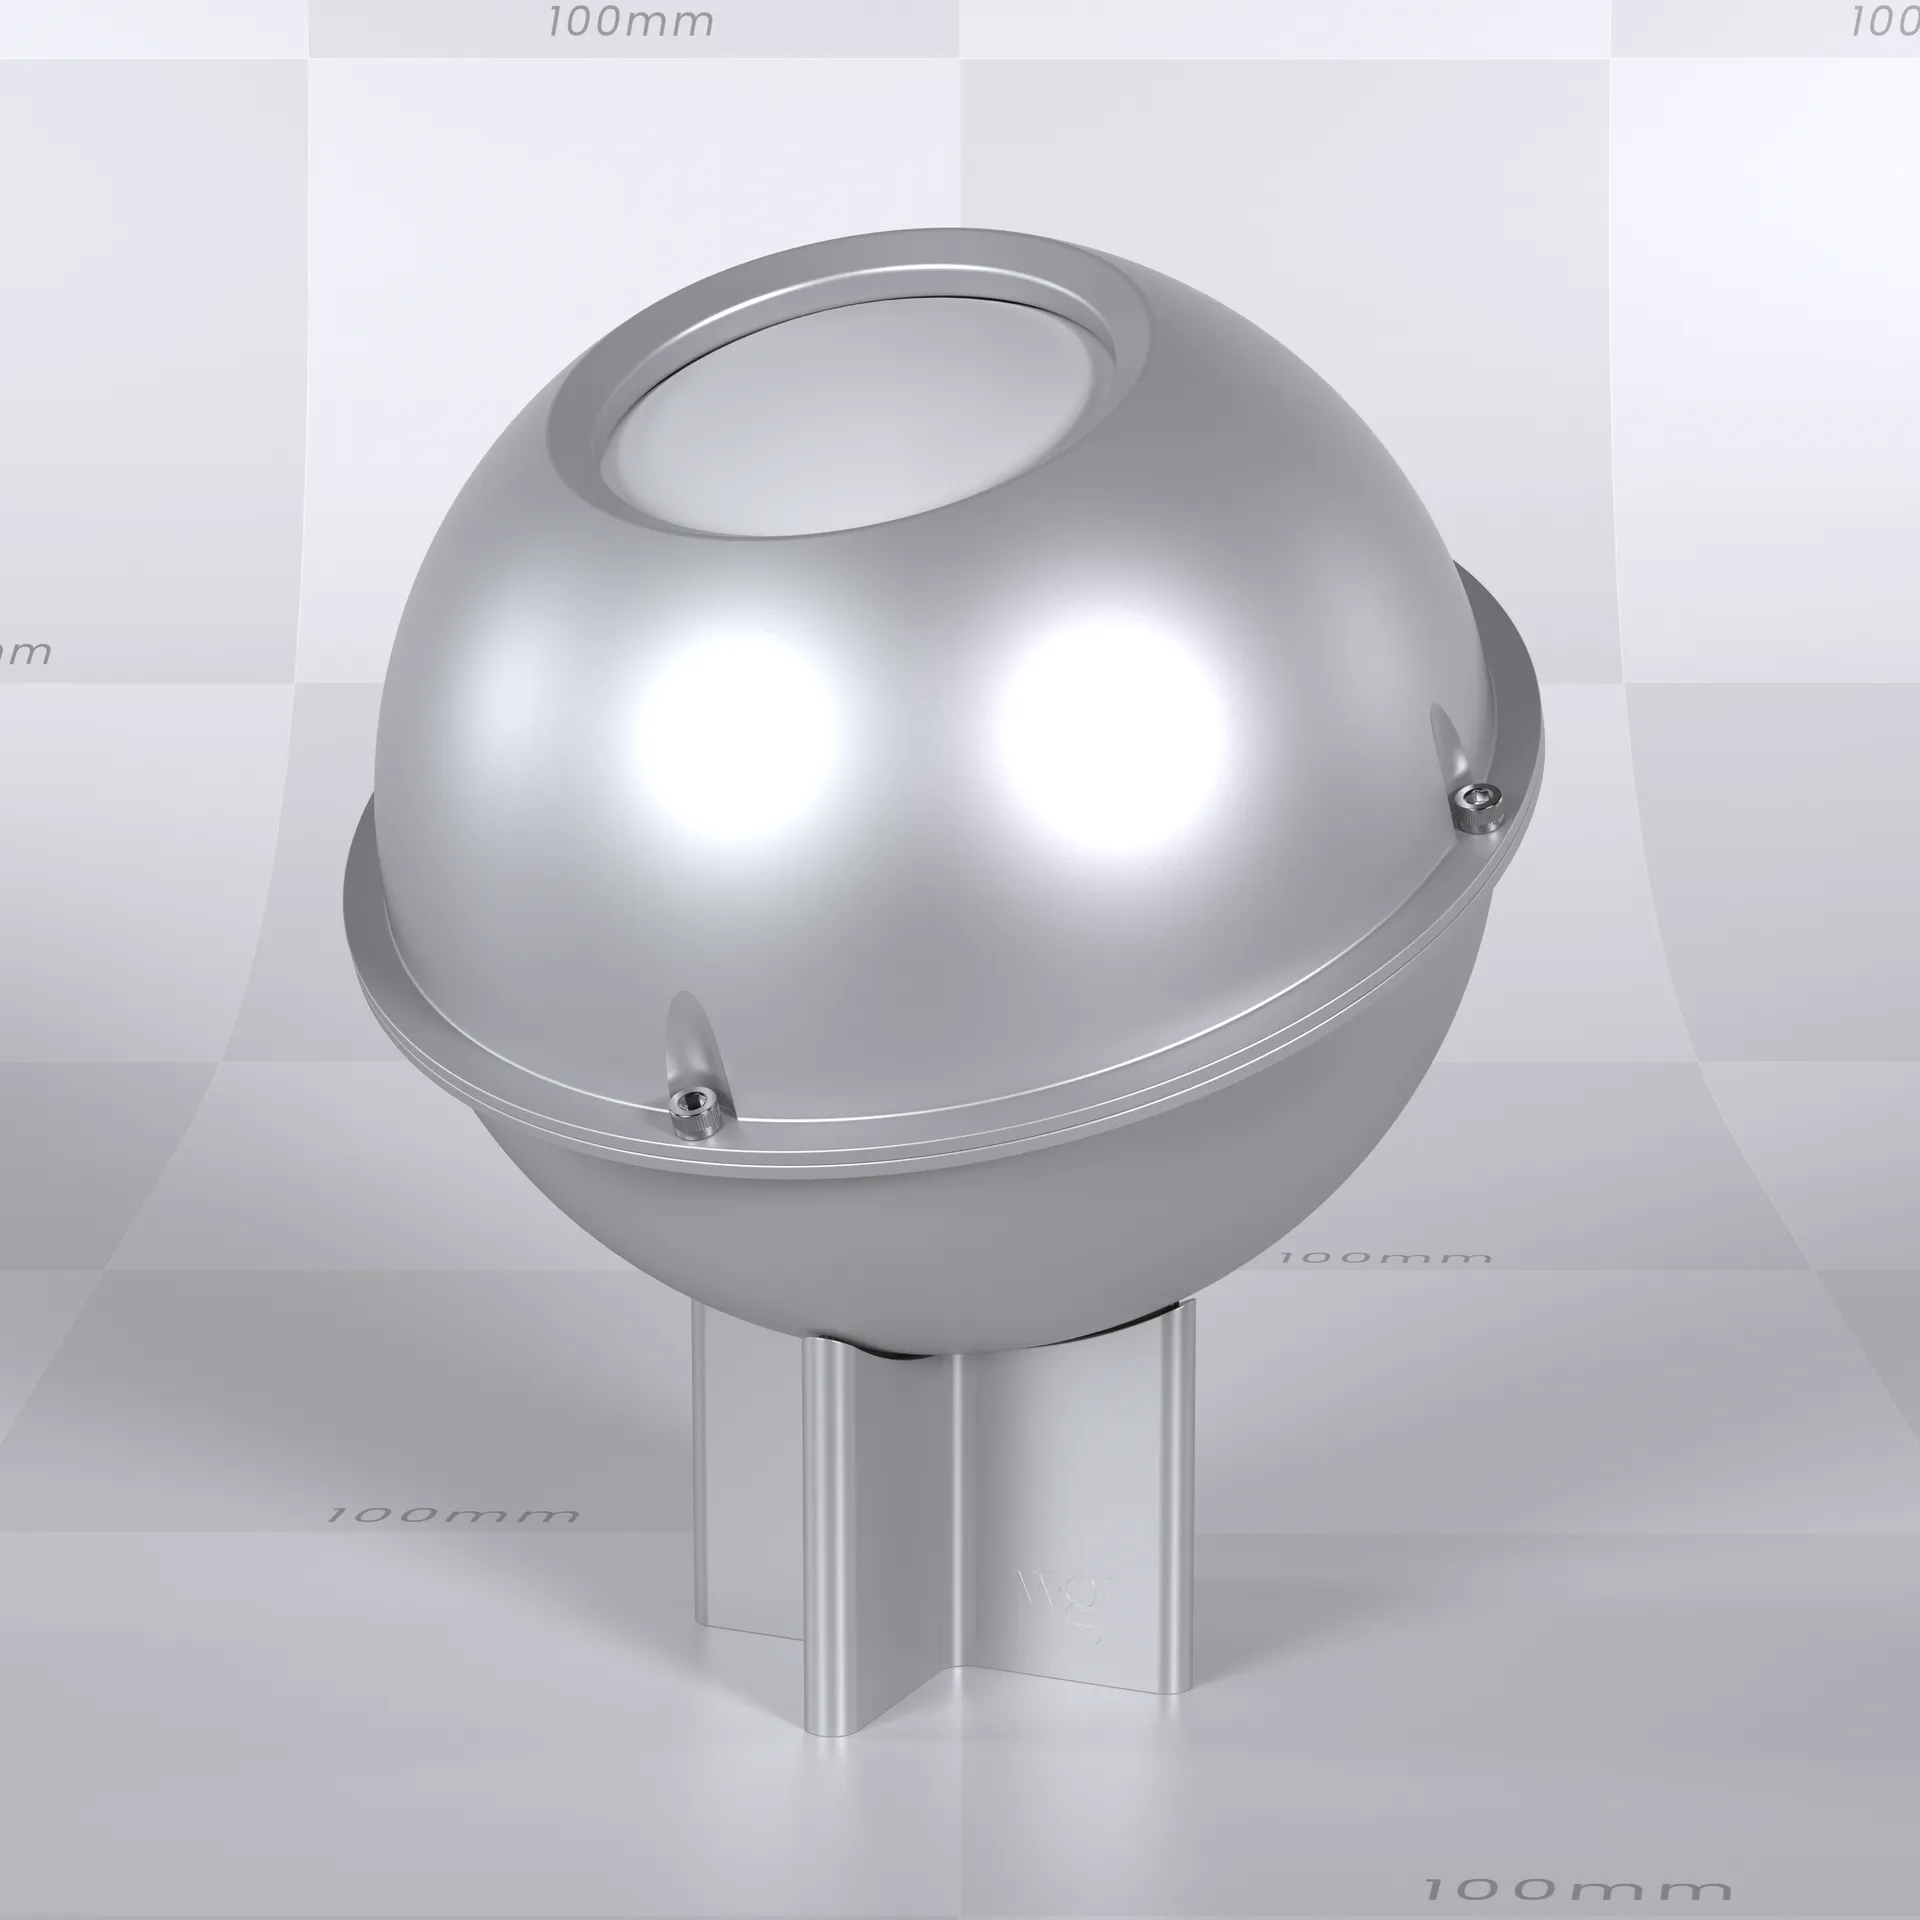
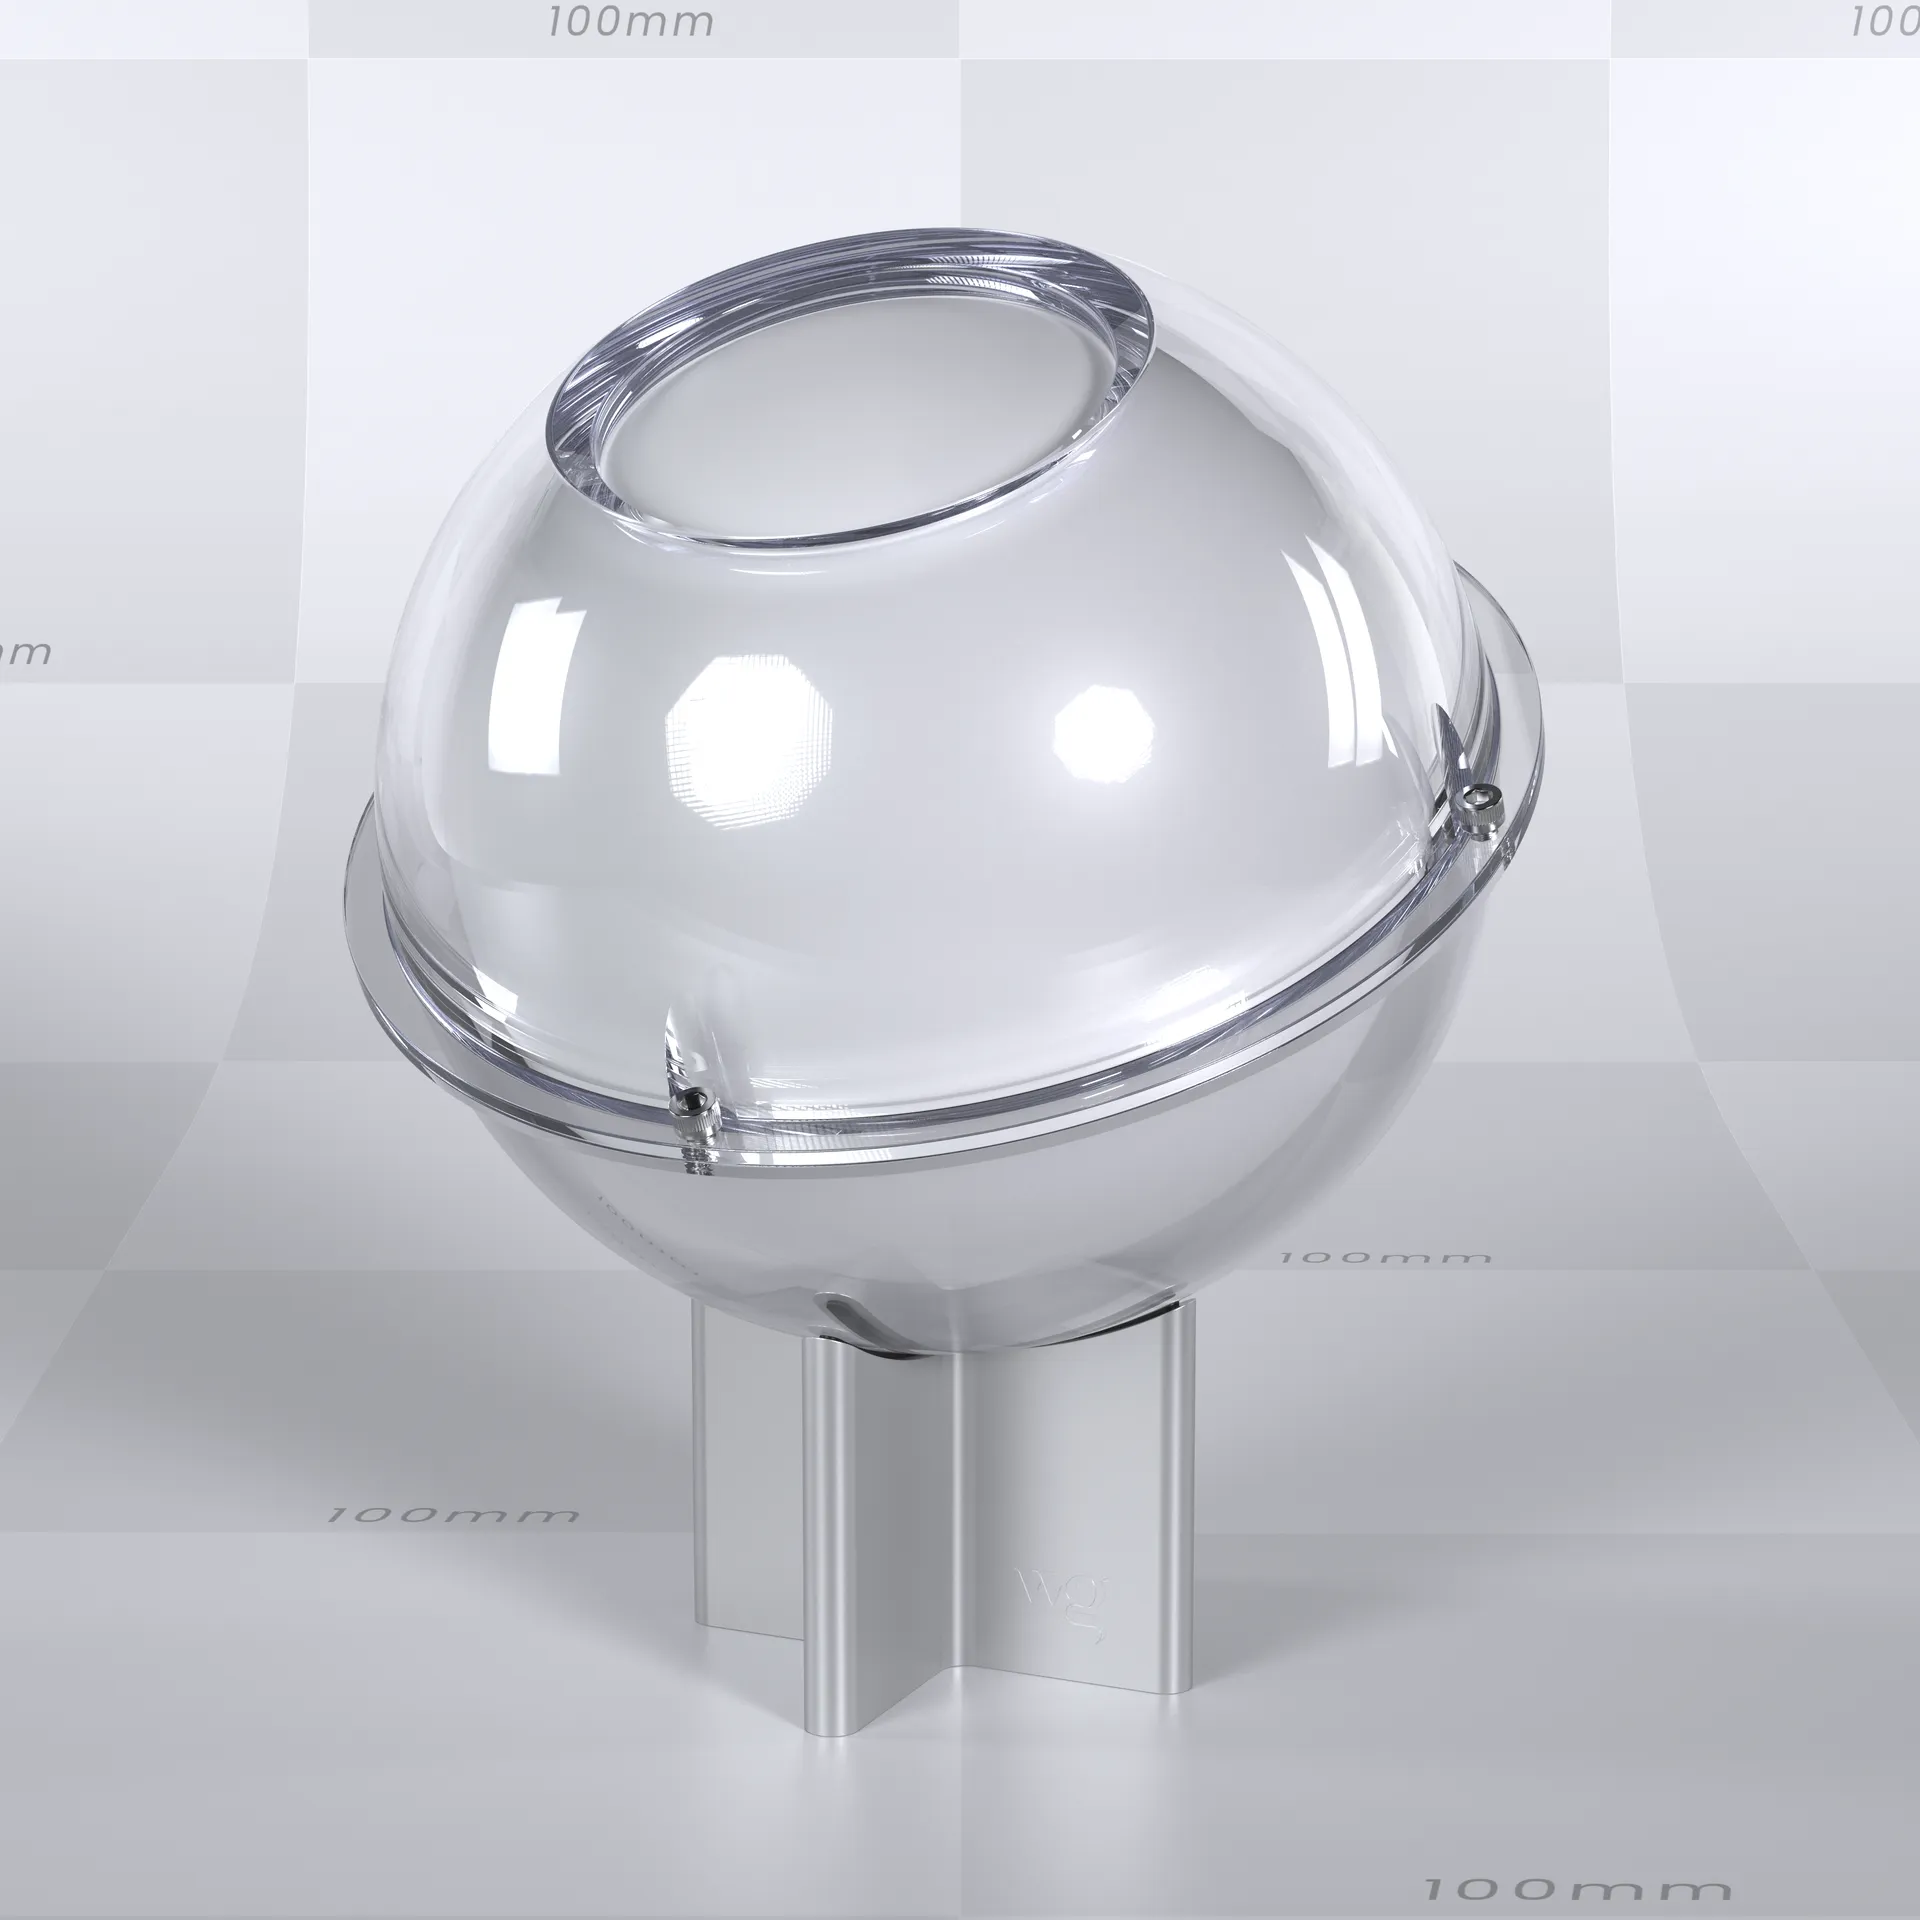
The bonus chapter covers ten materials that come up again and again in real product visualization work, well beyond the bathroom context. These are the surfaces you'll encounter across many different projects: aluminum, polycarbonate, silicone, foam, 3D printed surfaces, water droplets, paper pulp, powdercoat, geometric surface details, and recycled plastic.
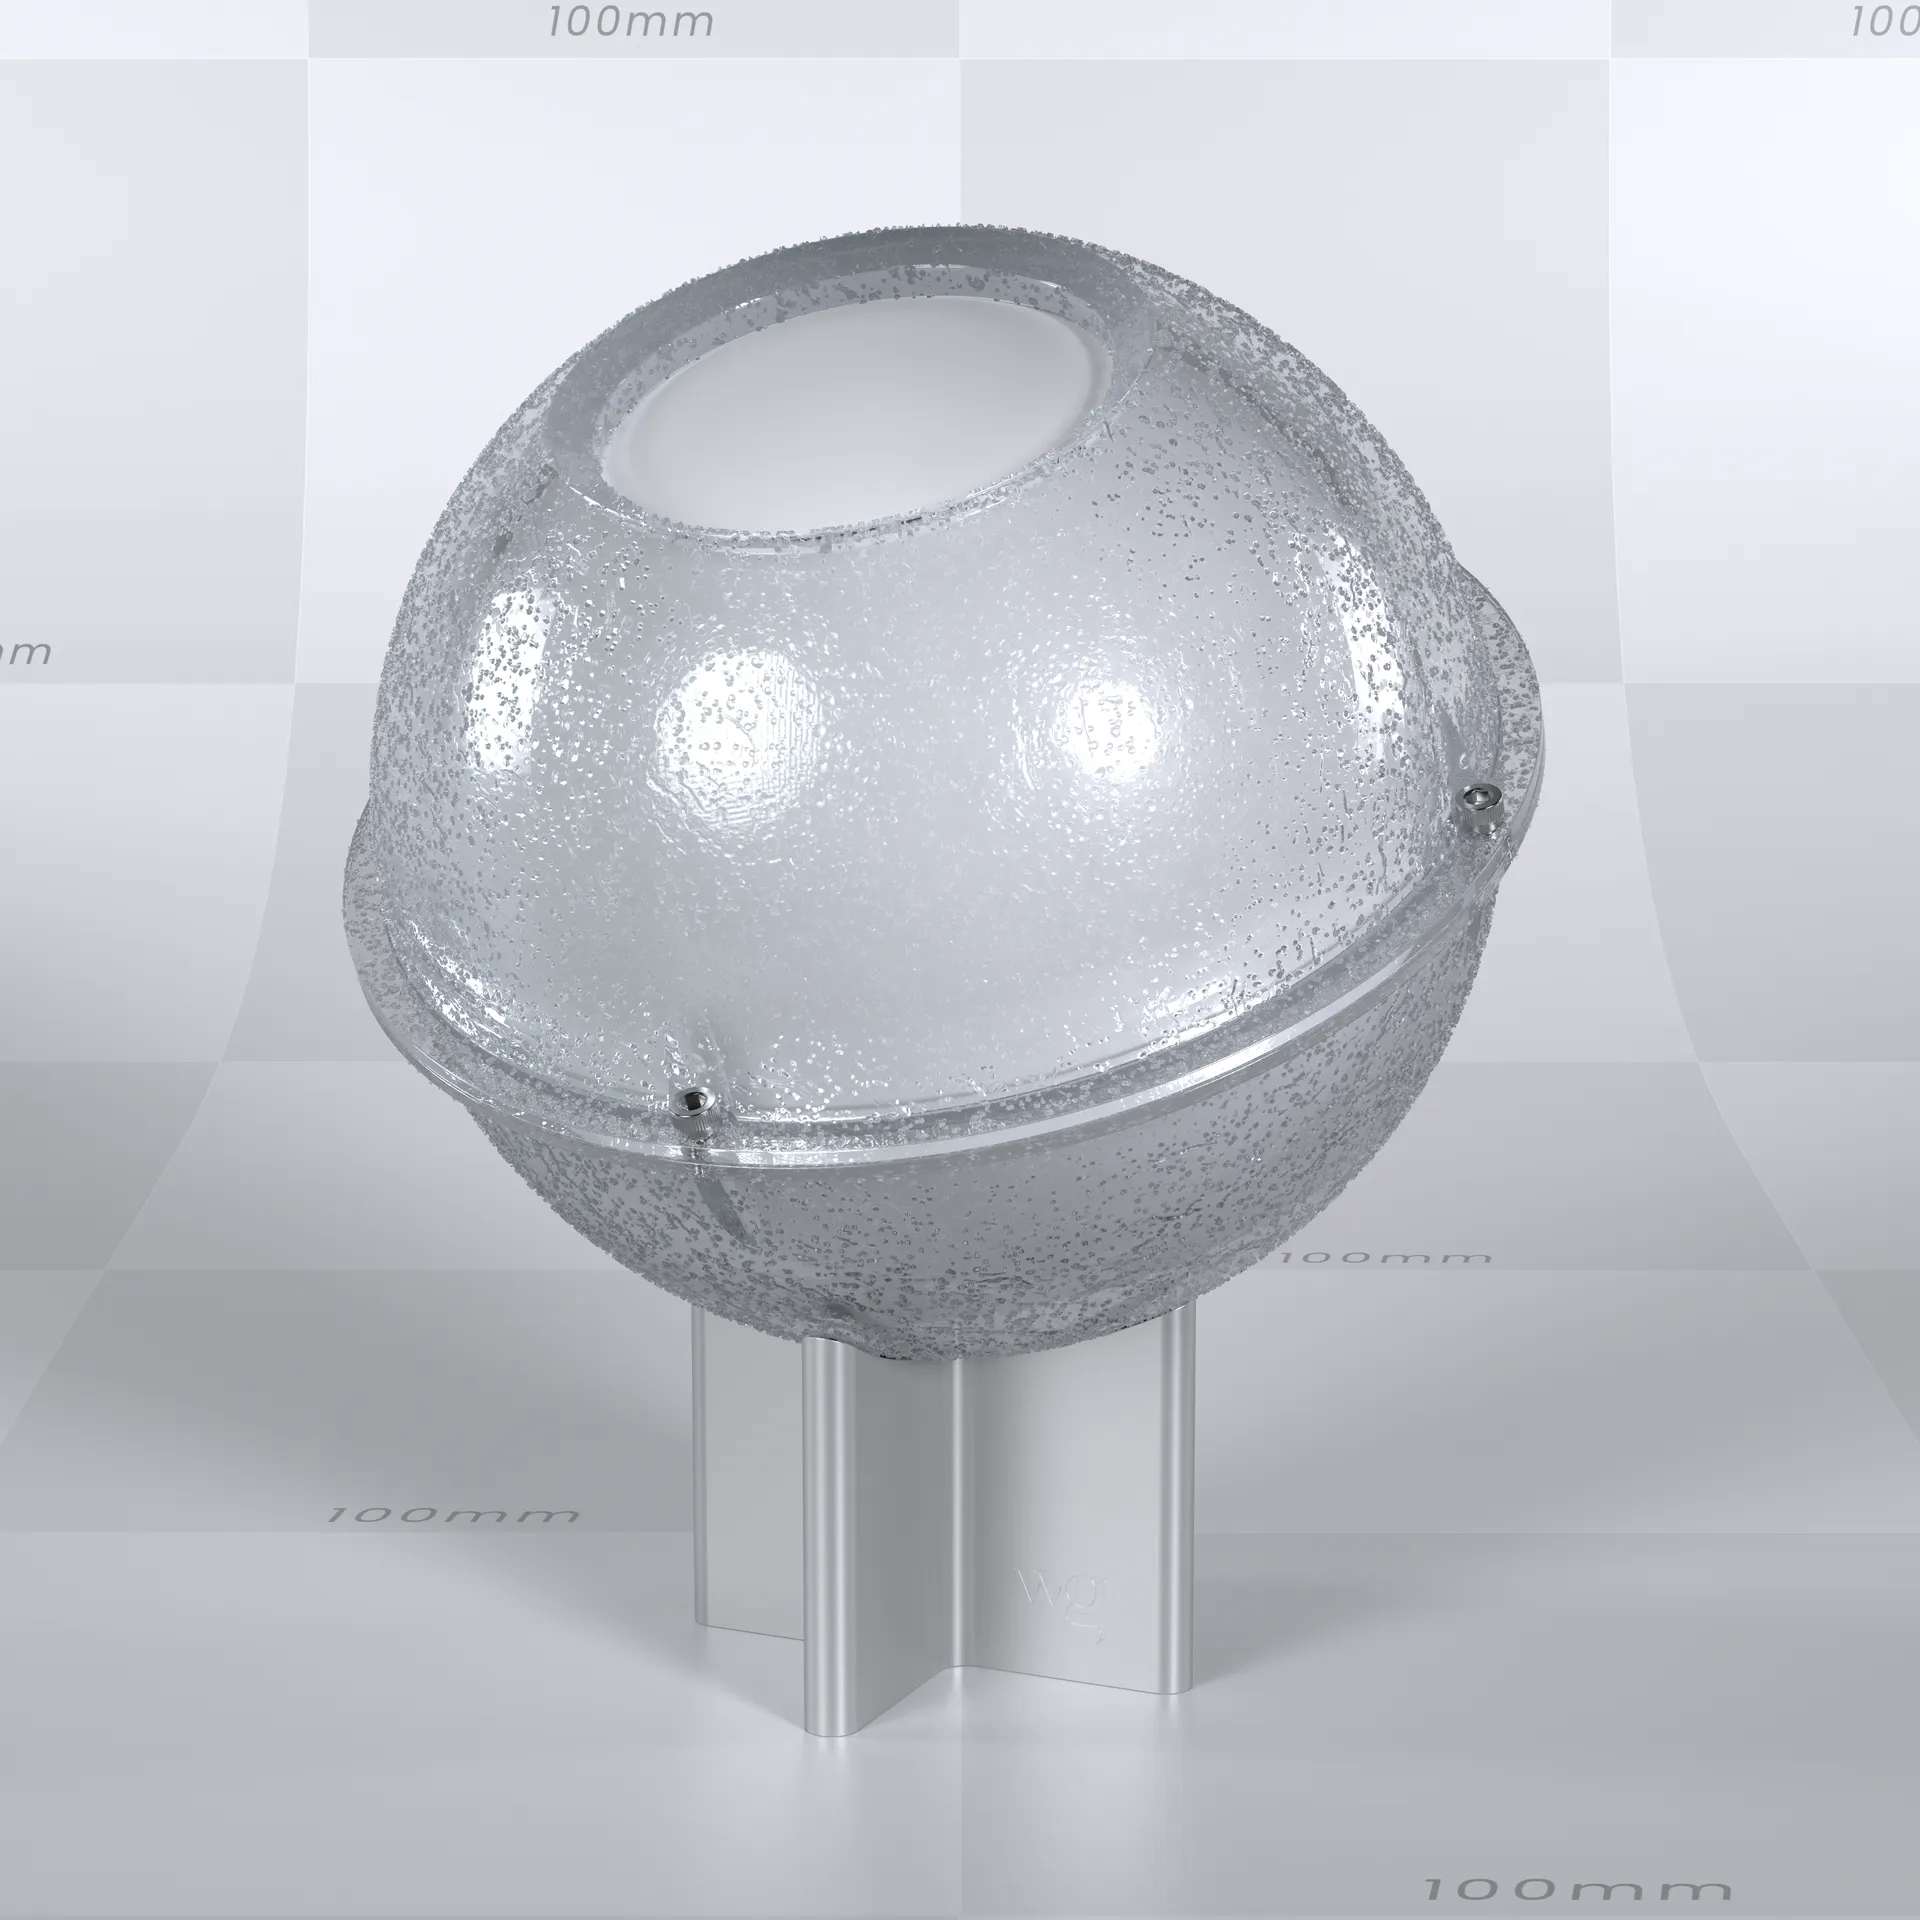
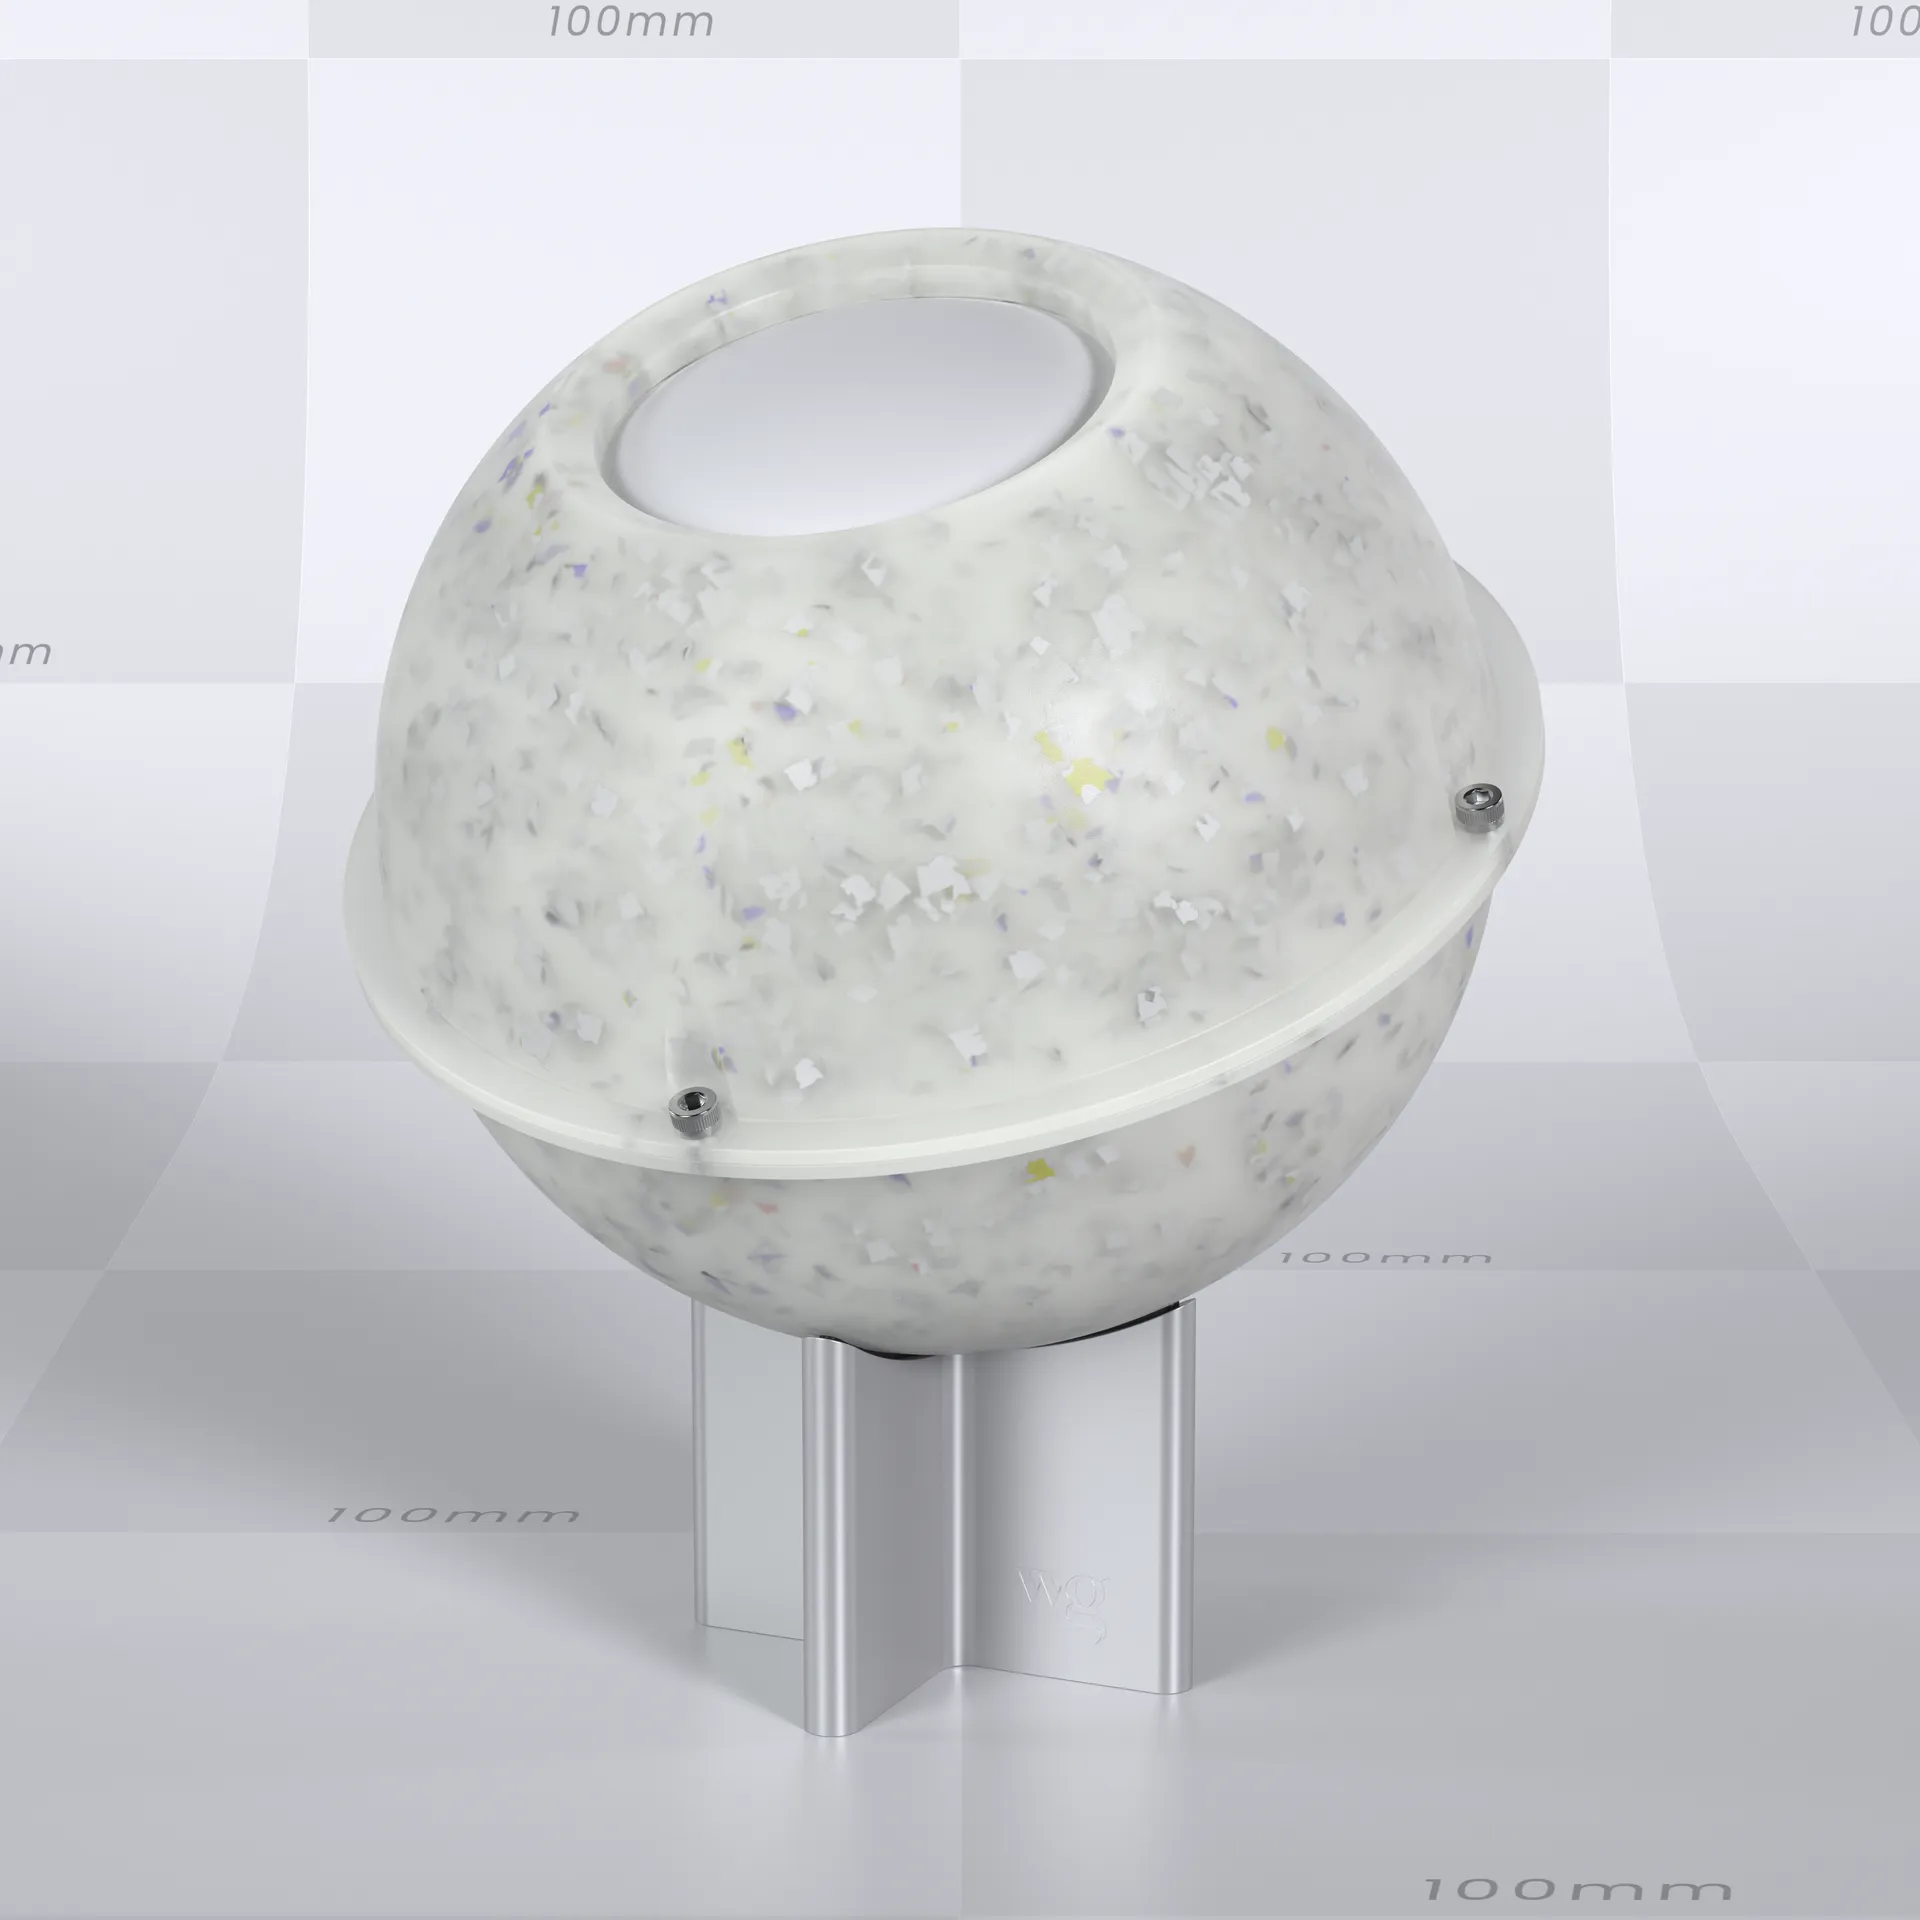
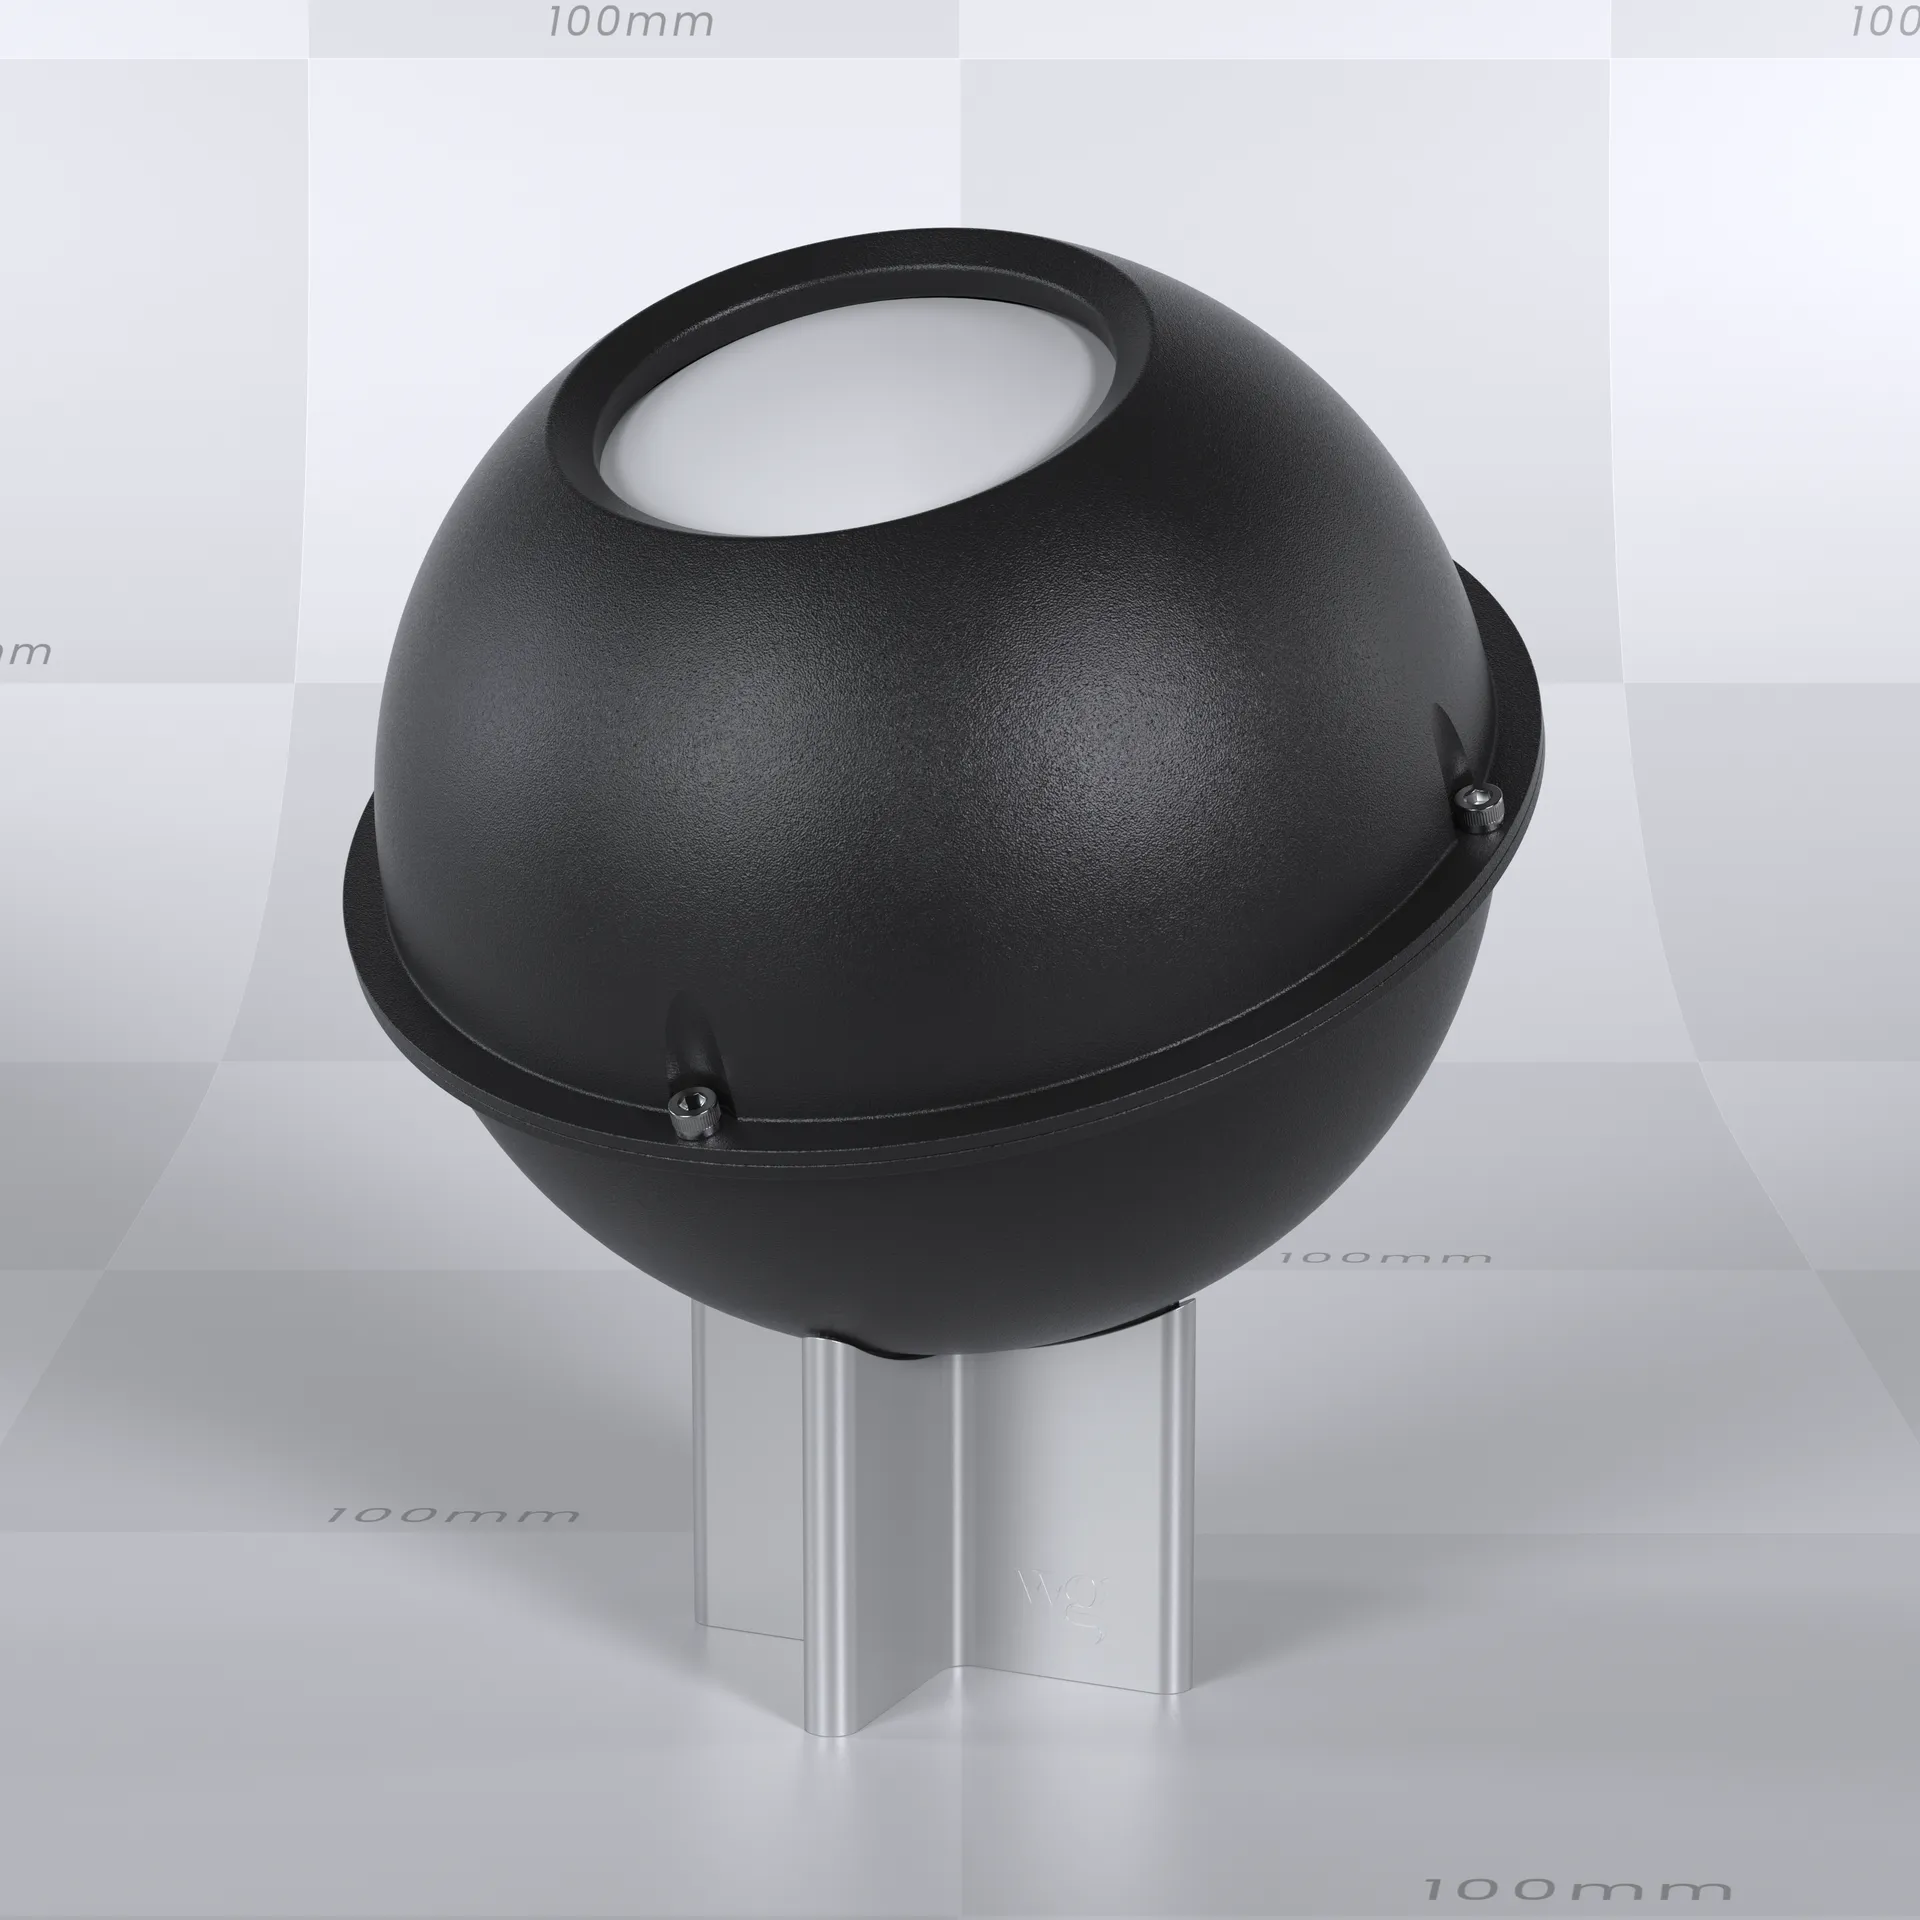
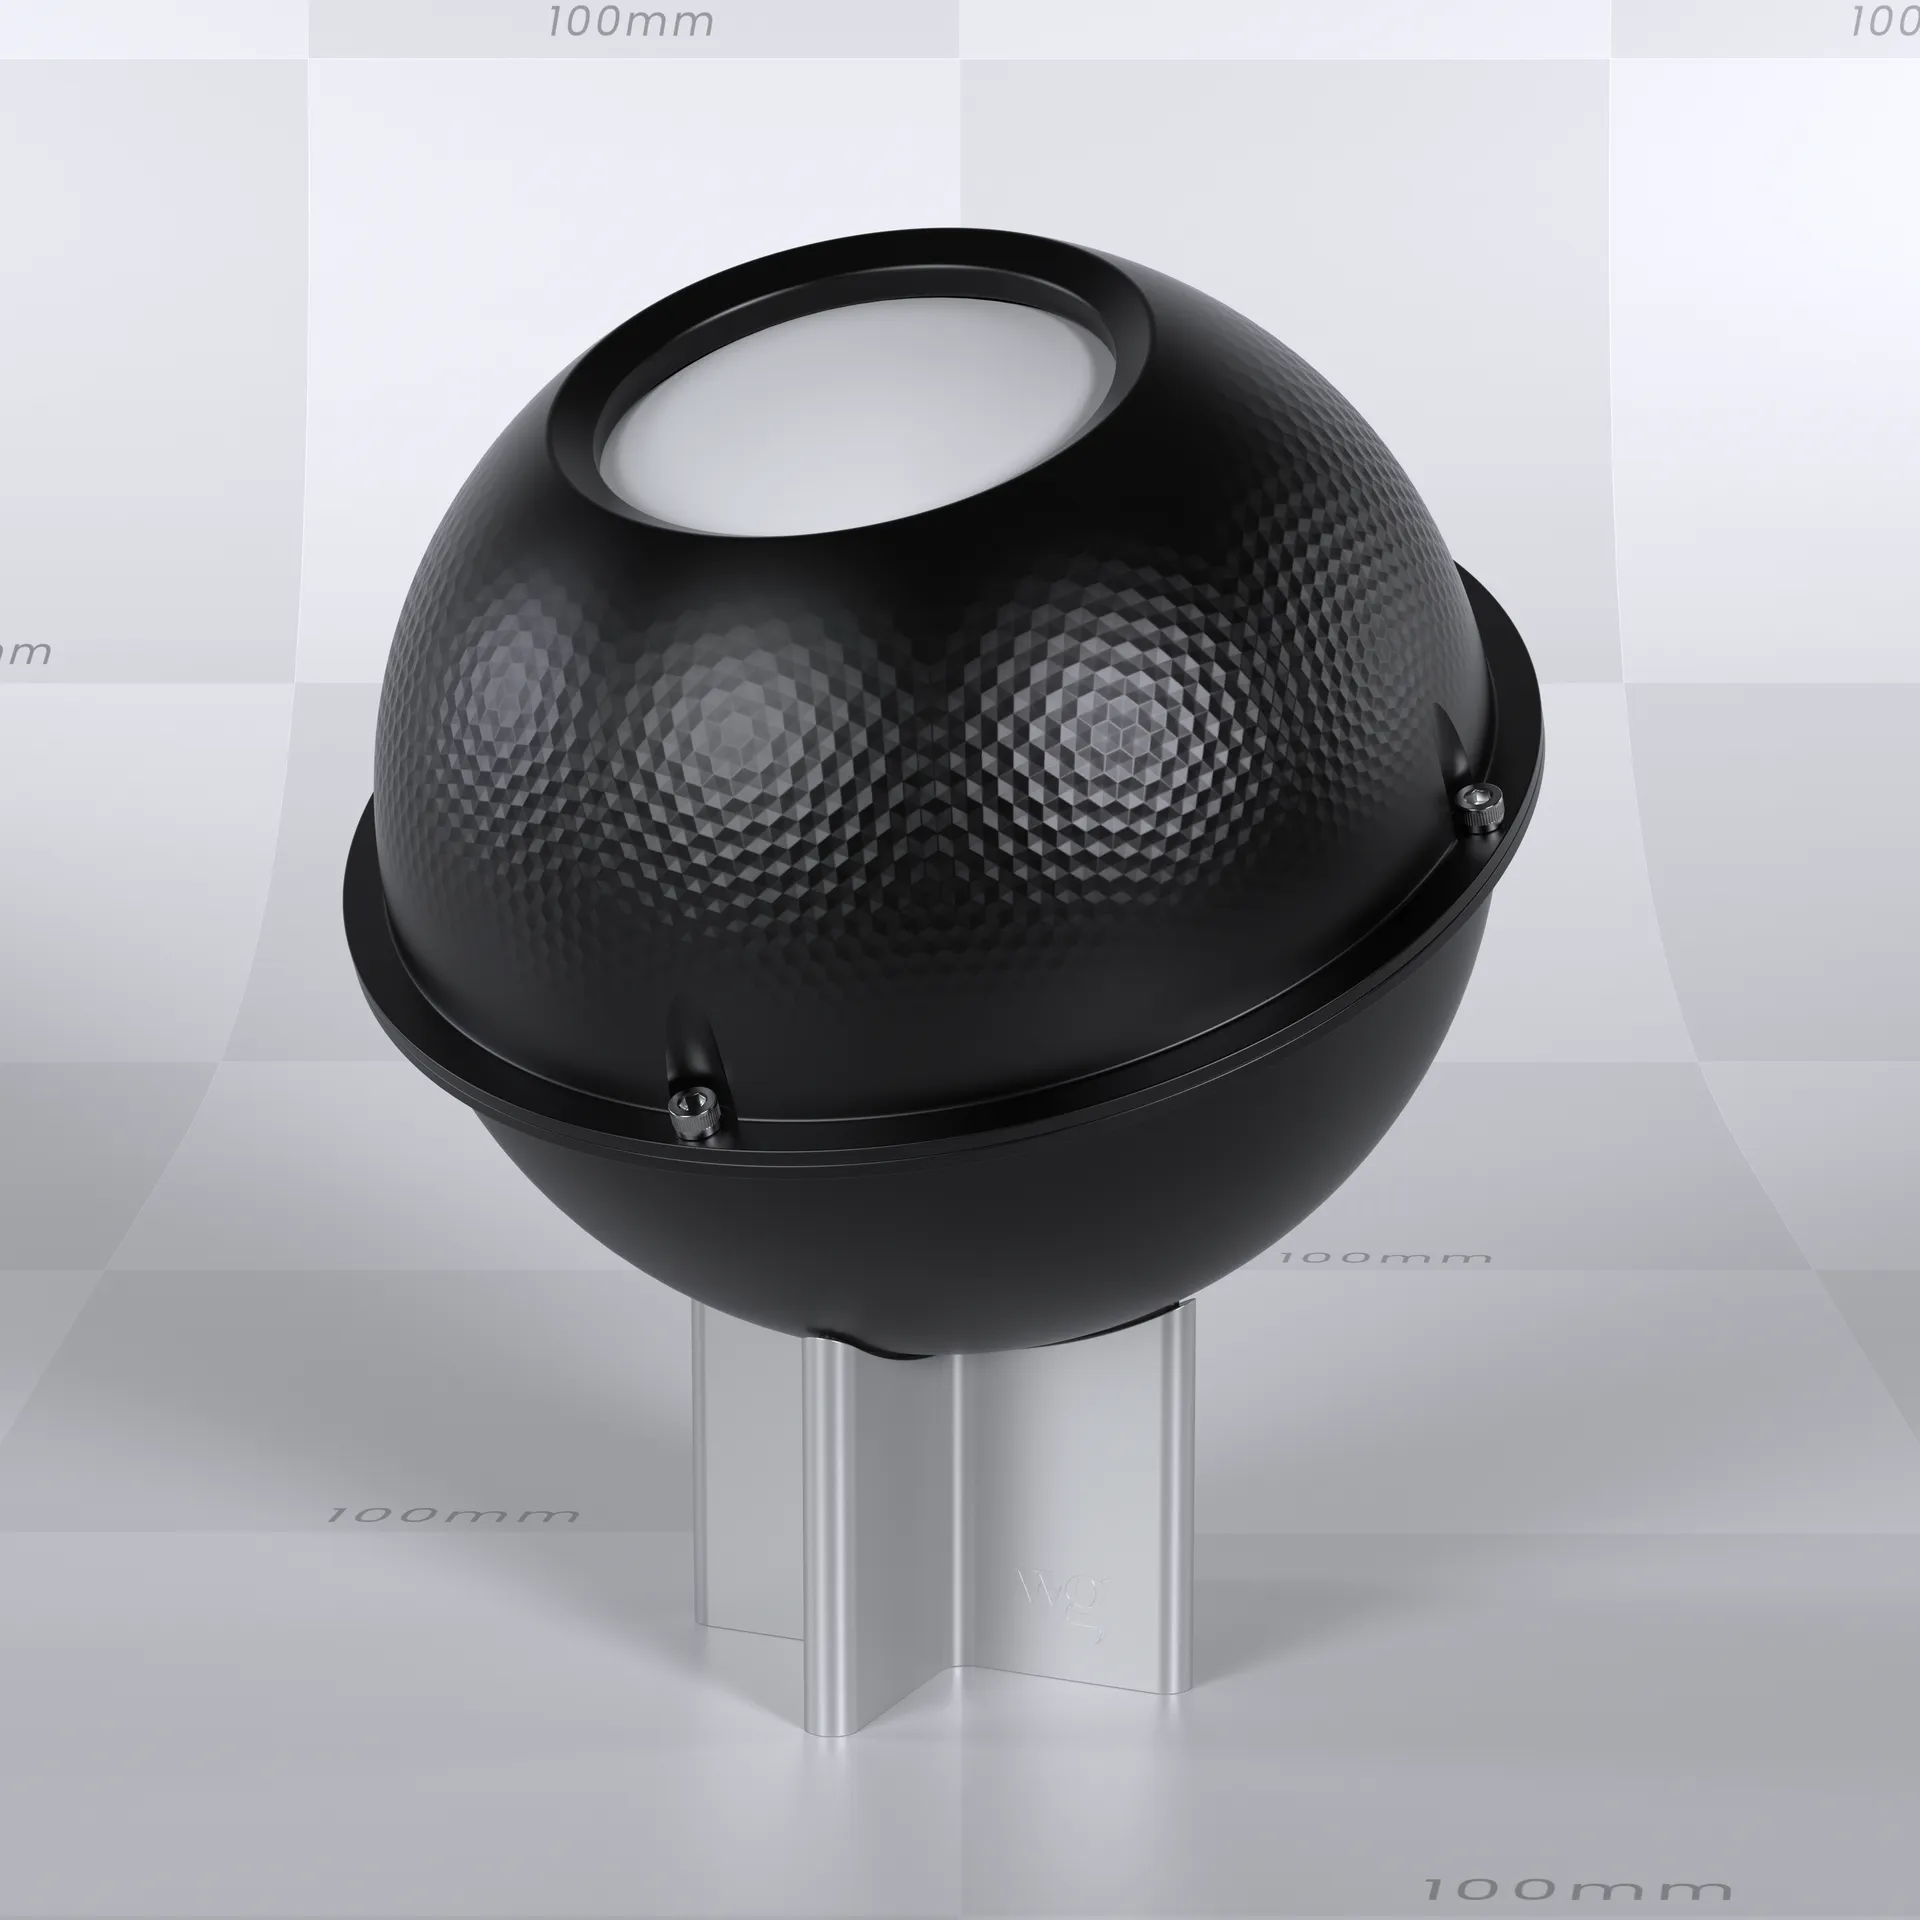
Curious about my teaching style?
Here's a collection of lessons I pulled out from this course so you can give them a watch to see if you like the pacing, my presentation and the teaching style. This collection of lessons represent the entire collection. If you like what you see here, you'll like the rest of the lessons.
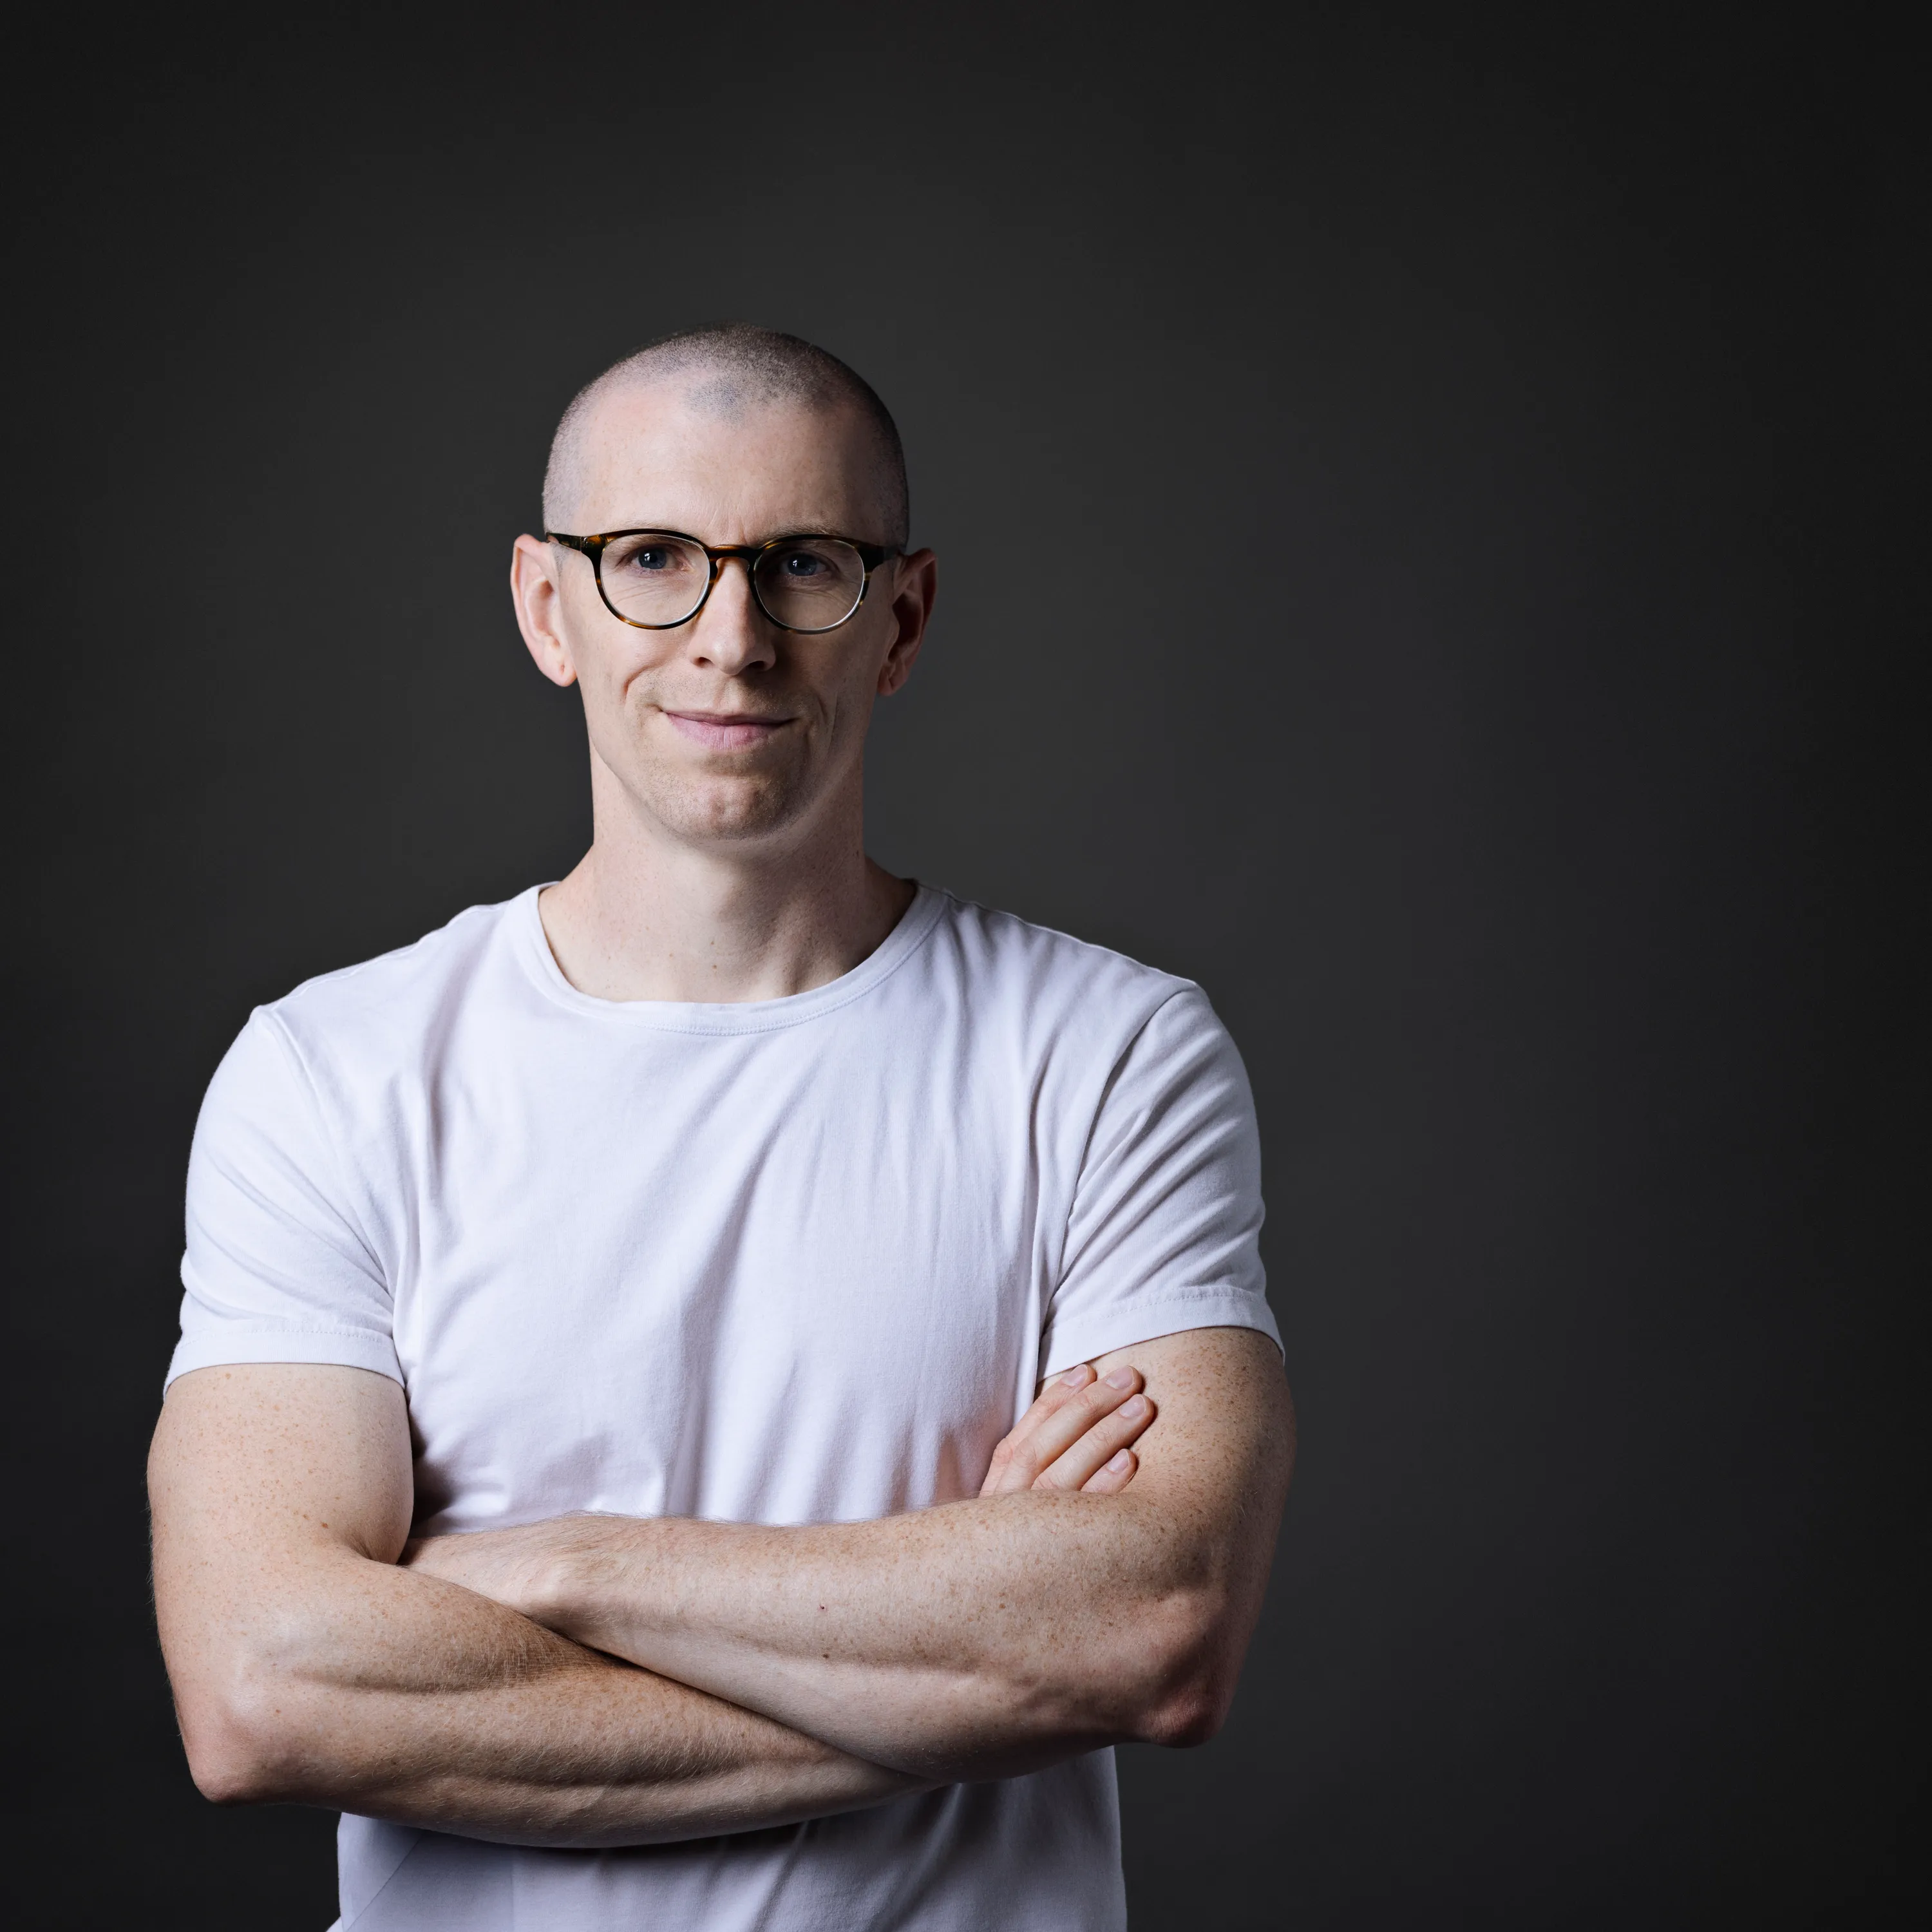
Meet your KeyShot instructor
Since then I've started my own visualization studio and taught thousands of students through my courses. I built this one to give you the shortcut I never had — the real techniques and workflows, without the years of trial and error it took me to find them.



What if you don't like the course?
While I have done my best to create an amazing course and describe it accurately, I understand that I can't please everybody.
If you take the course and feel like I did not deliver on the value I promised, just email me asking for a refund. I will issue one.
To be eligible for a refund, the request must be made less than 90 days from date of purchase.



