3M™ Command™ Brand
The 3M™ Command Brand line, including their Picture Hanging Strips™ and adhesive hooks, is one of the most recognizable product families on shelves anywhere. When 3M™ shifted part of this line from clear plastic blister packaging to paper carton packaging, a more sustainable format, they needed a new way to show the product on the box. I was brought on to create the renderings, working closely with the design team at 3M™.
The Challenge
Clear plastic packaging lets the product sell itself. Paper cartons don't. The move to sustainable packaging meant the product customers were used to seeing through the pack had to be represented with images, and 3M™ chose rendering over traditional photography to do it.
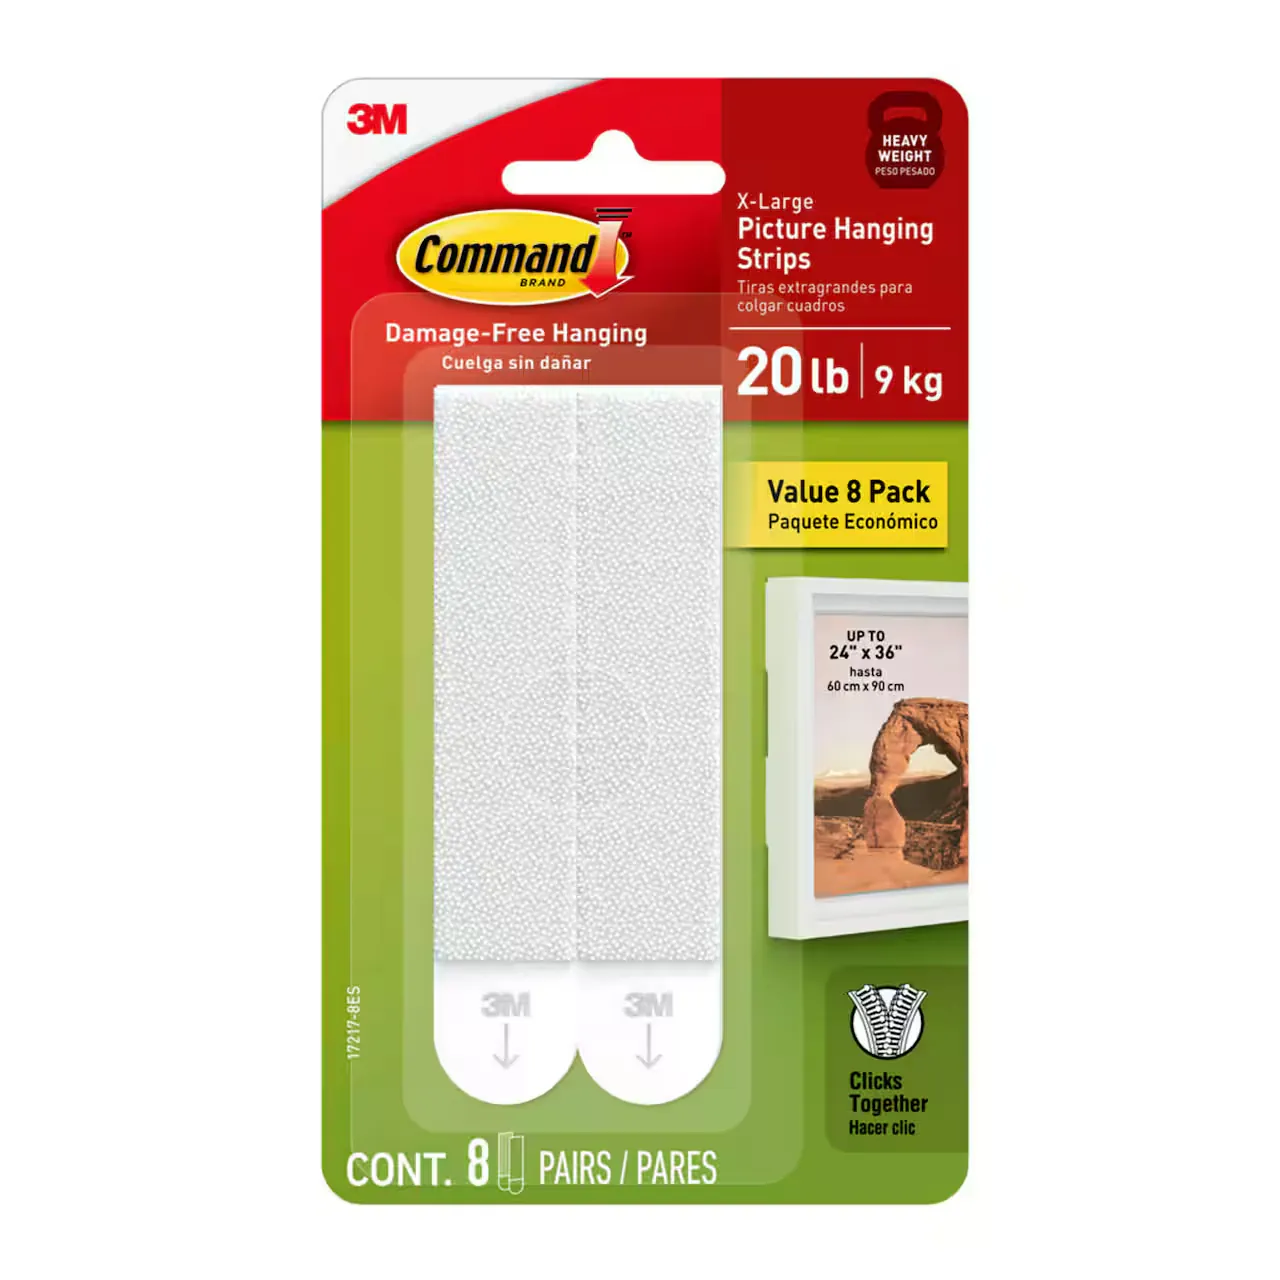
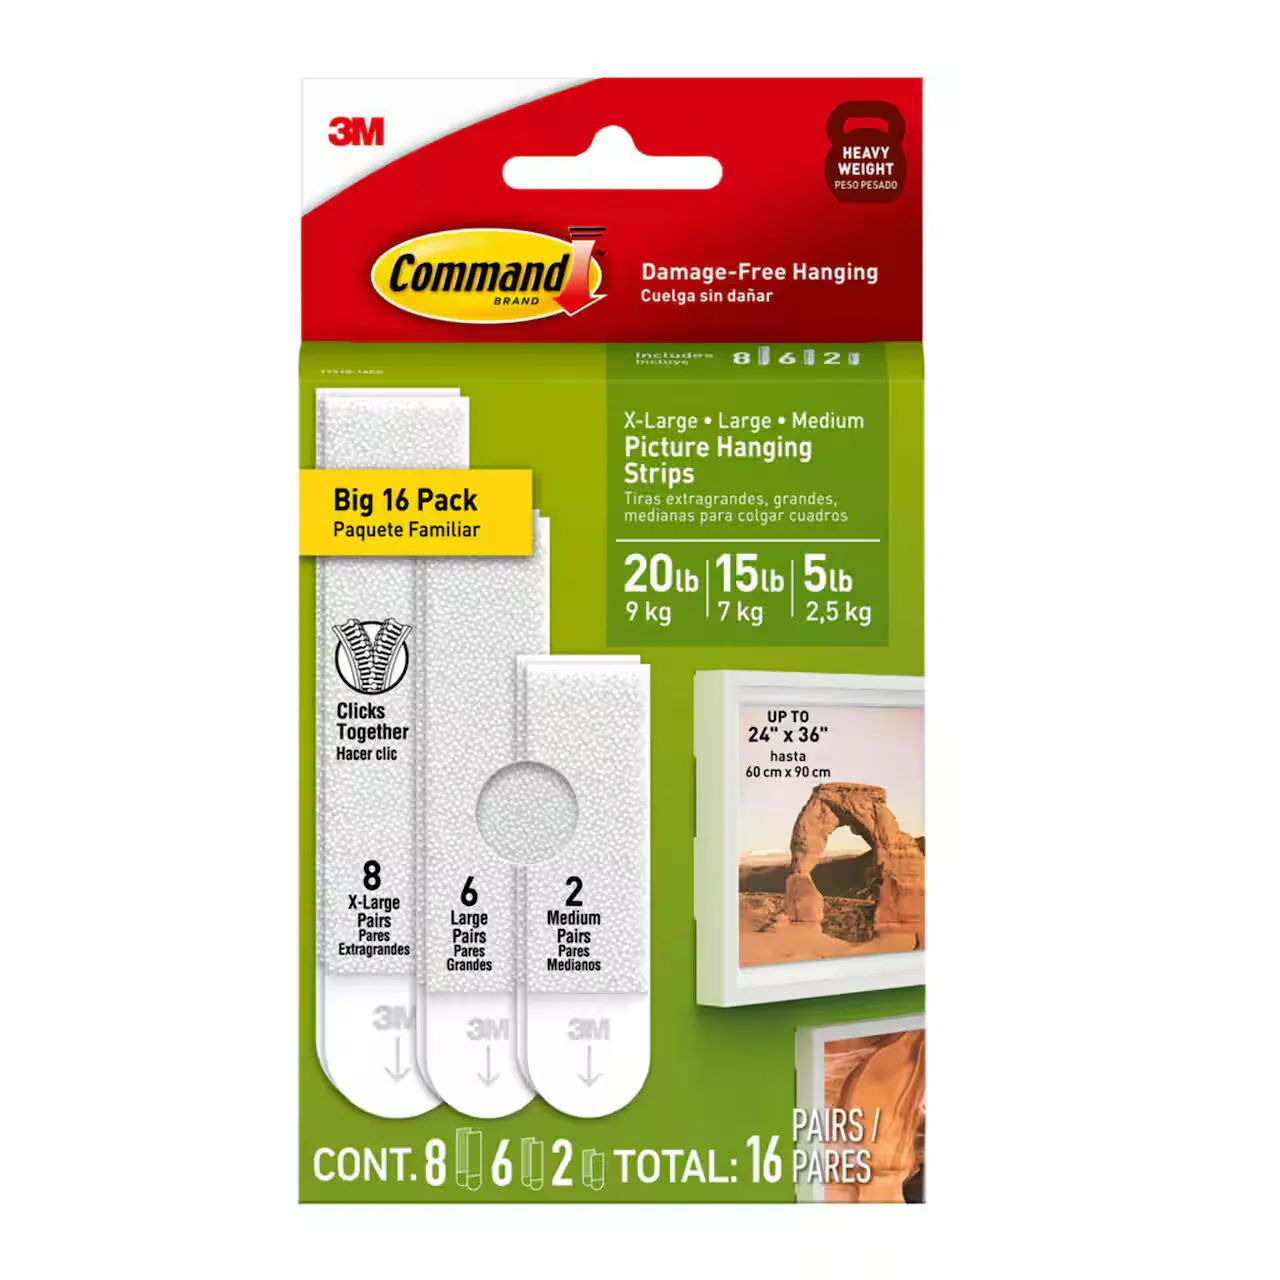
The project ran across several phases: CAD preparation, look development, KeyShot scene setup, artwork preparation, and final rendering, covering the Command Picture Hanging Strips™ and their companion picture frames across multiple sizes and weight capacities, in both white and black finishes.
Look Development
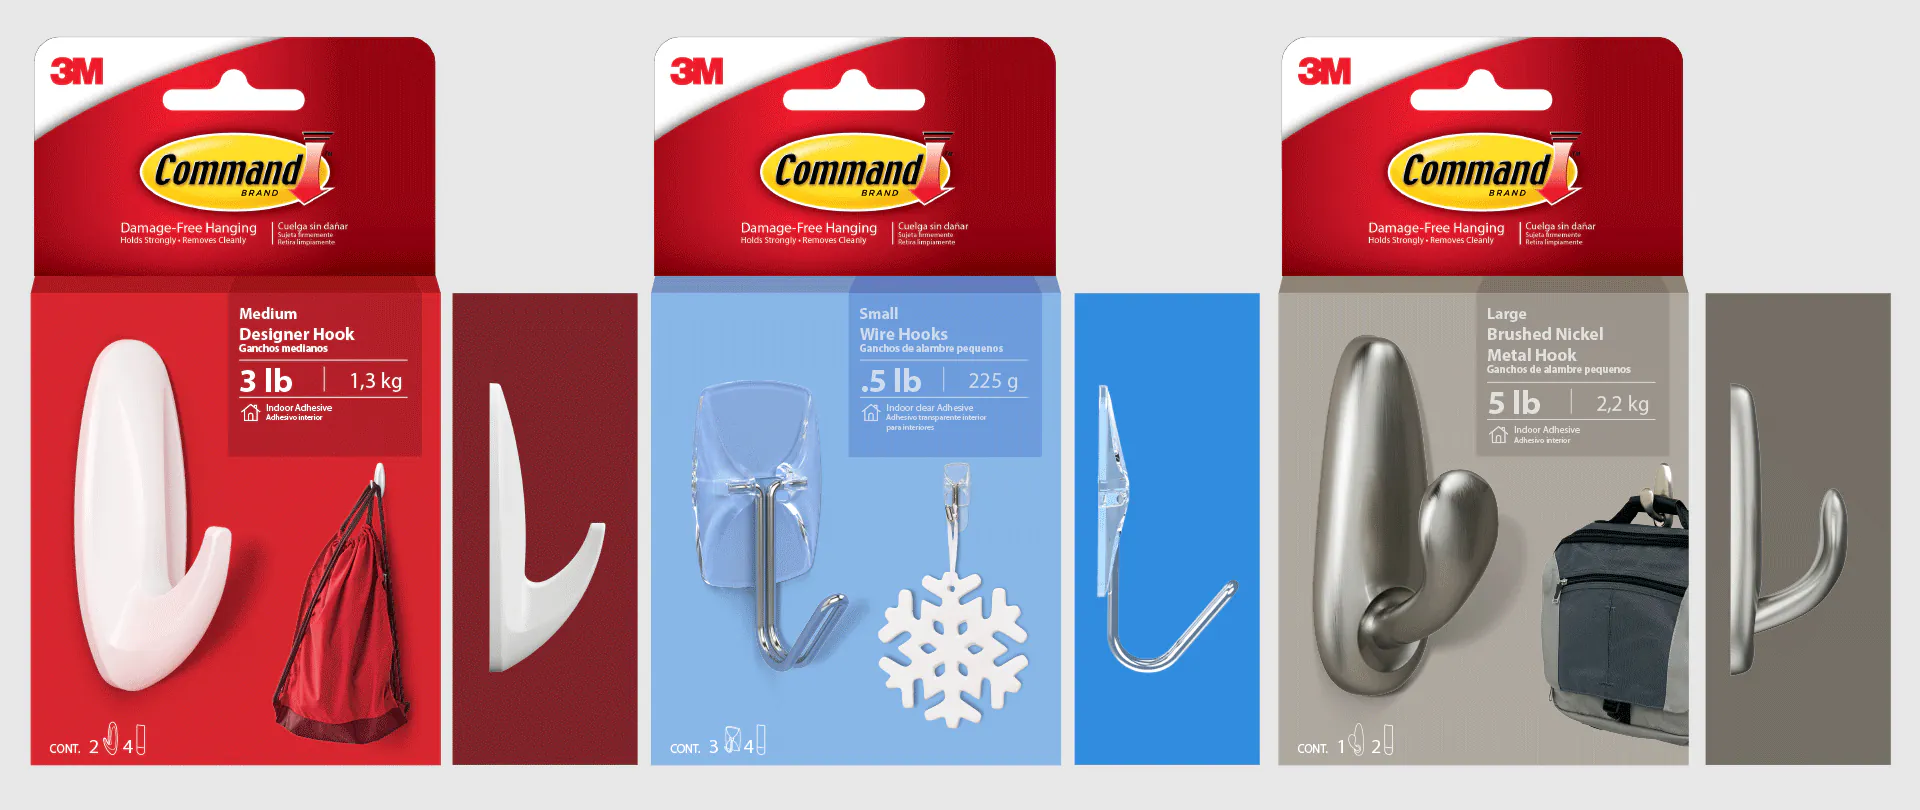
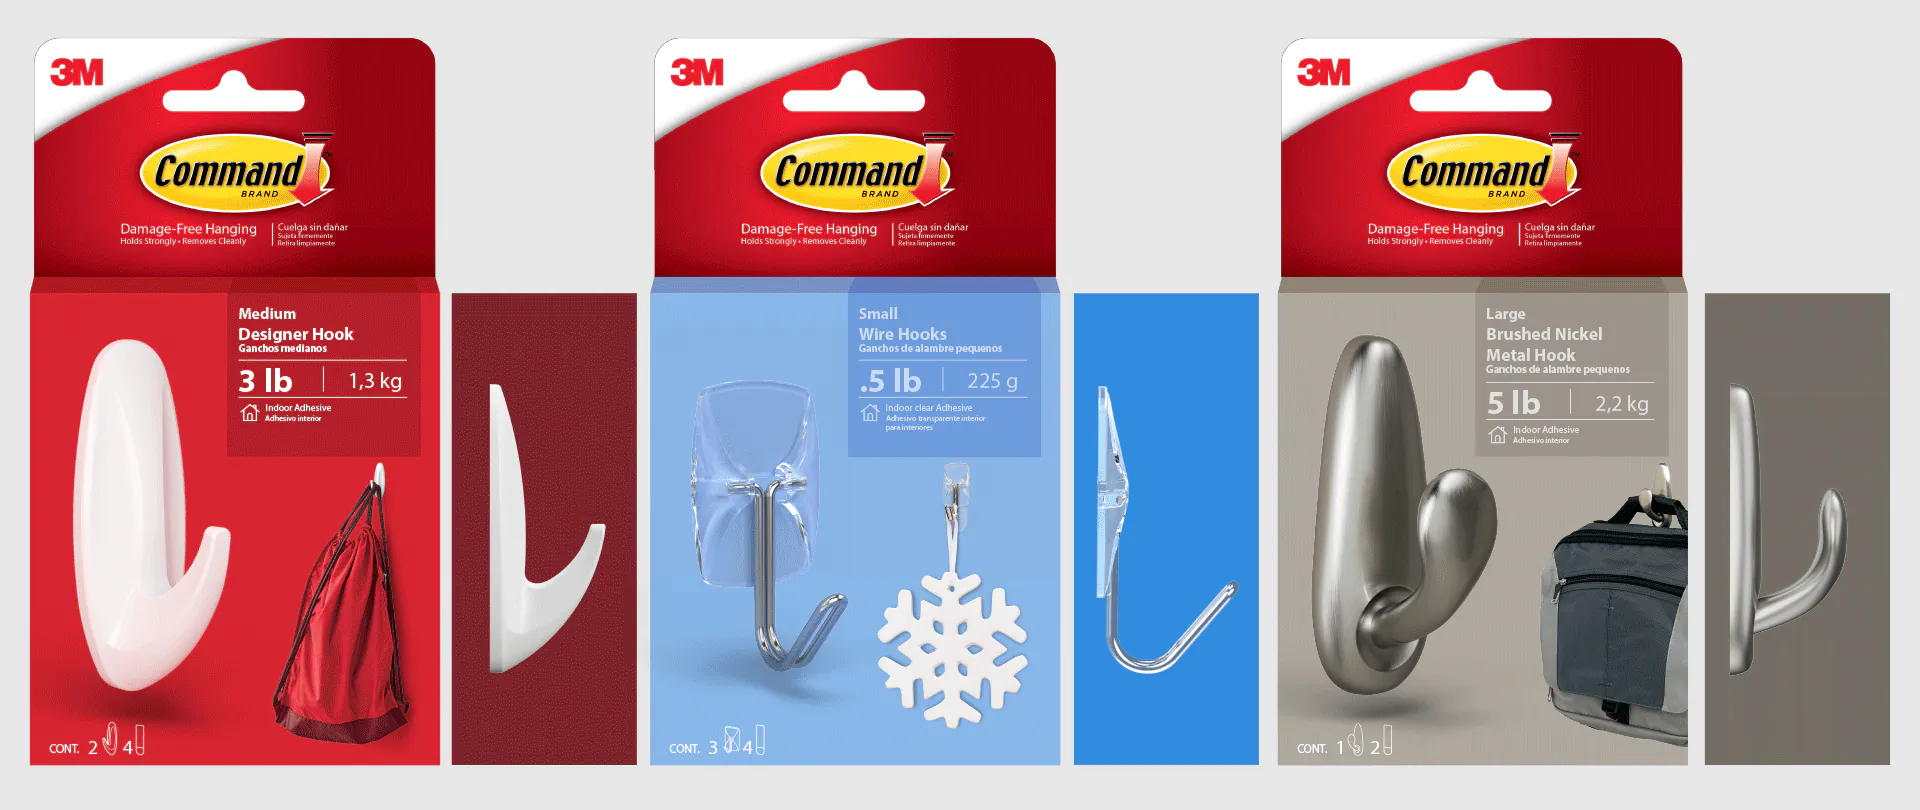
Before any final renders were produced, I proposed three concepts for how the packaging imagery be styled. Given how well-defined the requirements for this imagery, most of the attention went to exploring different ways the shadows that help anchor the products could be handled.
The Modeling Challenge
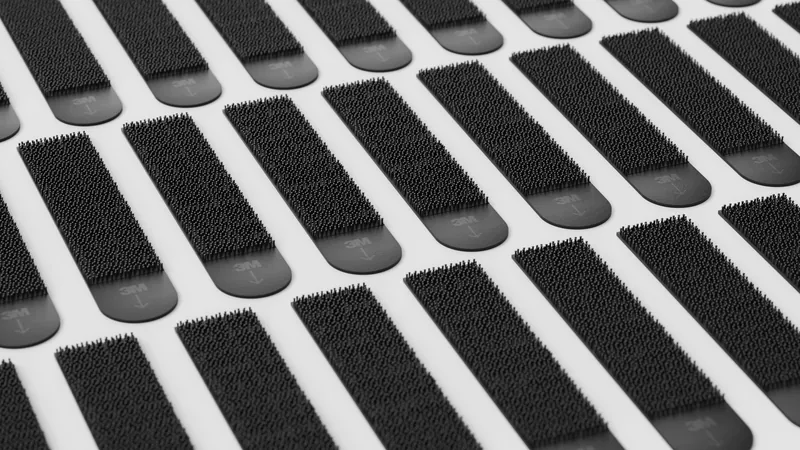
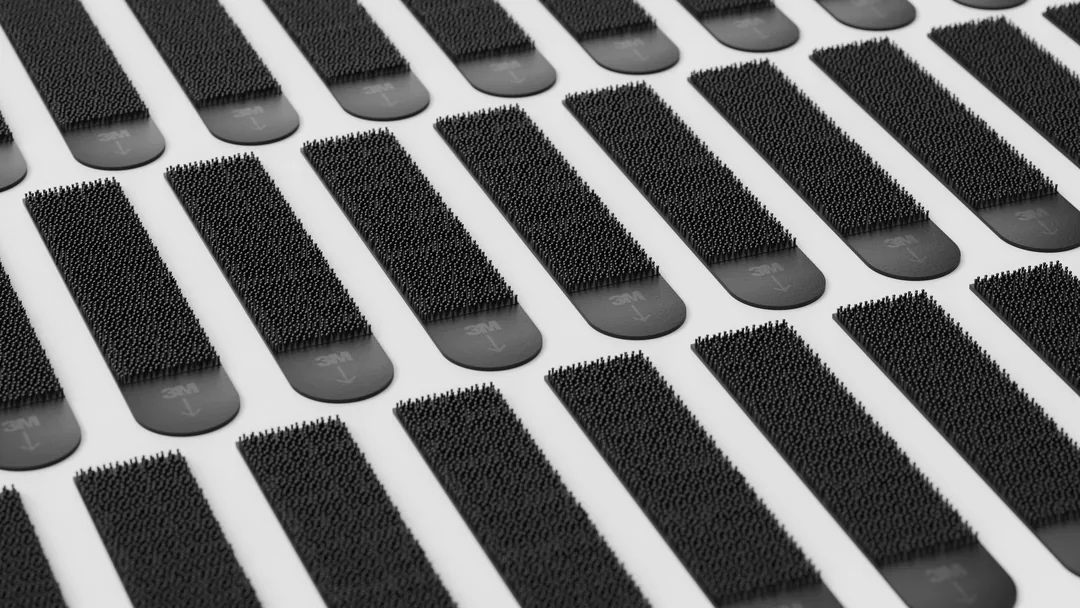
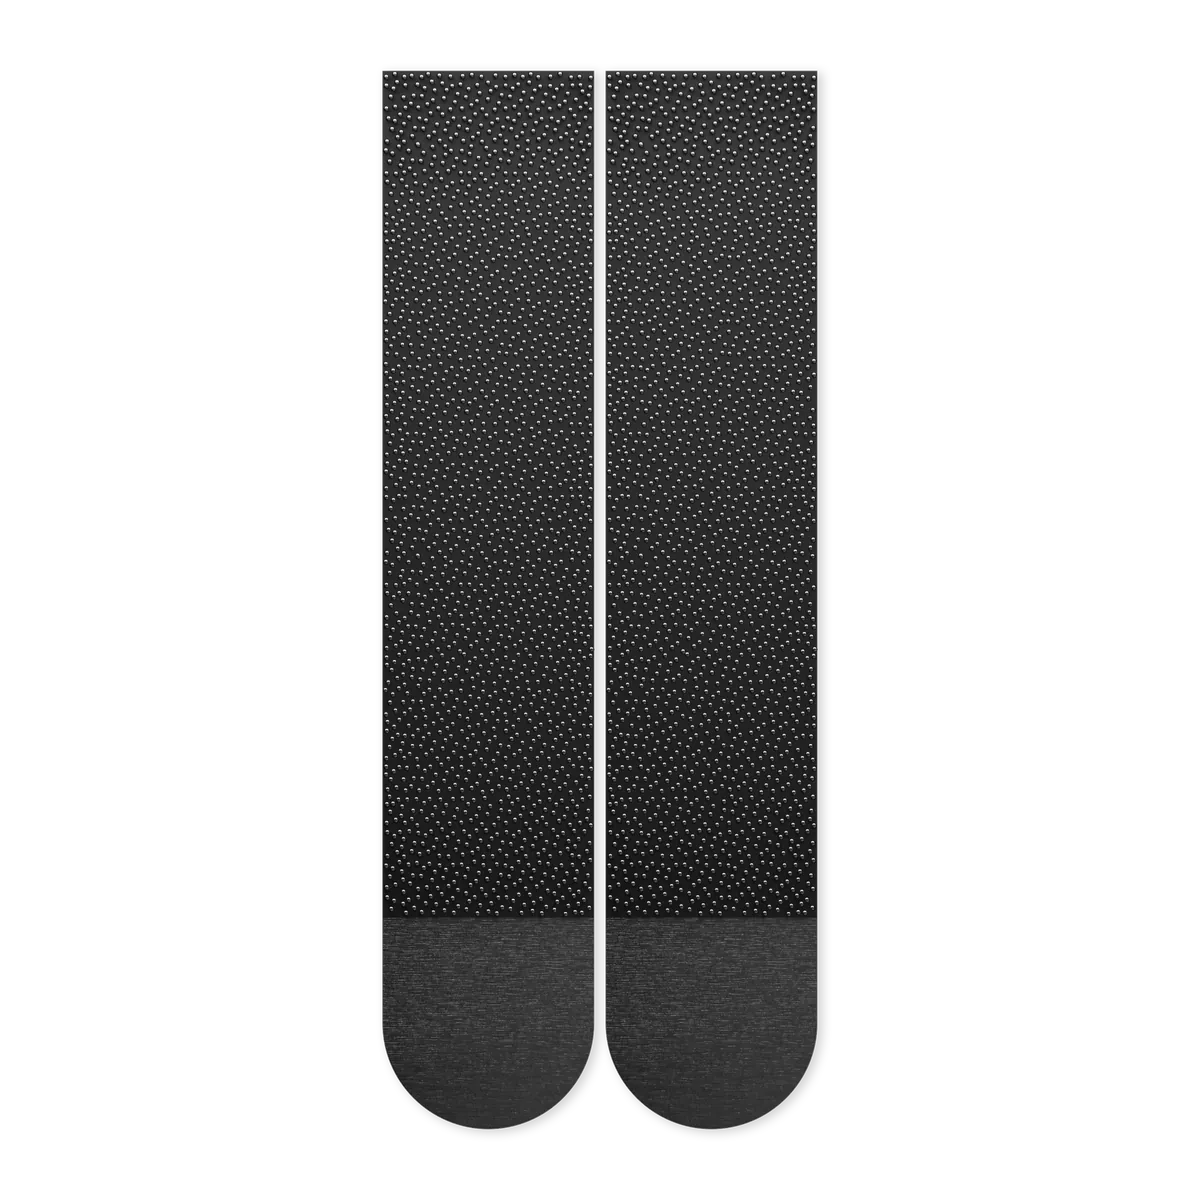
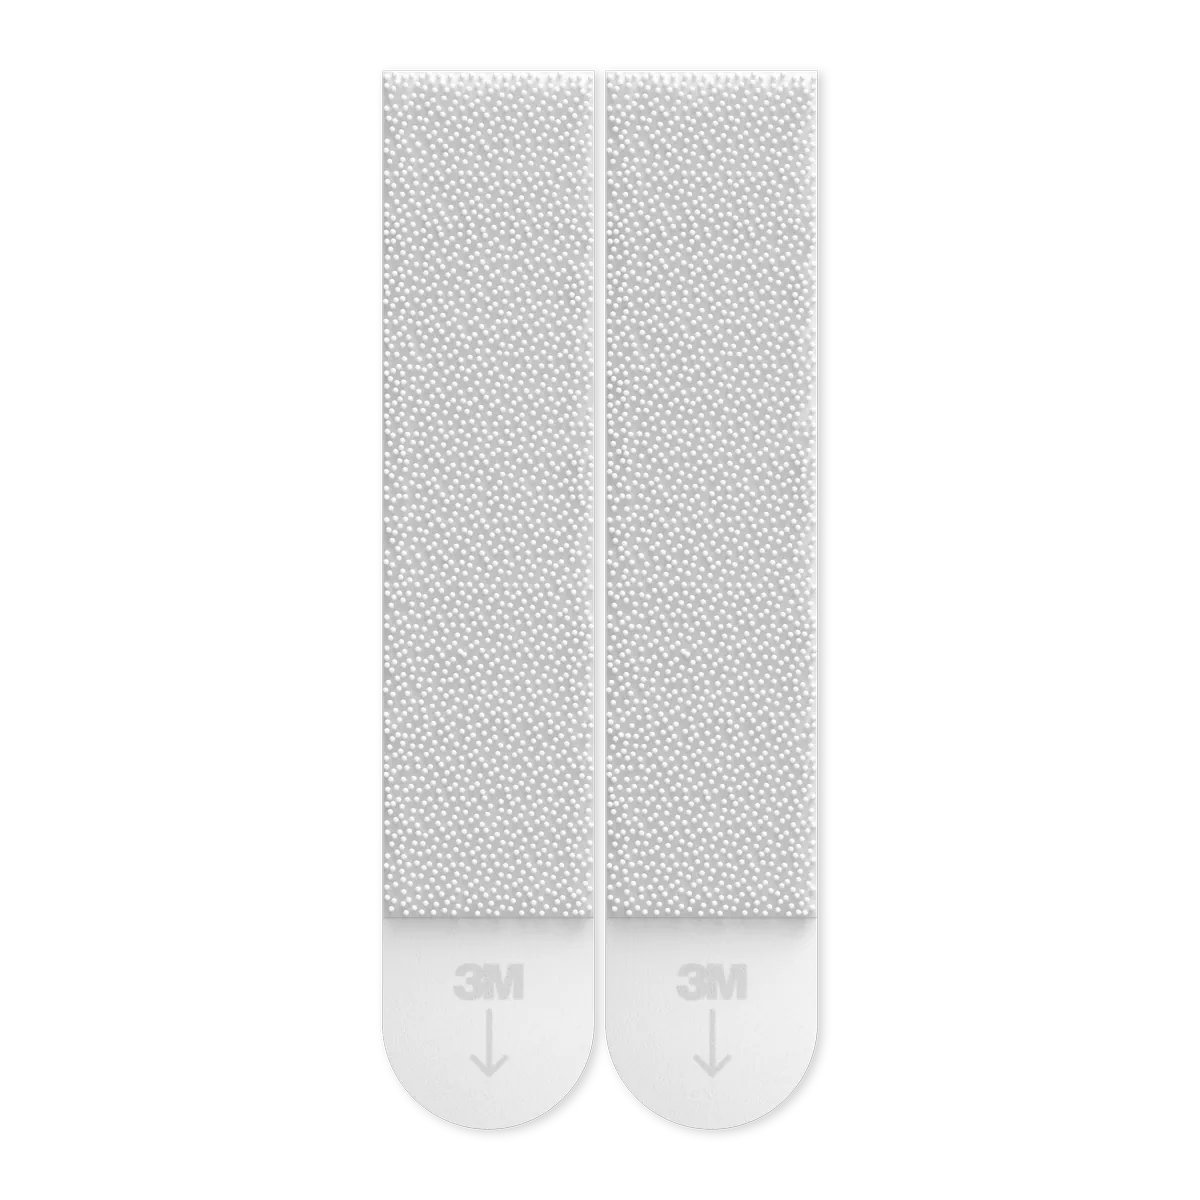
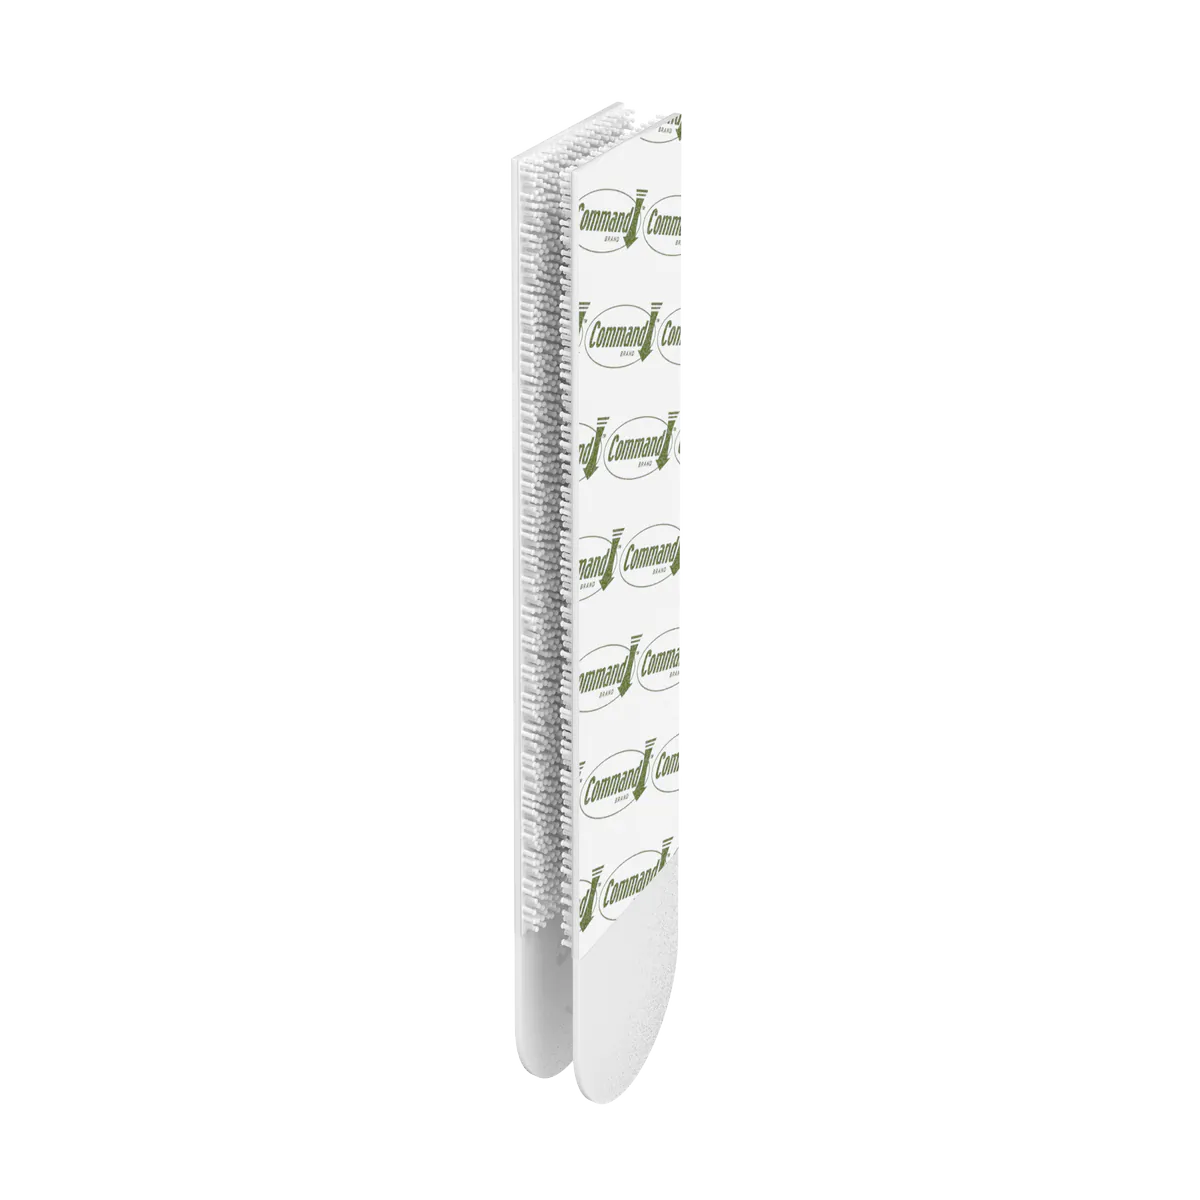
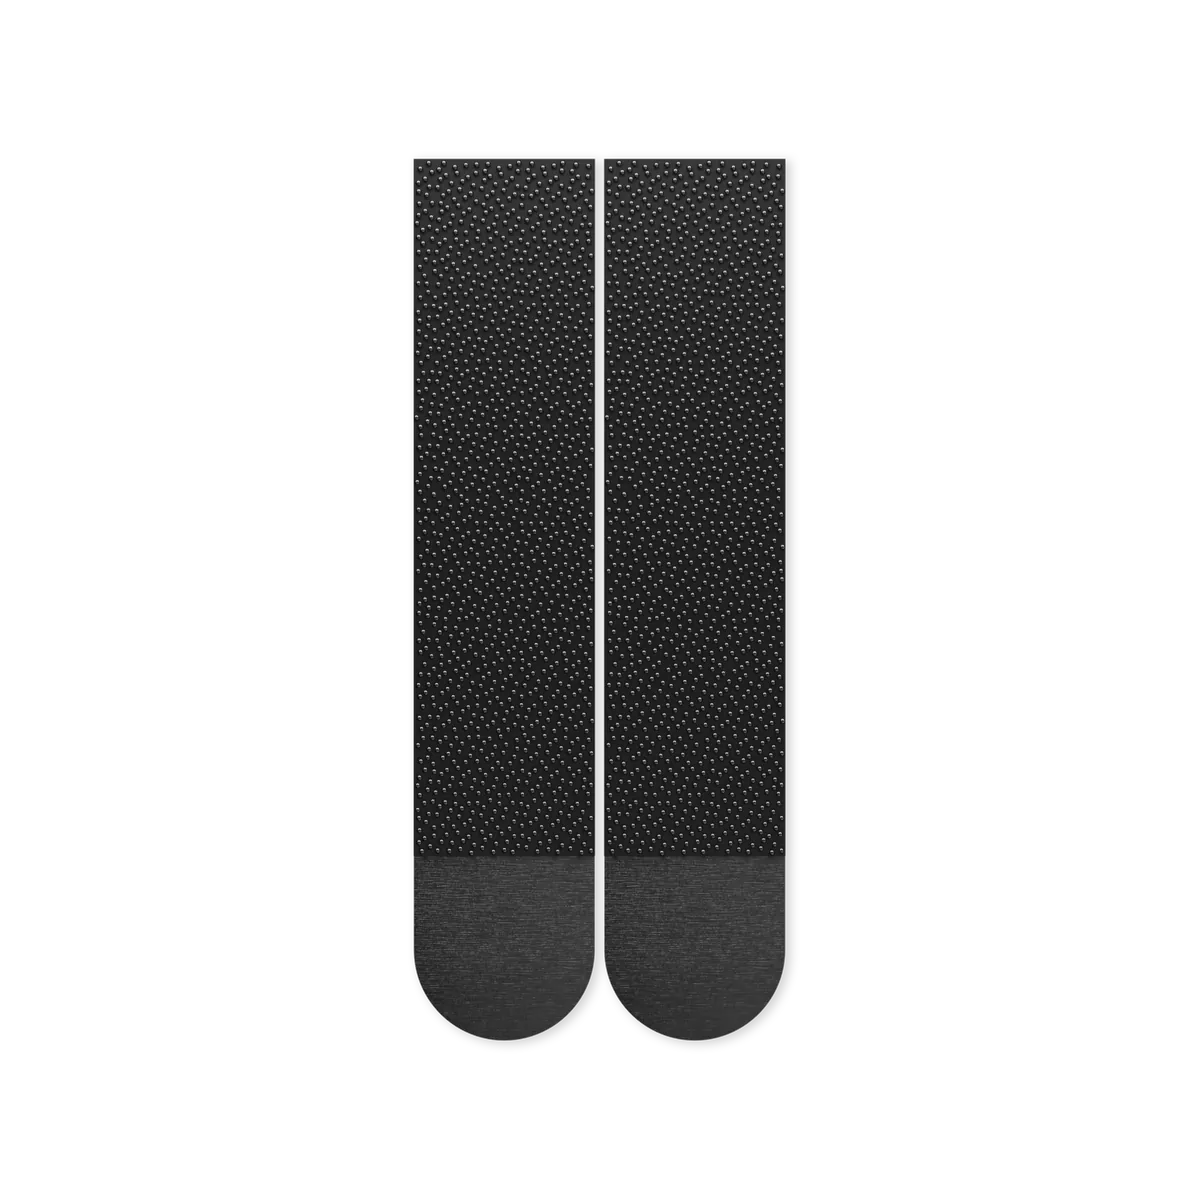
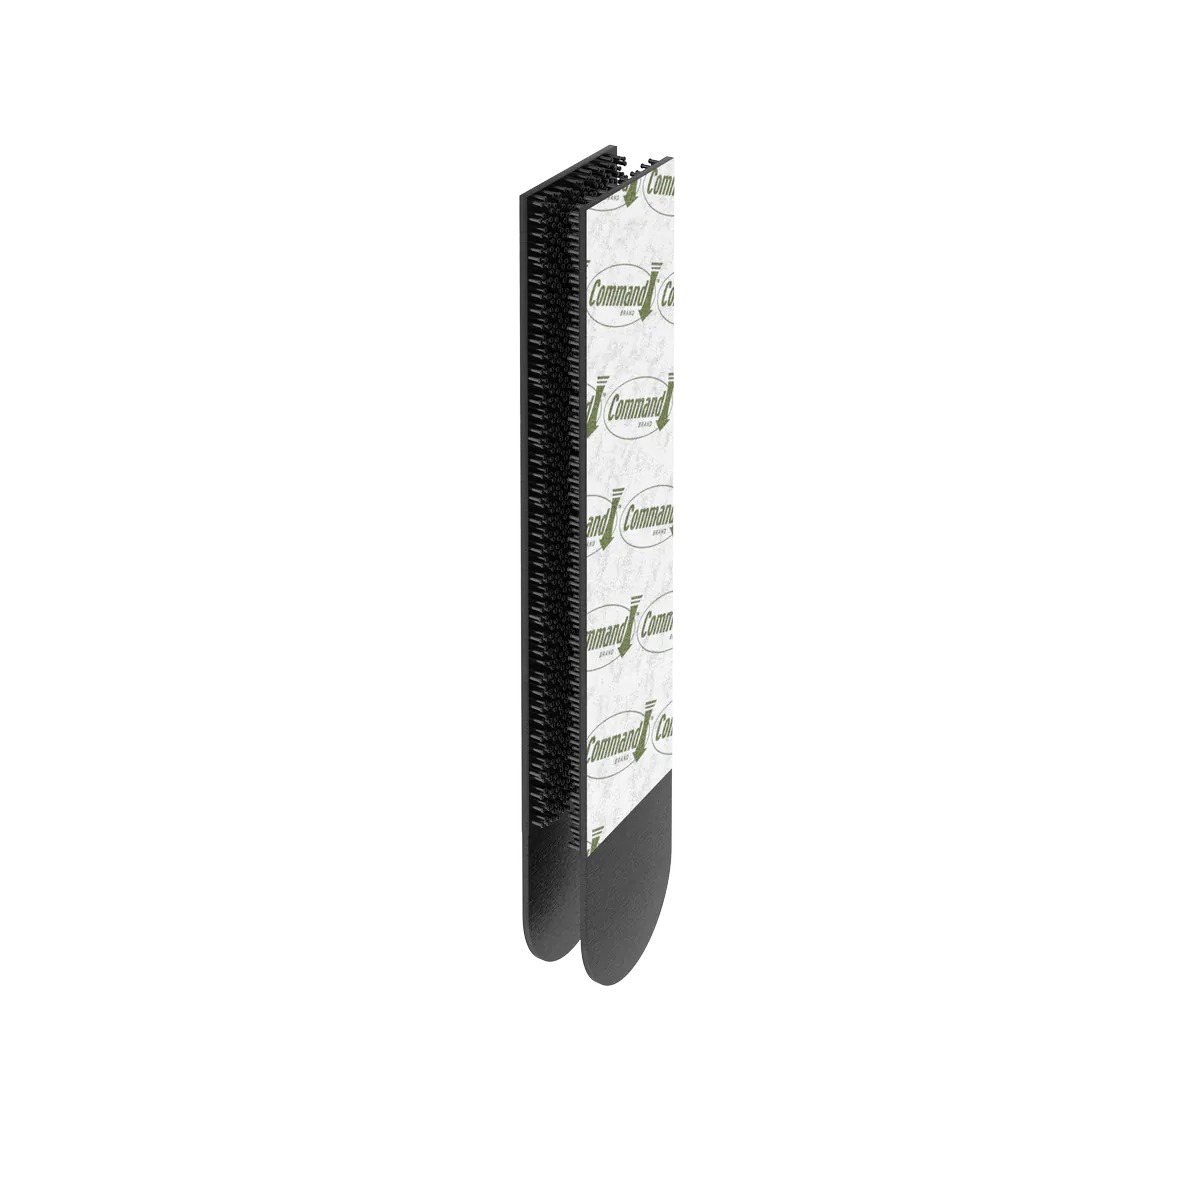
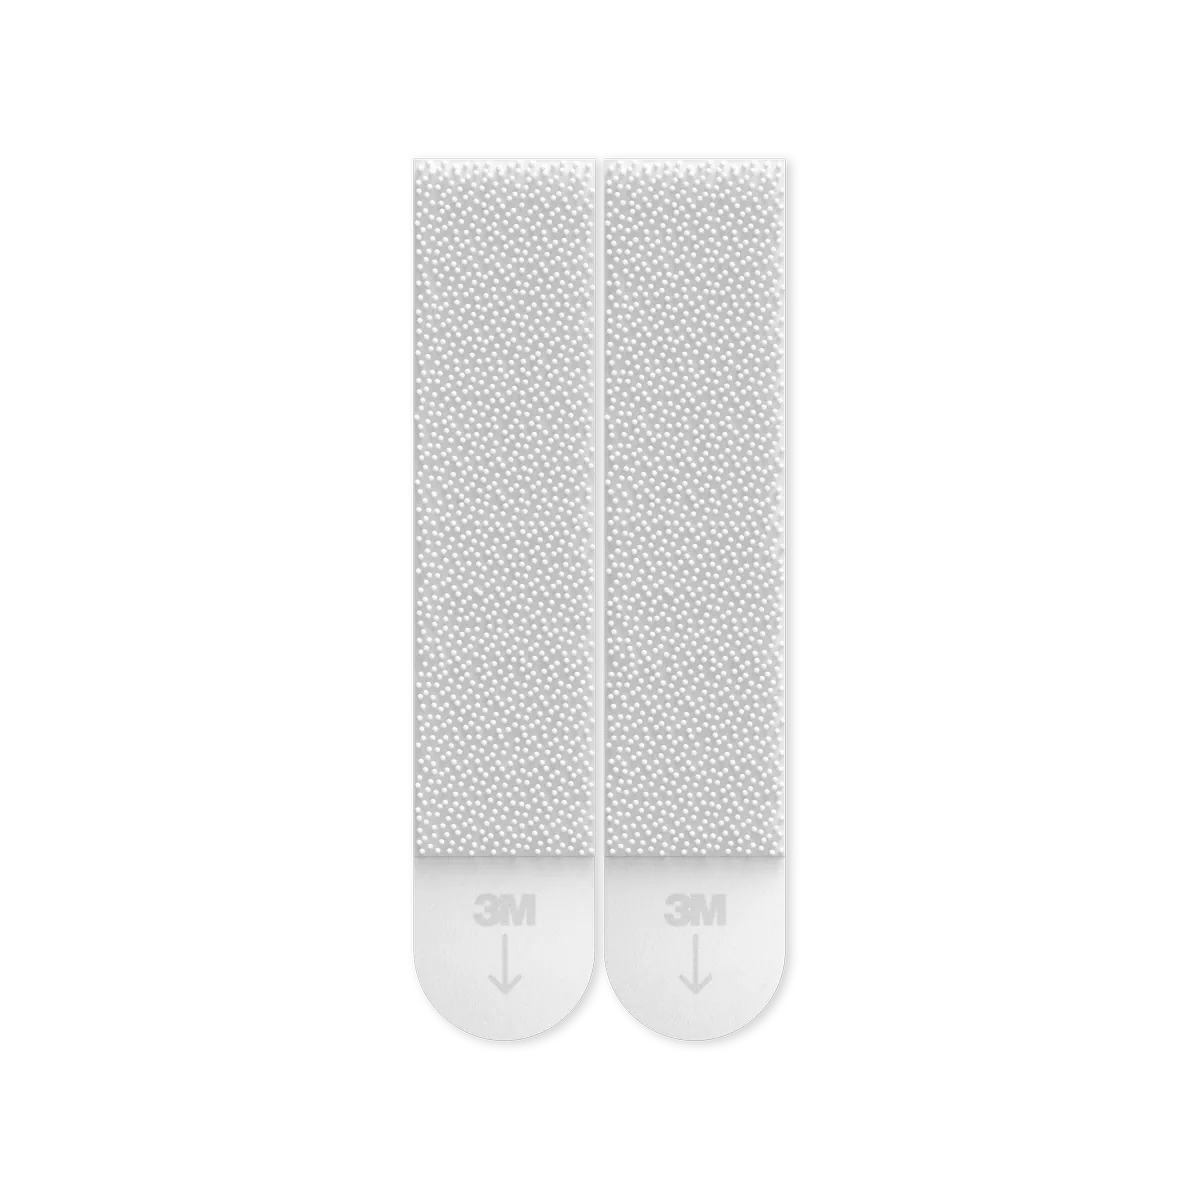
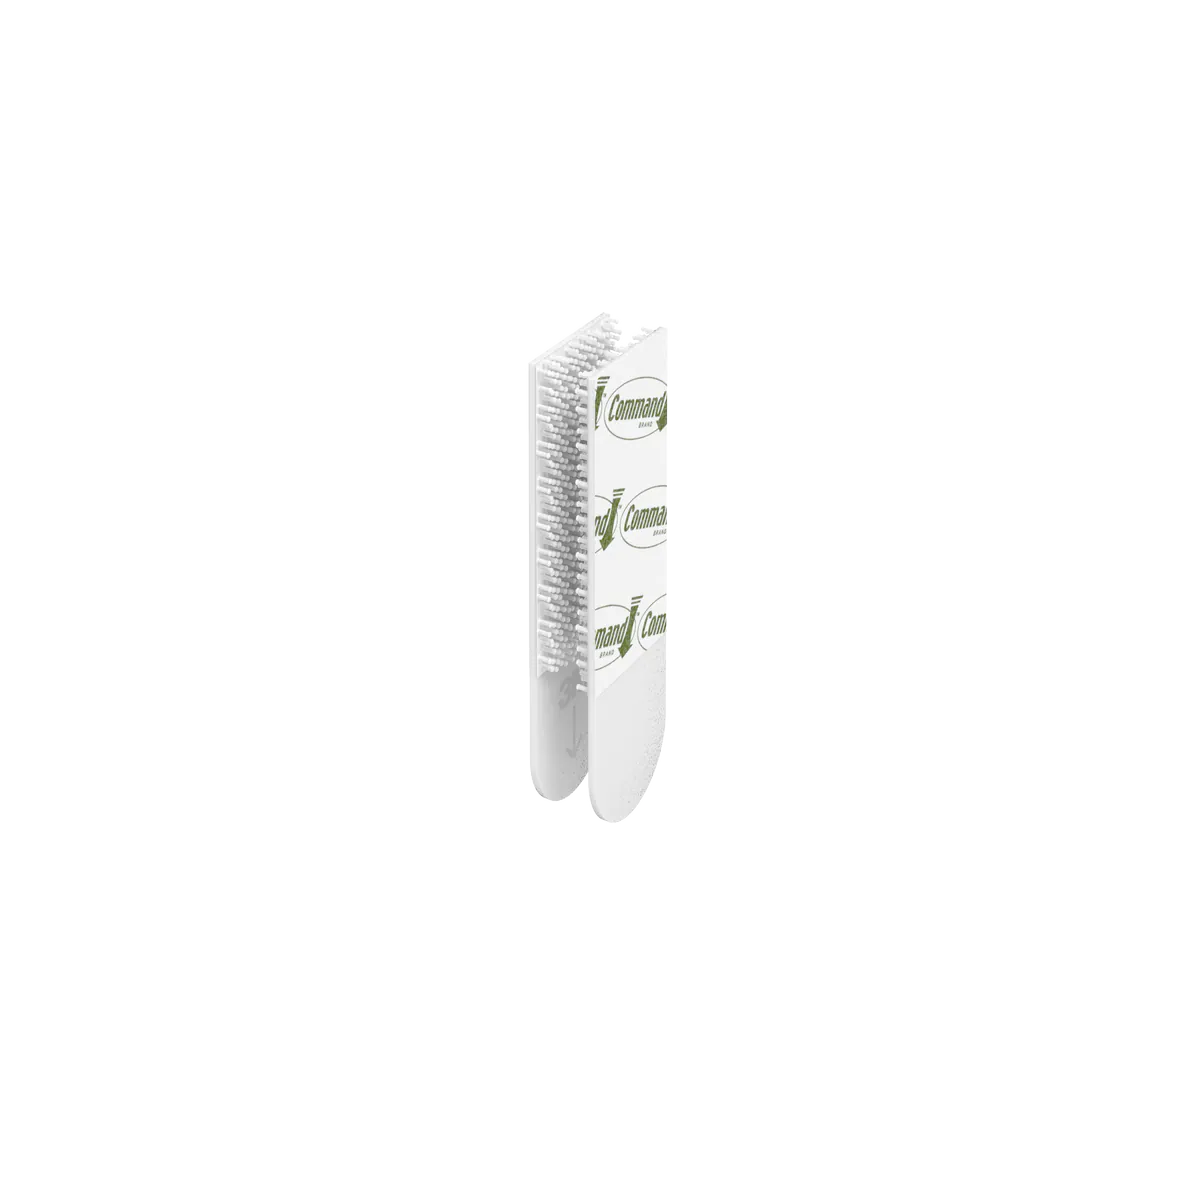
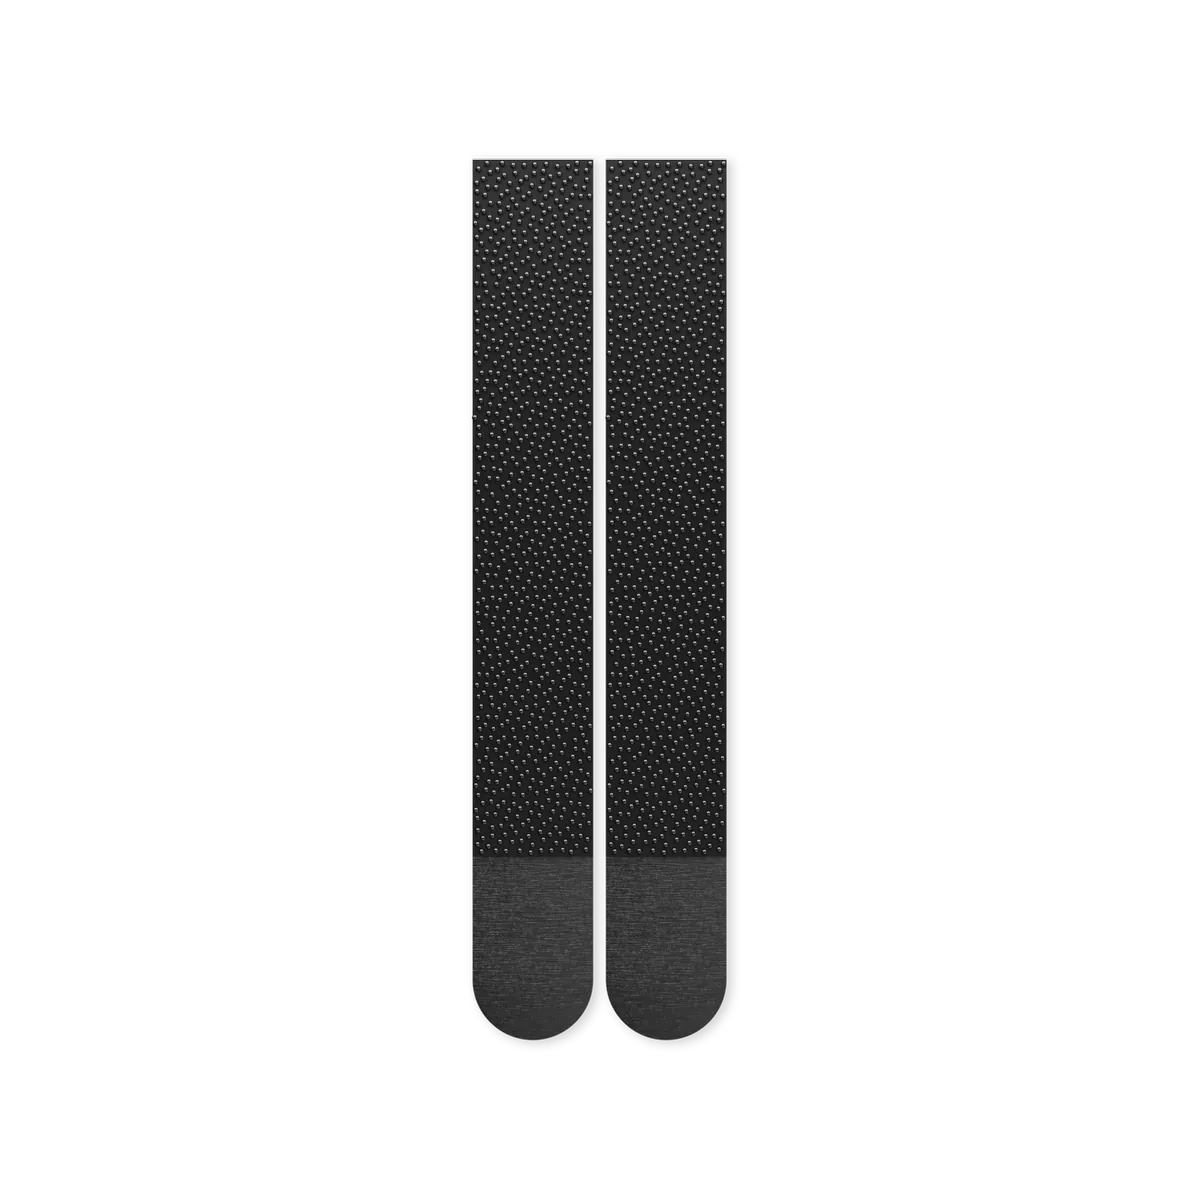
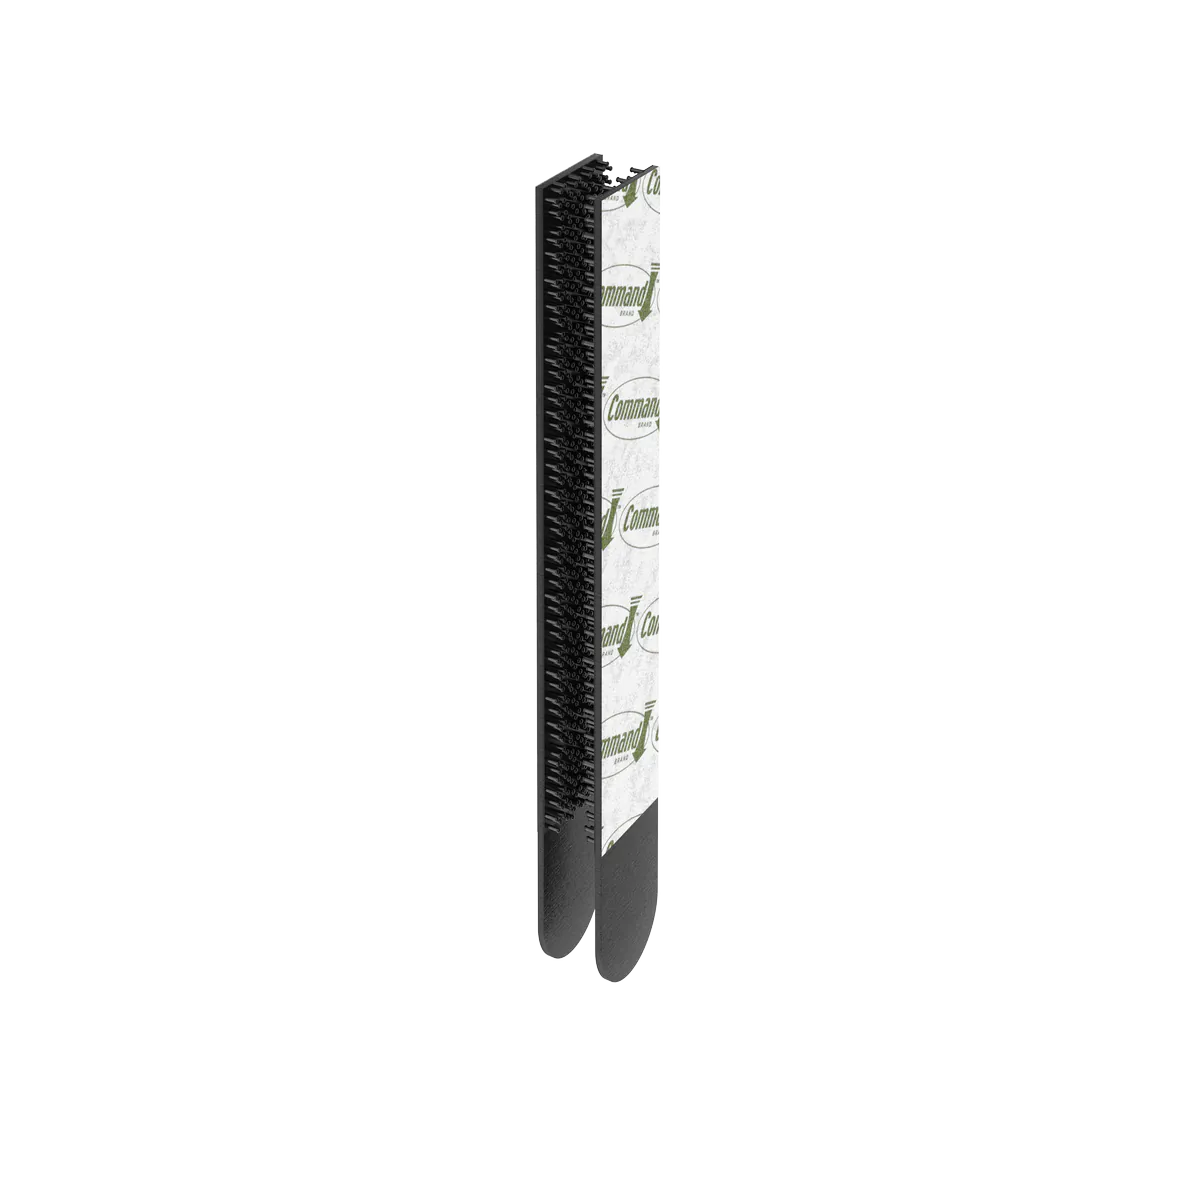
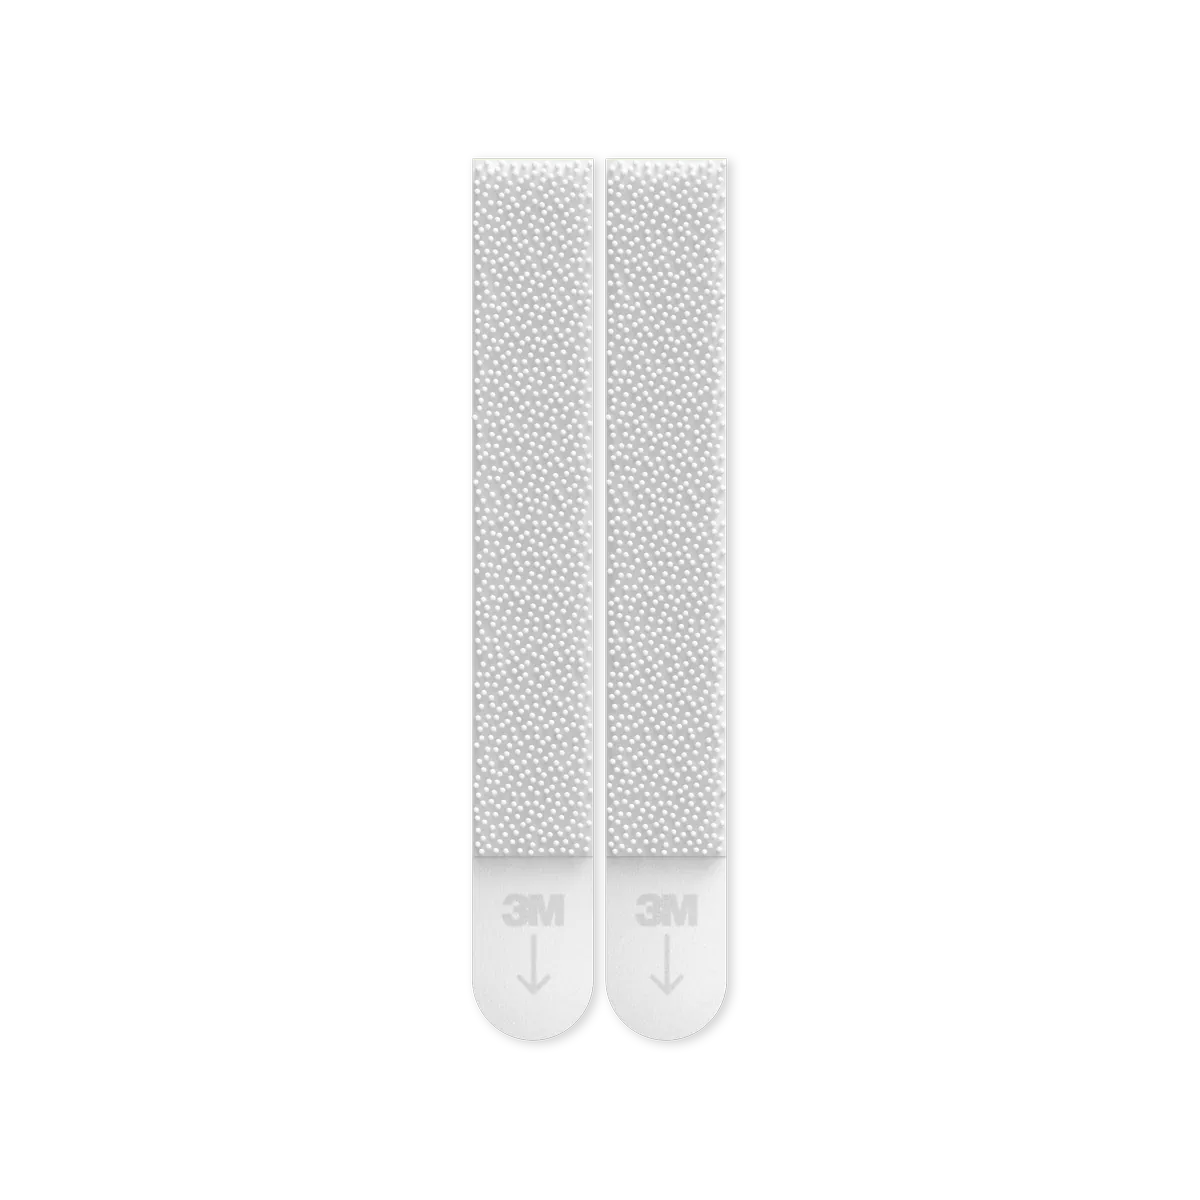
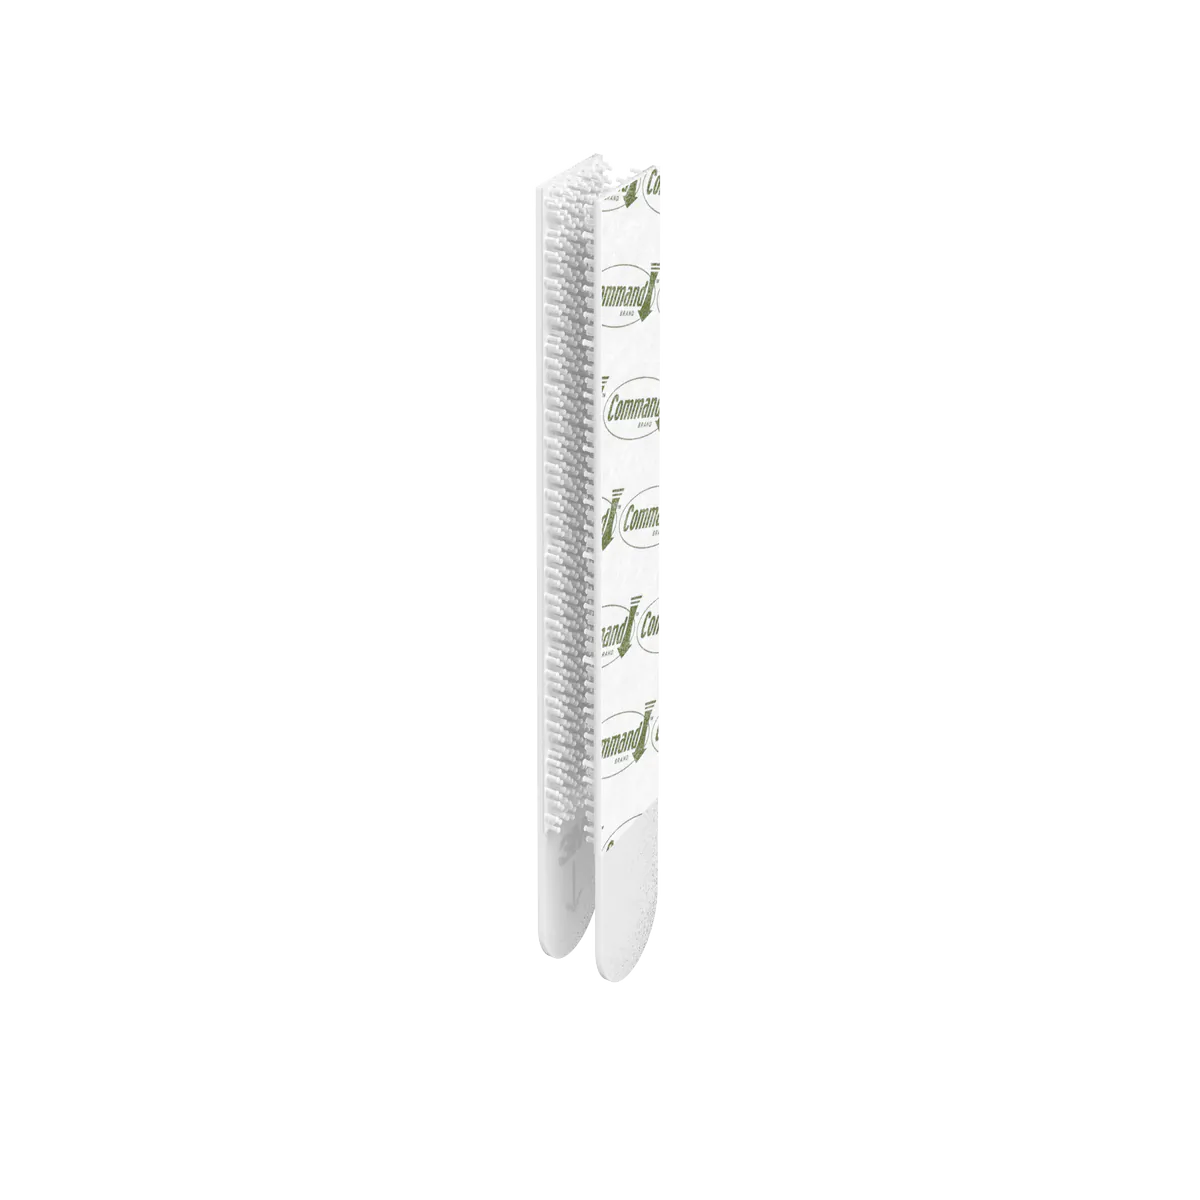
The Picture Hanging Strips™ use a mechanical fastening structure instead of adhesive called 3M™ Dual Lock™ Reclosable Fasteners. Under magnification, the surface is made up of many hundreds of tiny, randomly distributed microstructures. Think of how the teeth of a zipper interlock, but in two axis rather than just one.
That randomness turned out to be one of the hardest parts of the project. Traditional CAD tools are built for order: grids, patterns, repeatable structure. They're not built to generate convincing randomness, and a visibly patterned "random" surface reads as fake immediately.
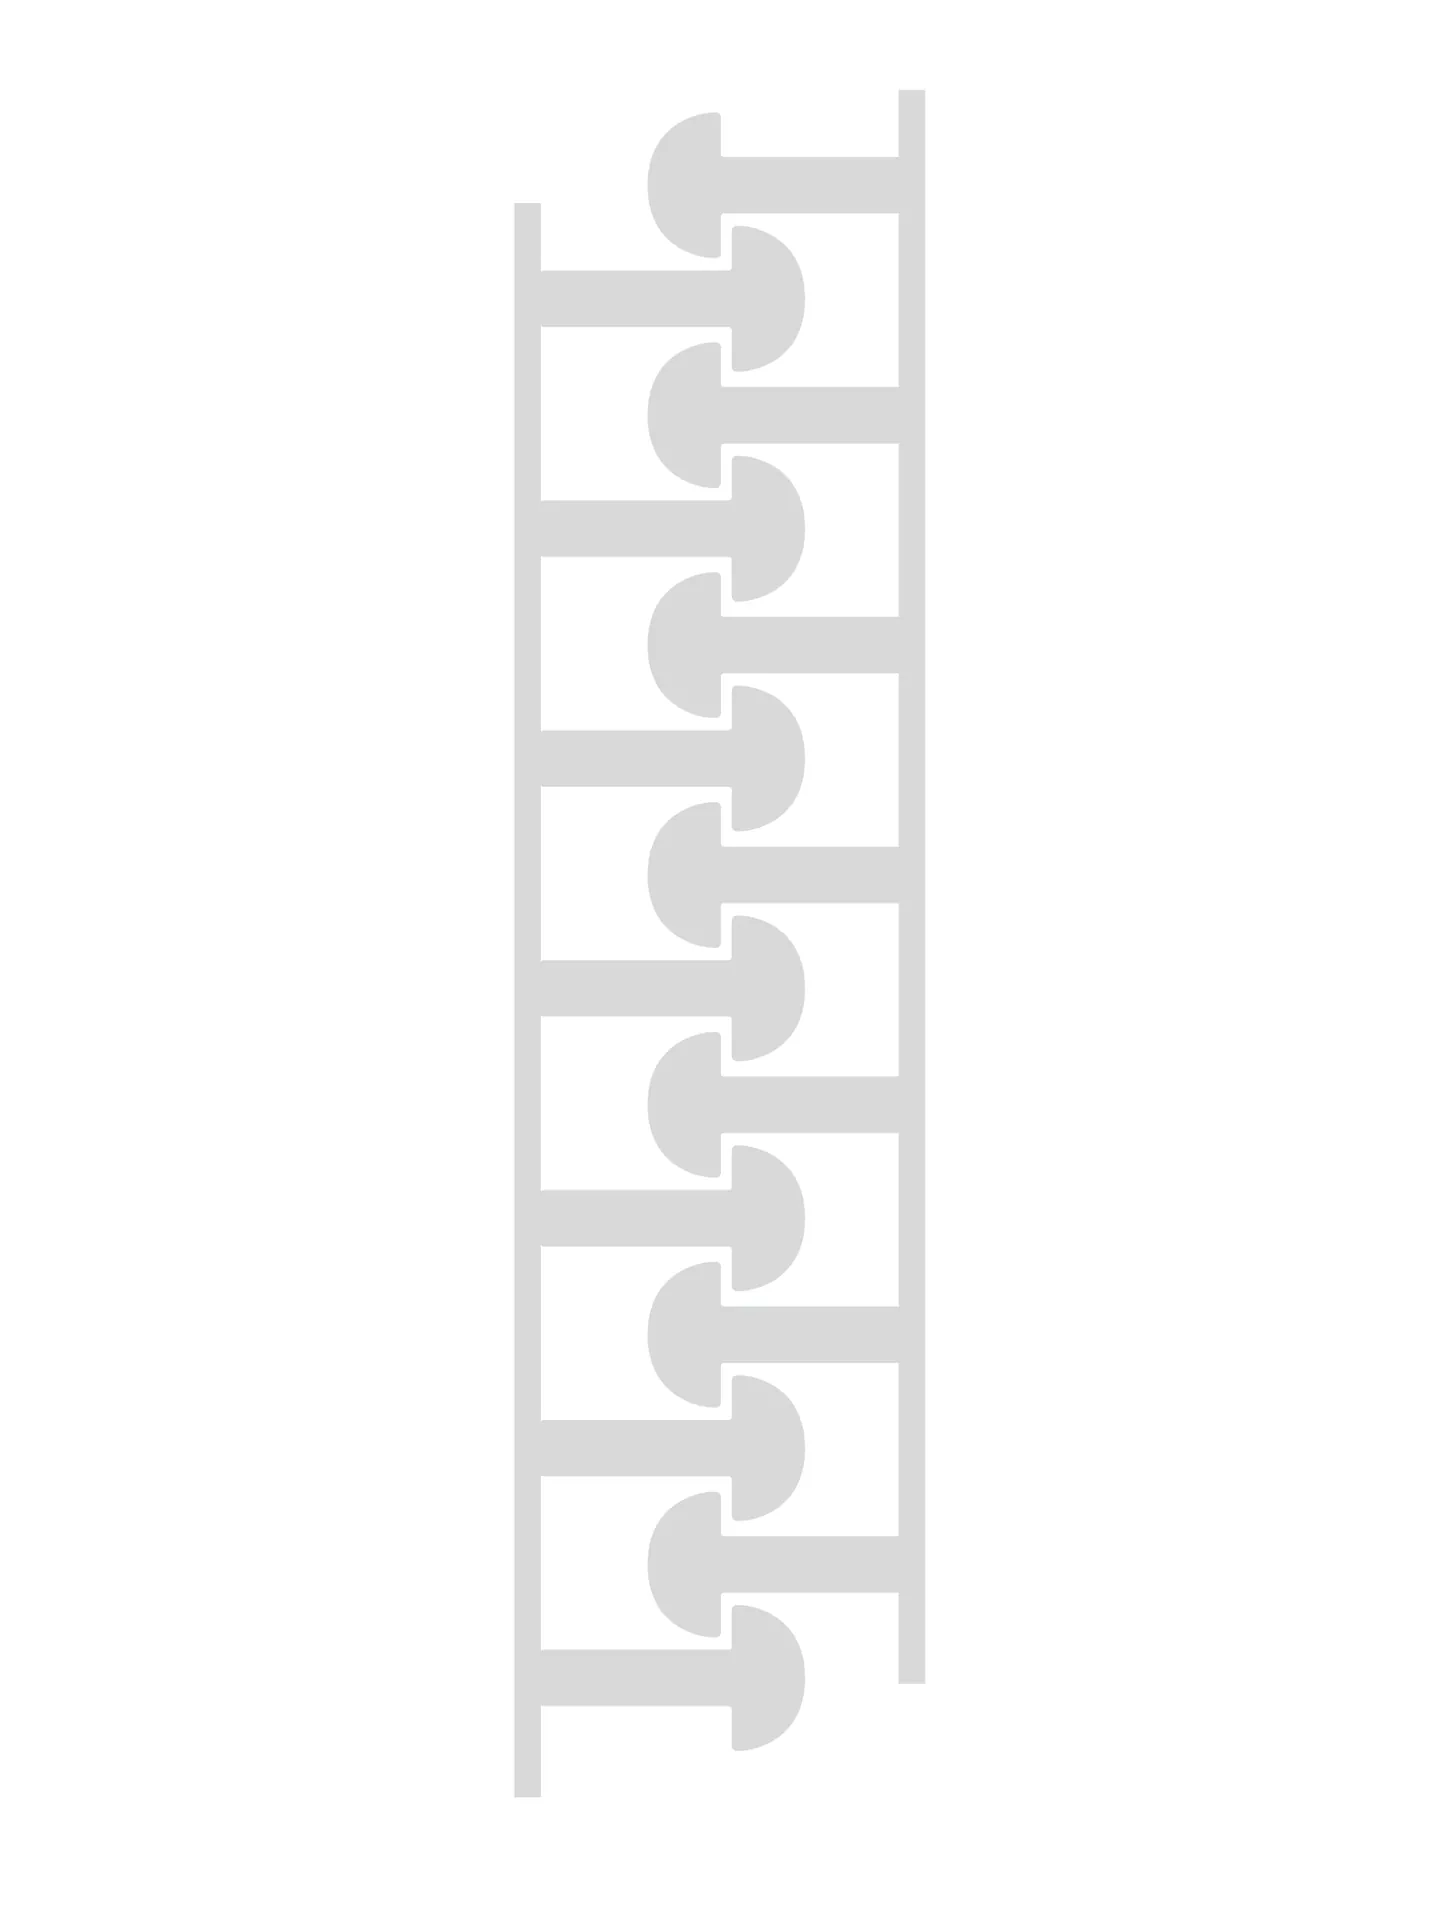
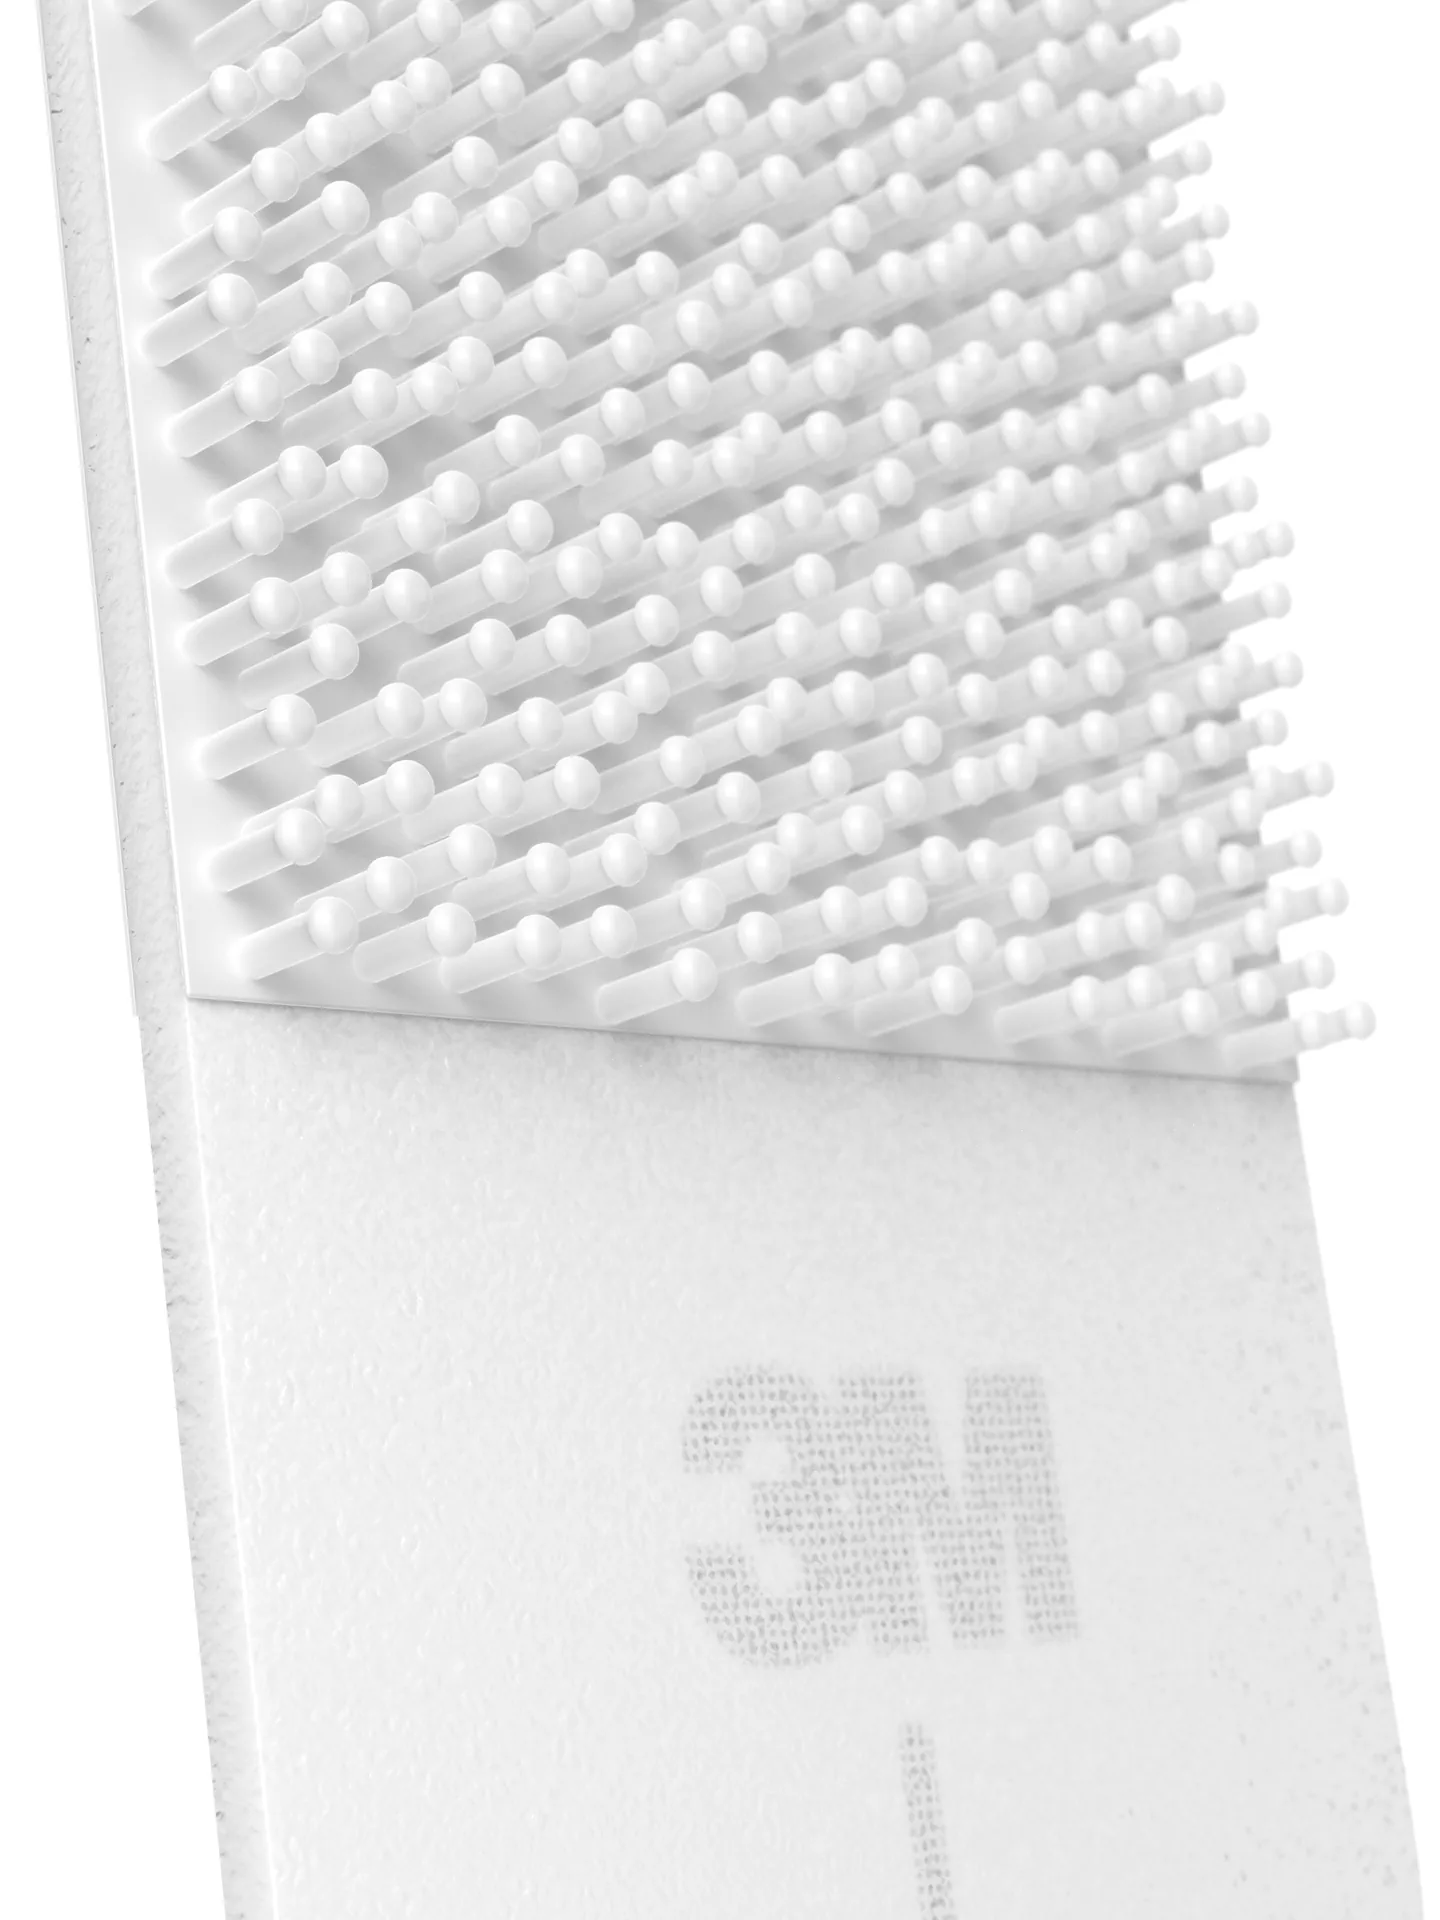
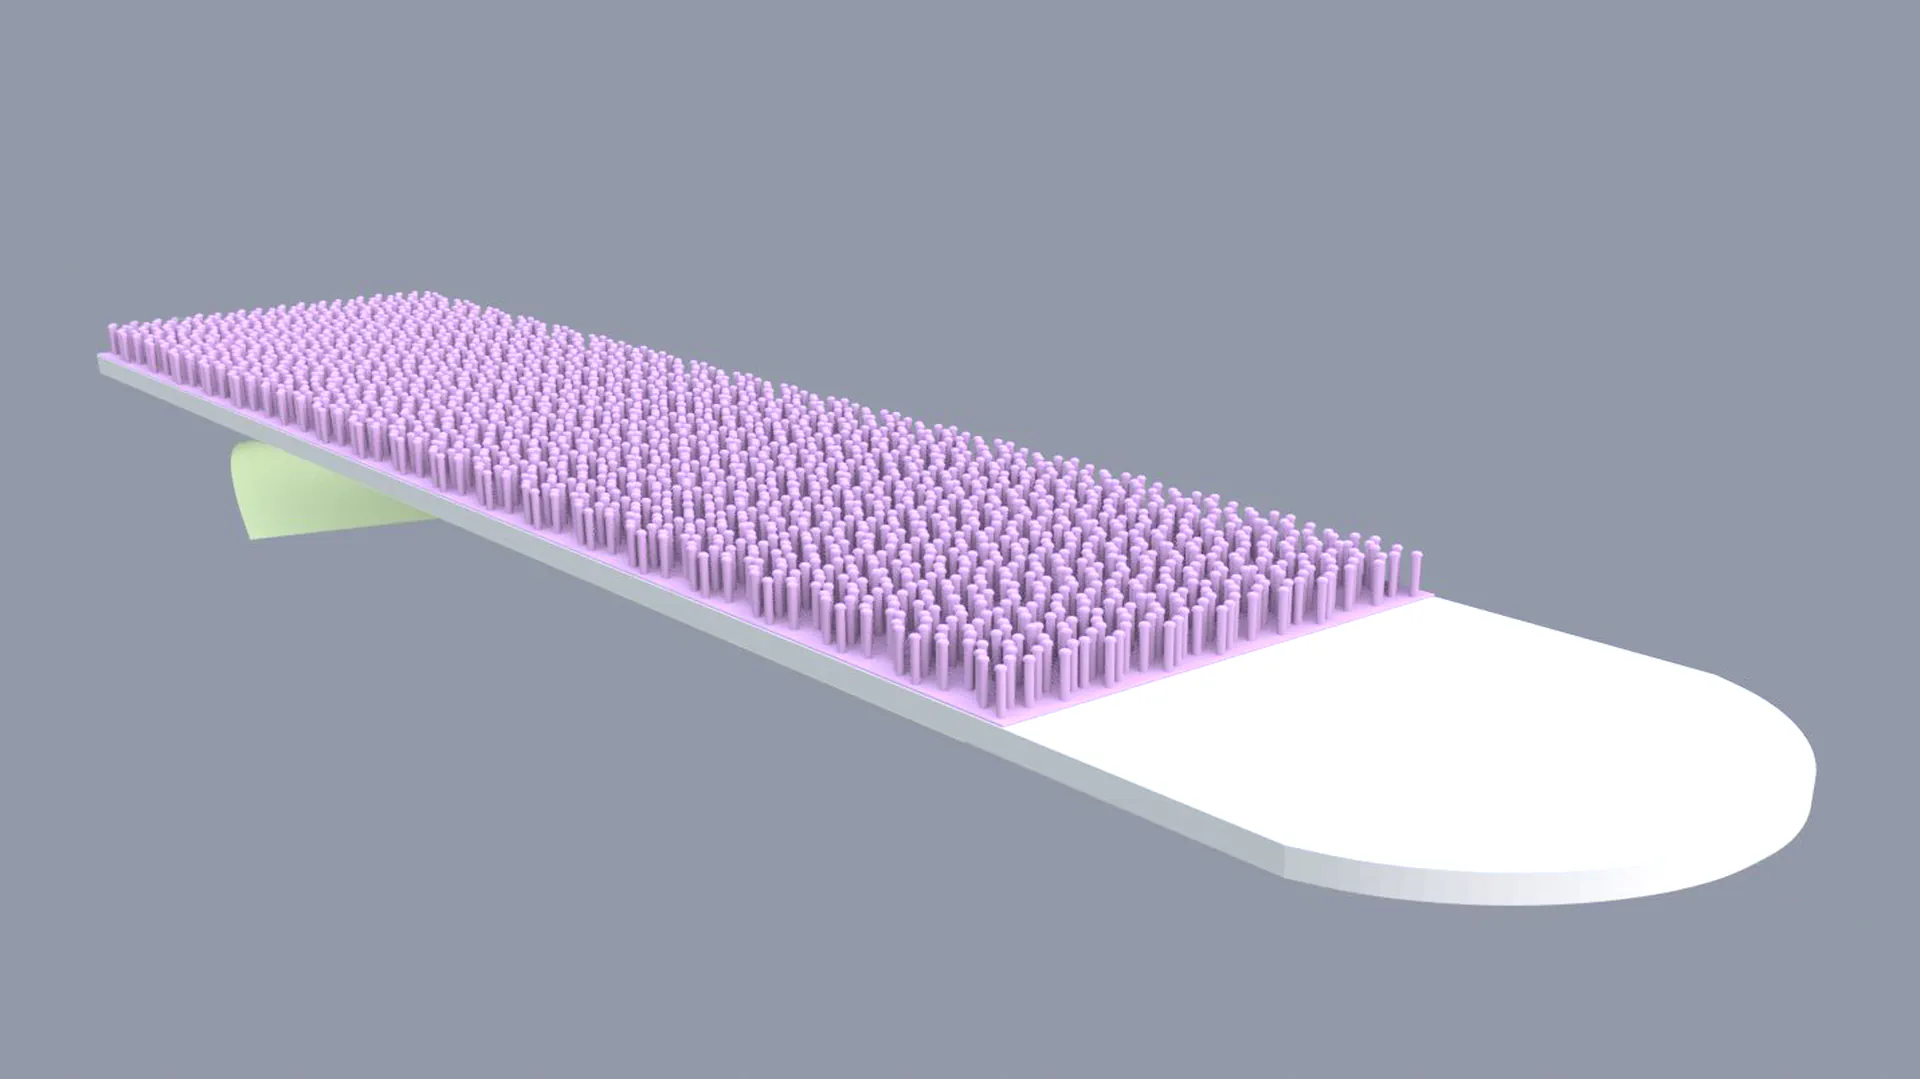
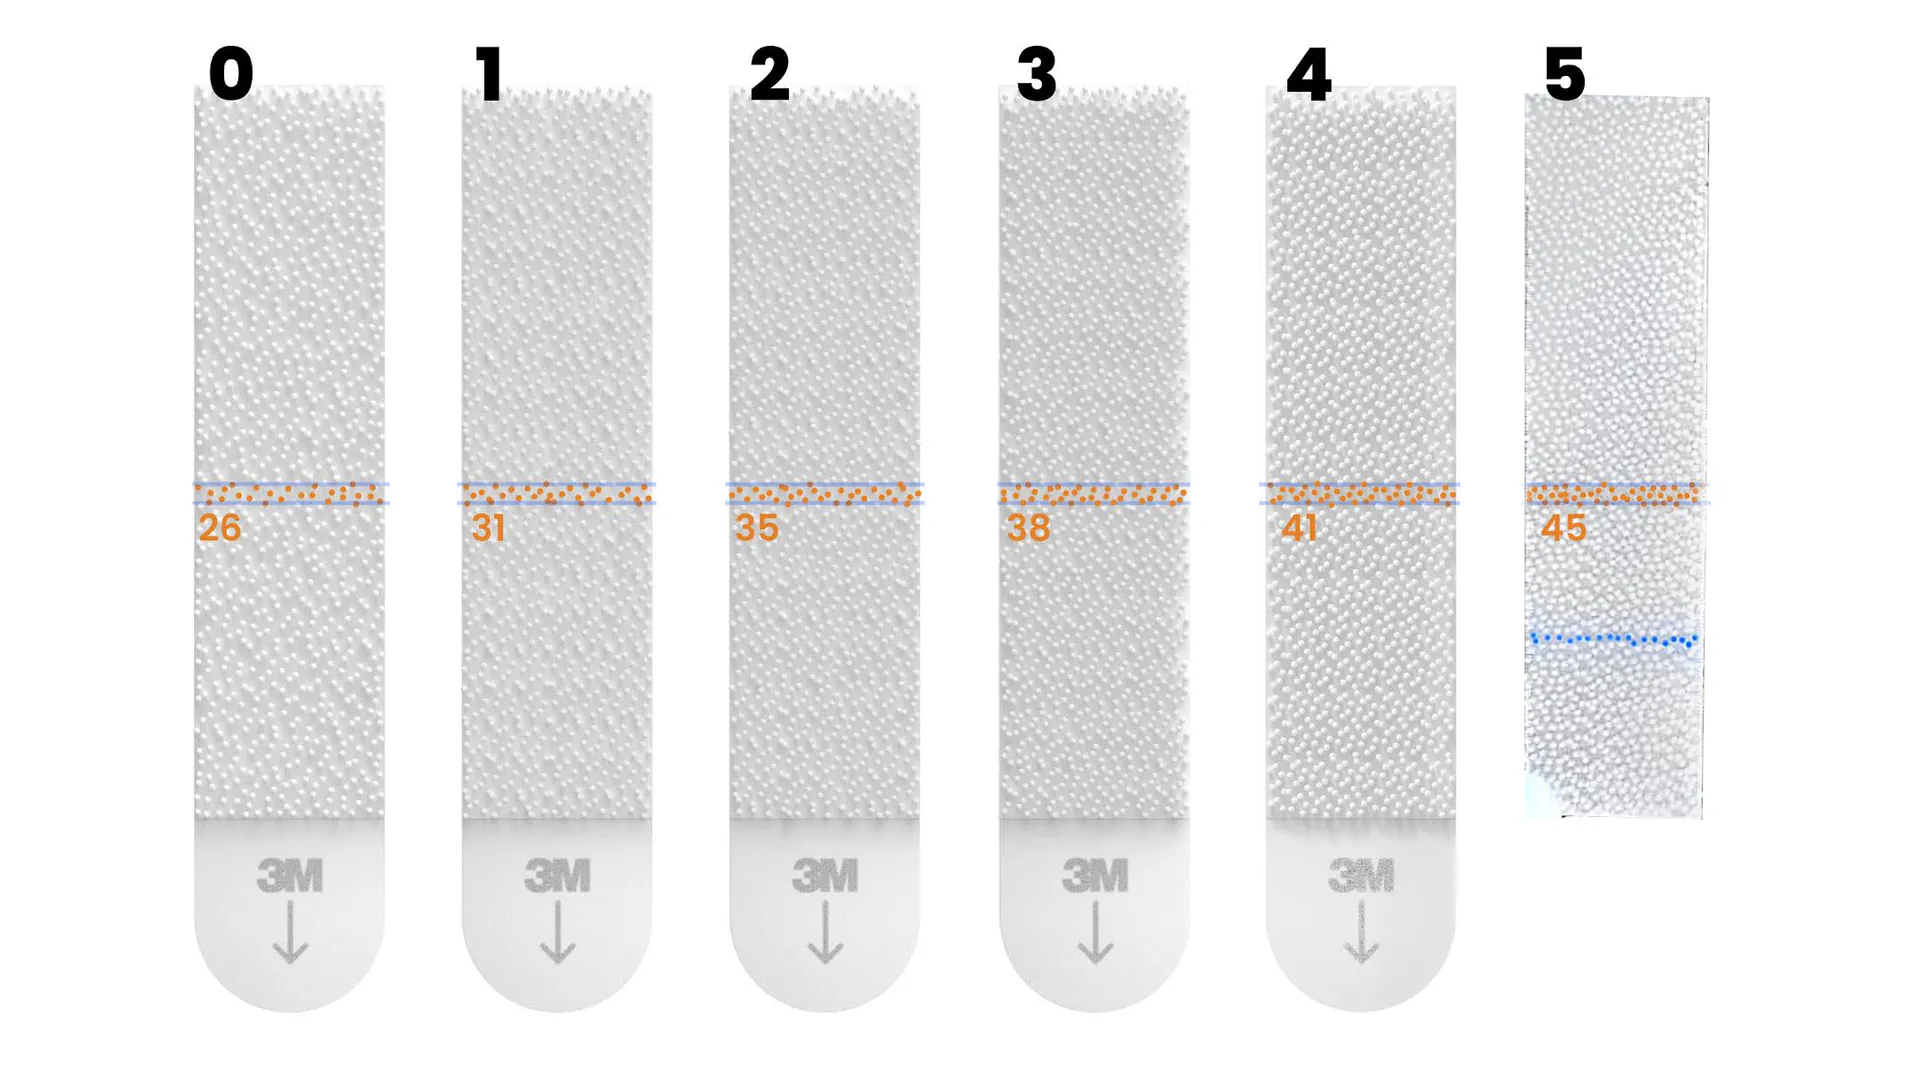
I brought the model into Blender and built a point-scattering system to distribute the microstructures across the surface, close enough together to avoid gaps, far enough apart to avoid overlap, with no visible repeating pattern. Getting the density right took real back-and-forth. Too sparse and the texture looked thin, too dense and it lost the organic feel of the real material. I rendered a range of density options side by side and compared them directly against a physical sample to land on the right value, then scaled the approach across the product's full size and weight-capacity range.
Modular Packaging Assets
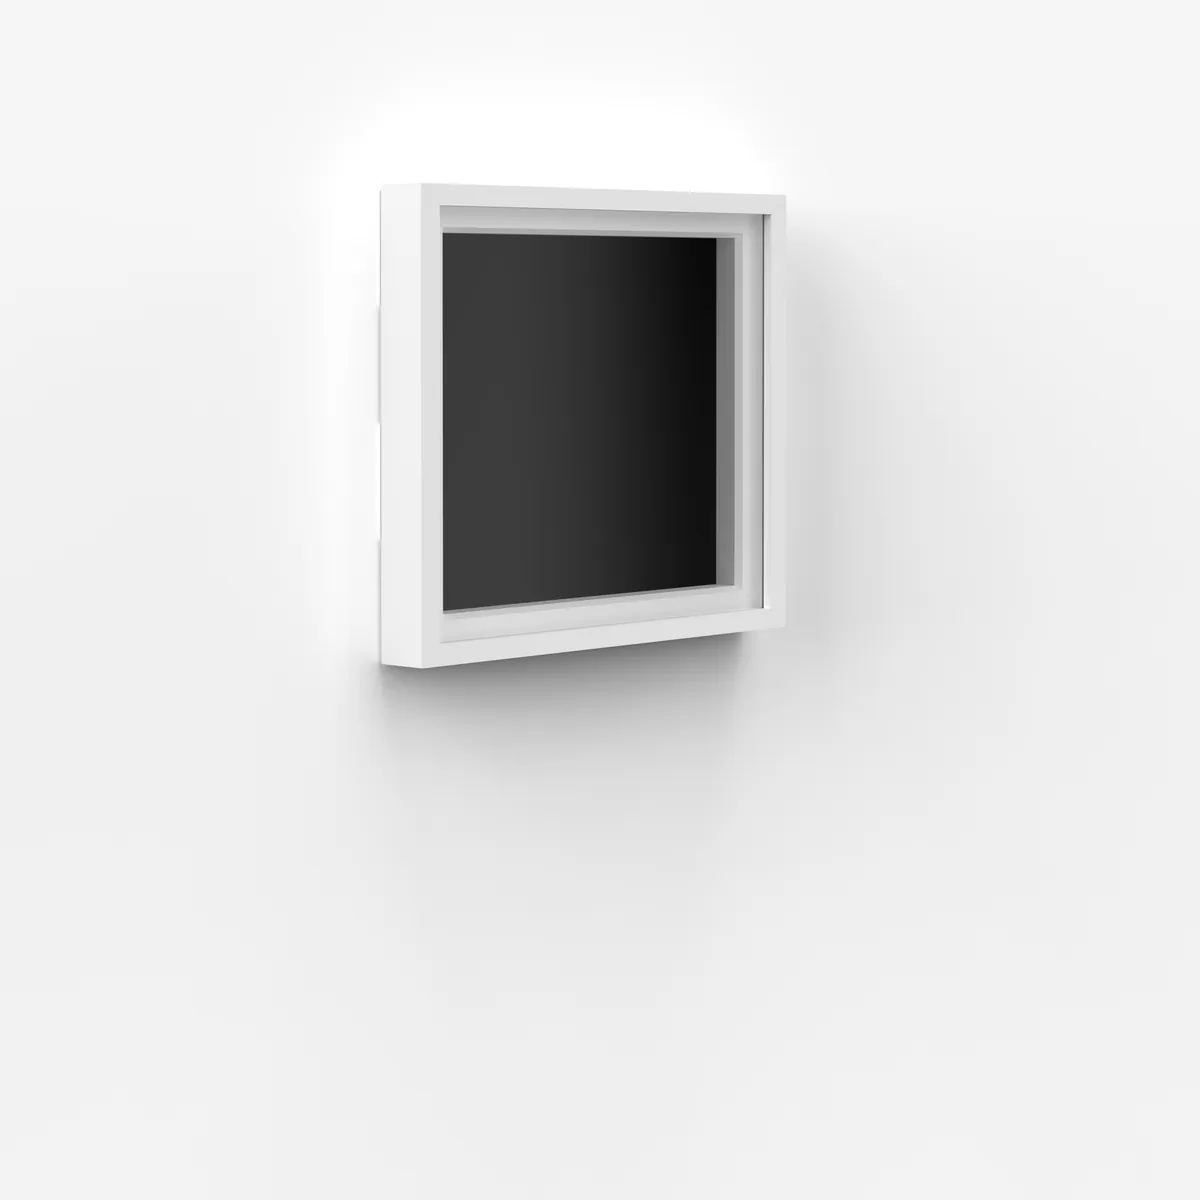
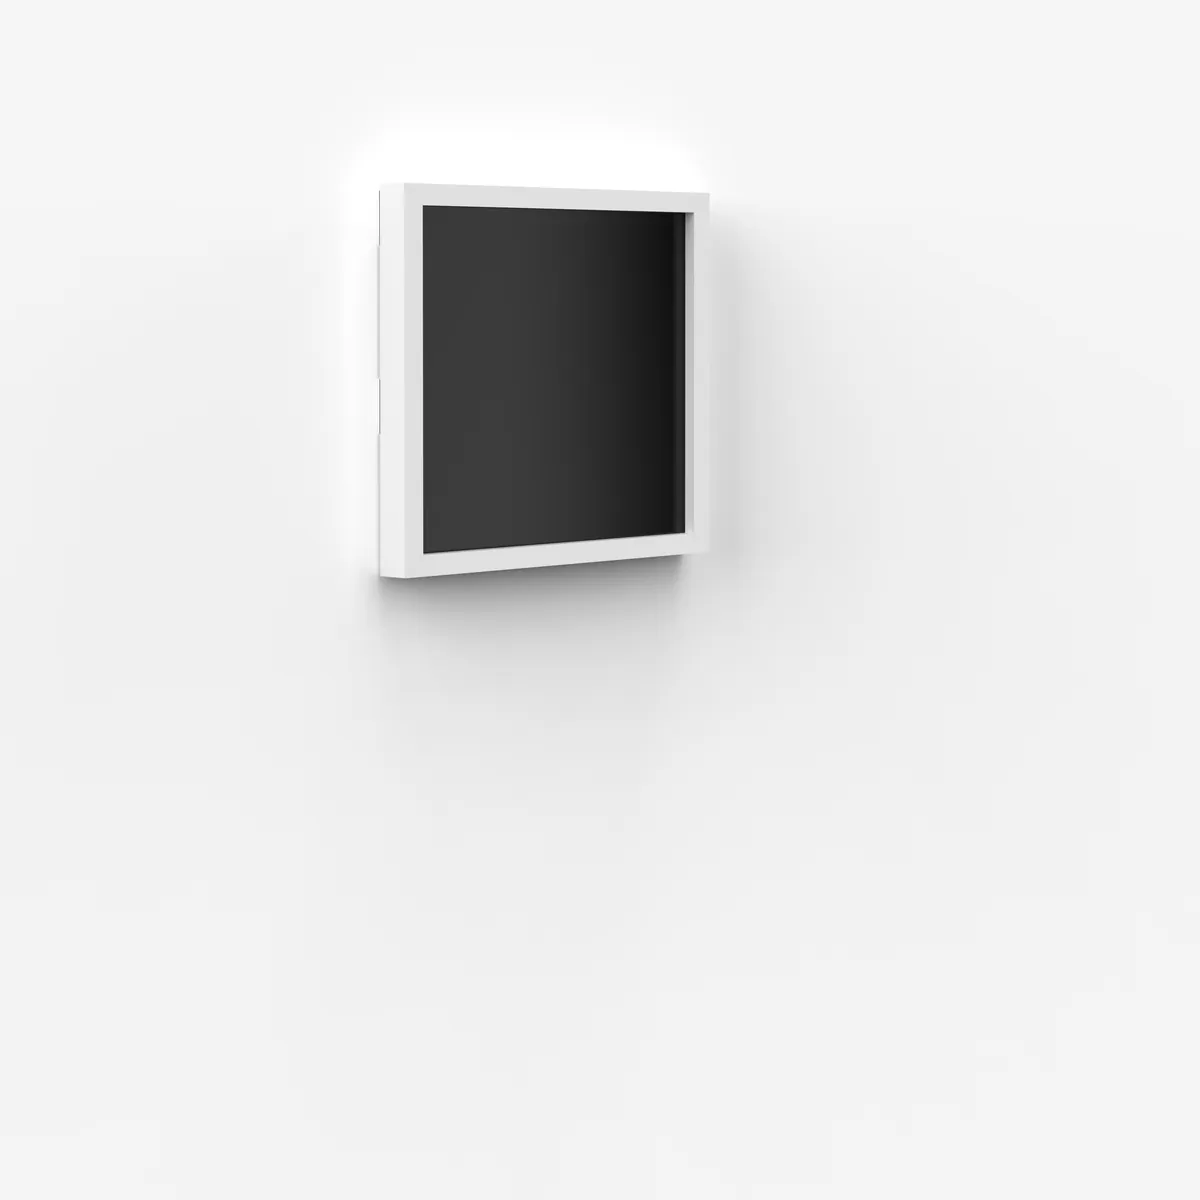
Another application of 3M™ Dual Lock™ Texture is for hanging picture frames. 3M™ required picture frame images that could hold different artwork behind the glass, without re-rendering the scene every time the artwork changed, across four frame sizes.
Seams easy enough, right? Not exactly.
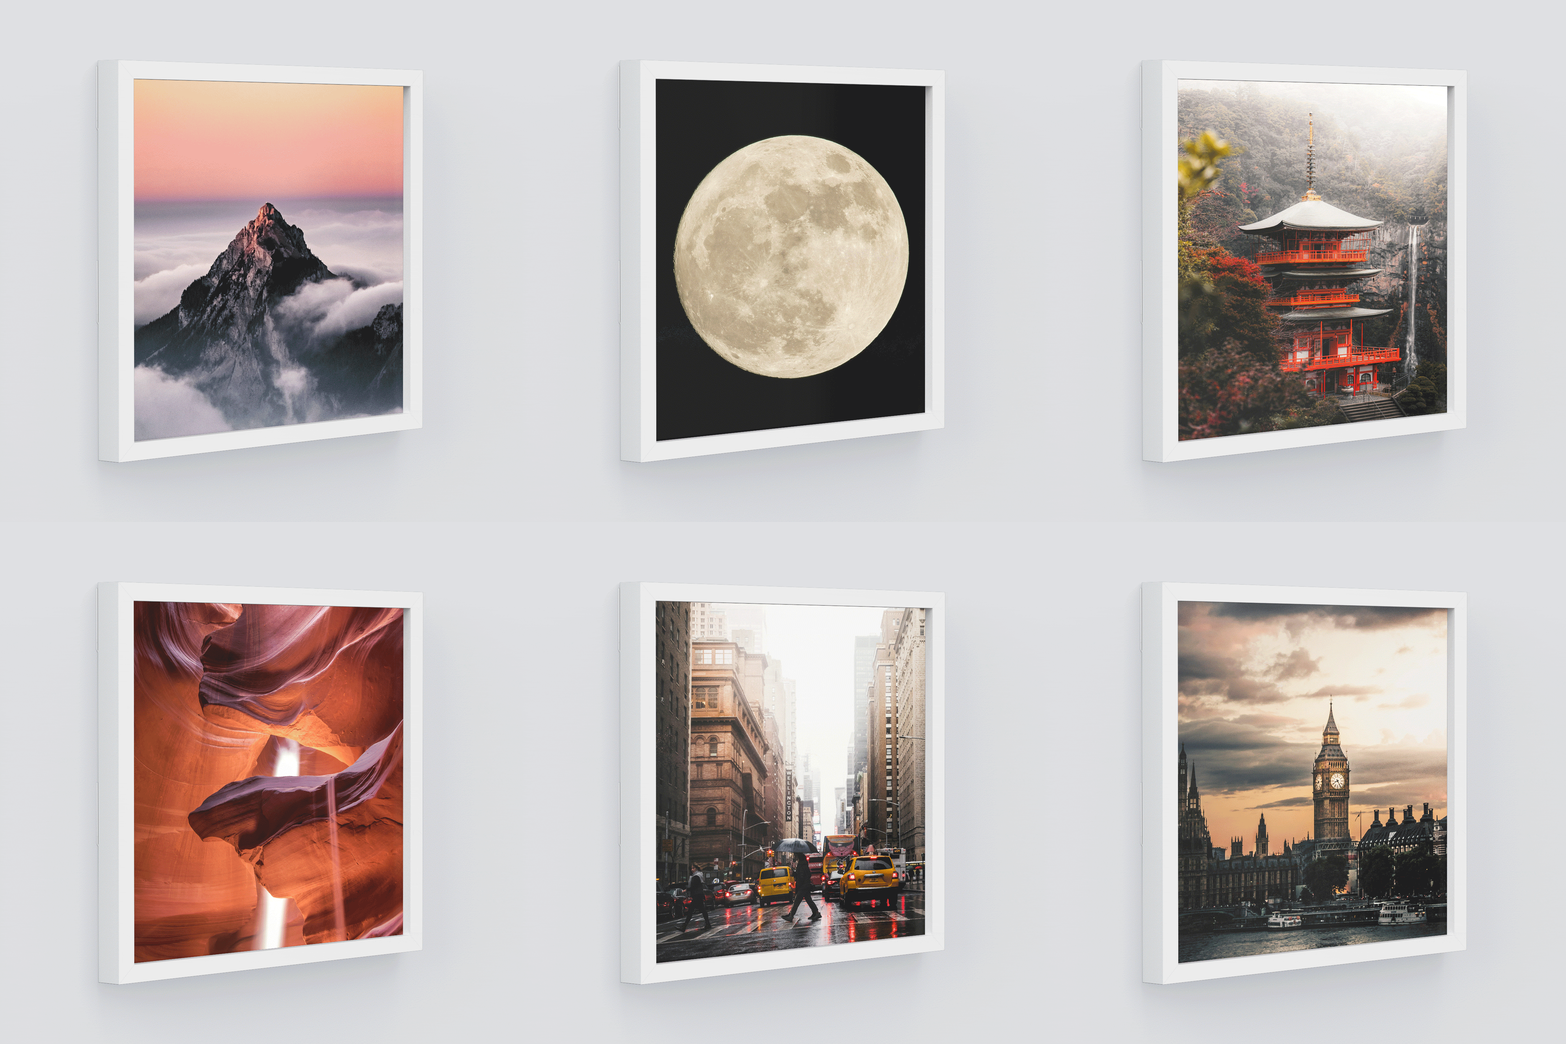
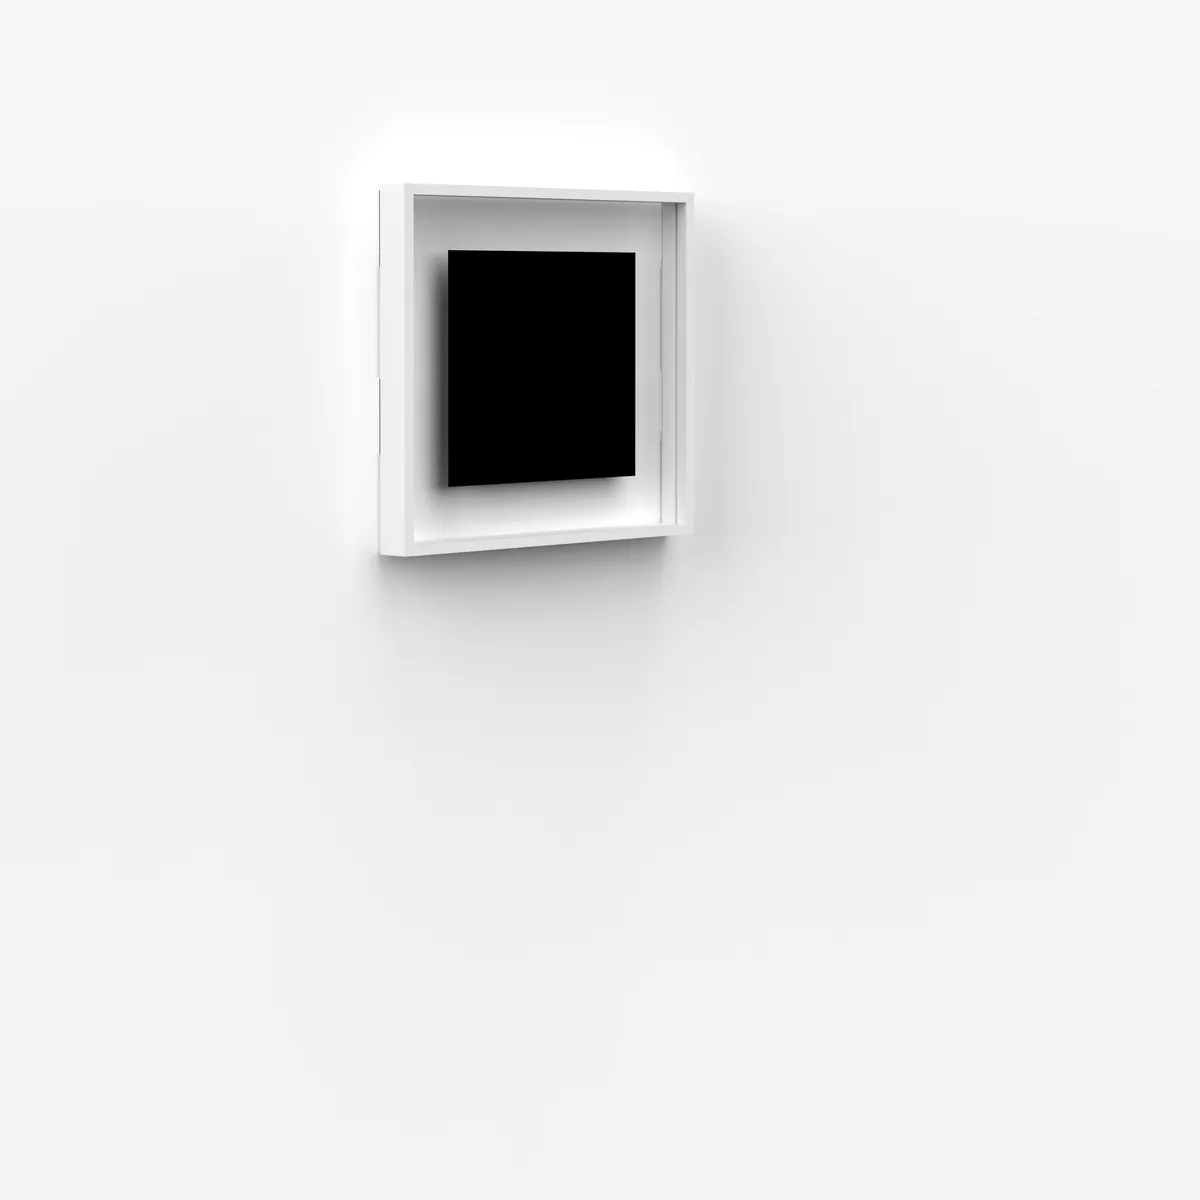
This requirement pushed the rendering pipeline further than standard product visualization. The appearance of glass, and the shadows it casts, are both highly dependent on what's behind them, so a single flattened render couldn't do the job. I broke the rendering into isolated material and lighting passes, then rebuilt the final image in Photoshop using layered compositing, closer to a VFX workflow than typical product rendering.
The result: a set of layered Photoshop files 3M™ could reuse indefinitely, swapping artwork behind the glass without touching KeyShot again.
Fixing Distortion by Adding Distortion
For shots where the frame needed to be angled slightly off the wall while keeping its vertical edges perfectly parallel to the frame of the image, a camera shift lens was the right tool for the job. But that combination introduces foreshortening: a perfectly square frame, shot that way, starts to visually read as taller than it is wide.
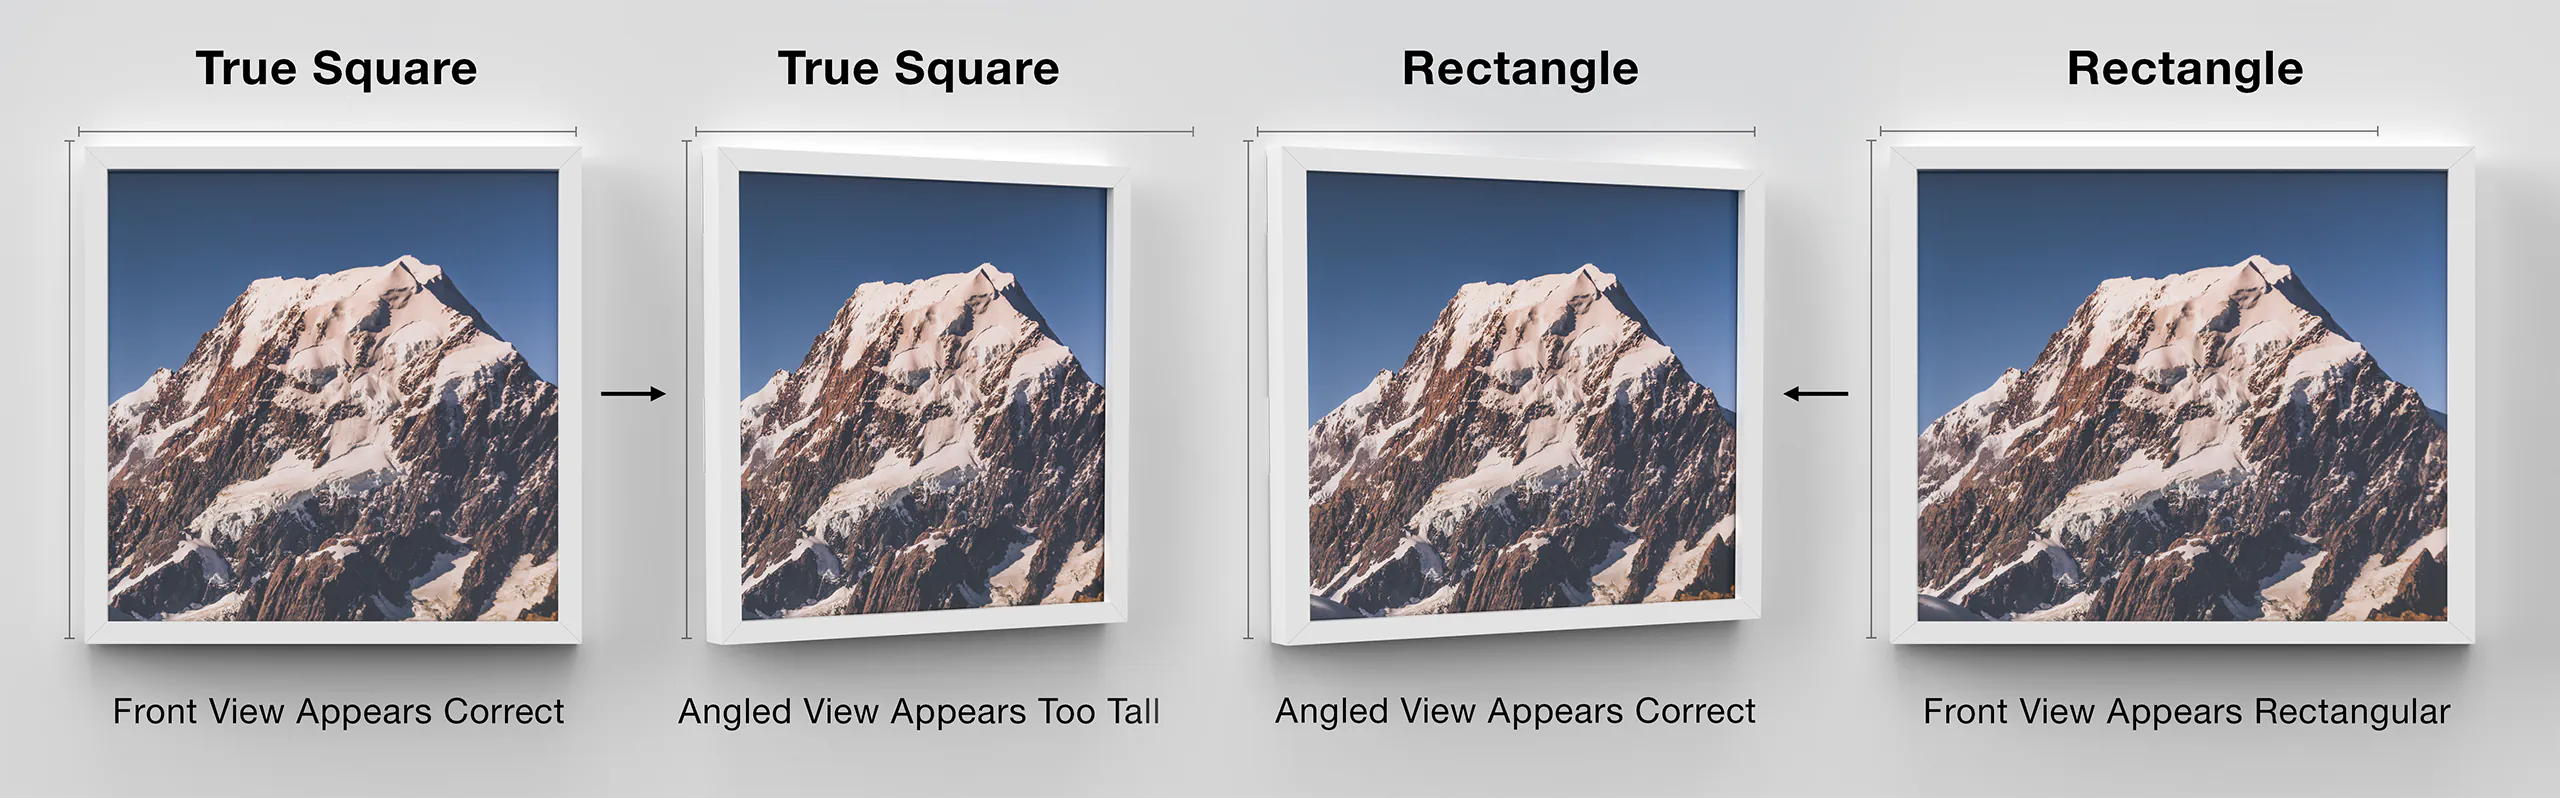
The fix wasn't a lighting or camera adjustment. It was deliberately distorting the 3D model itself, building the frame slightly wider than it was tall, so that once rendered through that same angle and lens correction, it would appear perfectly square again.
Ironically, sometimes the most visually accurate result comes from a model that is, dimensionally, wrong on purpose.
The Result
Nearly 30 final rendered images and a set of reusable layered files shipped across the 3M™ Command packaging line, now seen on shelves in hardware stores, big box retailers, and convenience stores worldwide. It's some of the most widely seen work in my portfolio: built with precision and made to outlast the initial delivery.
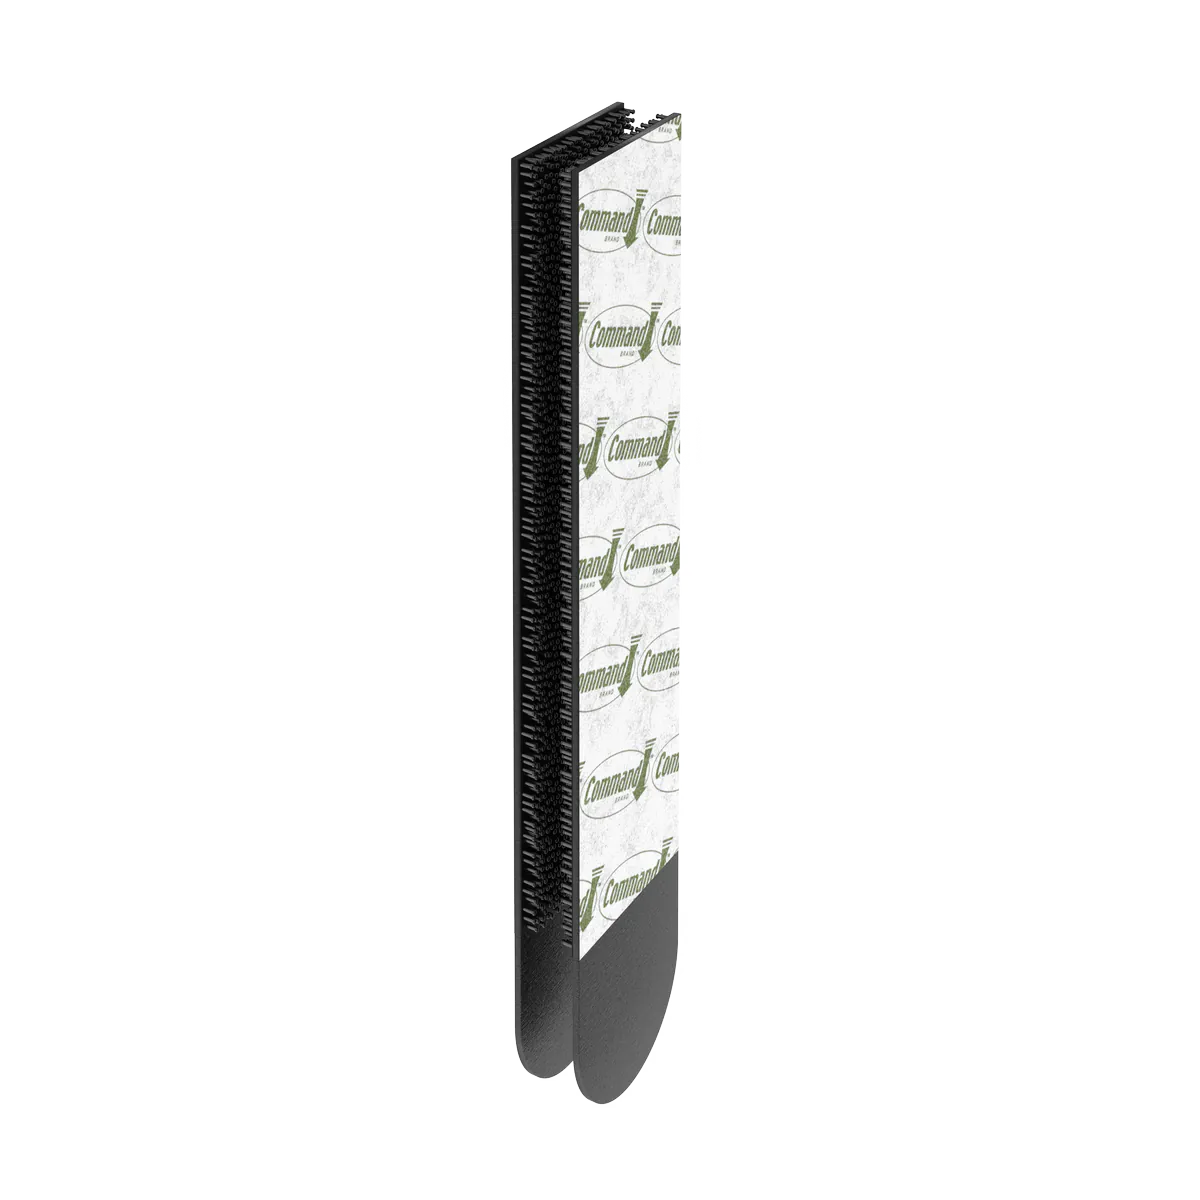
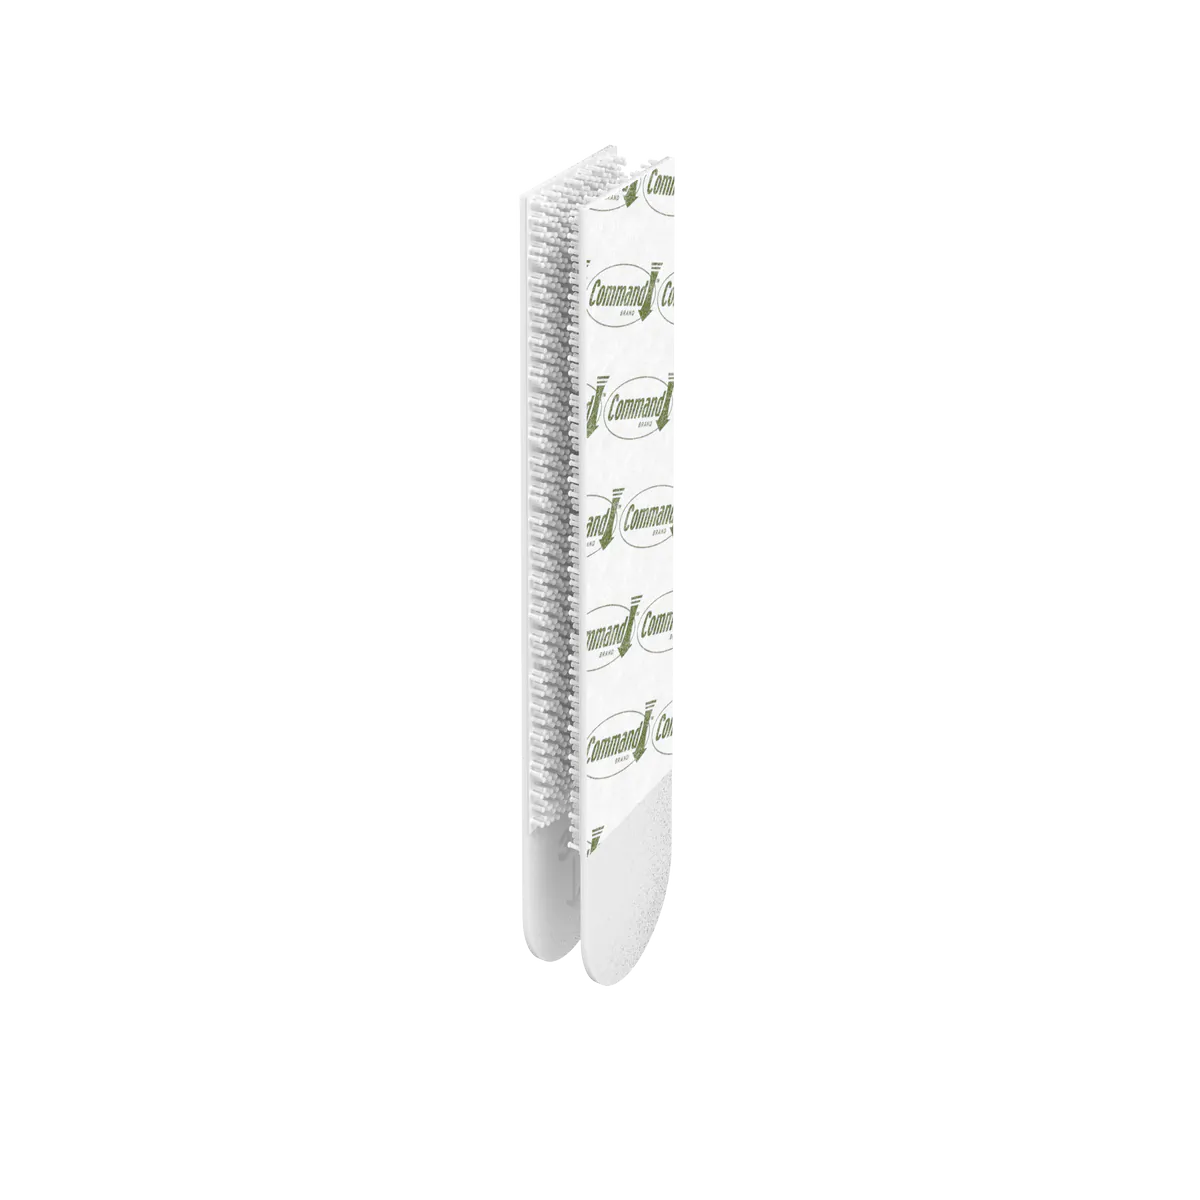
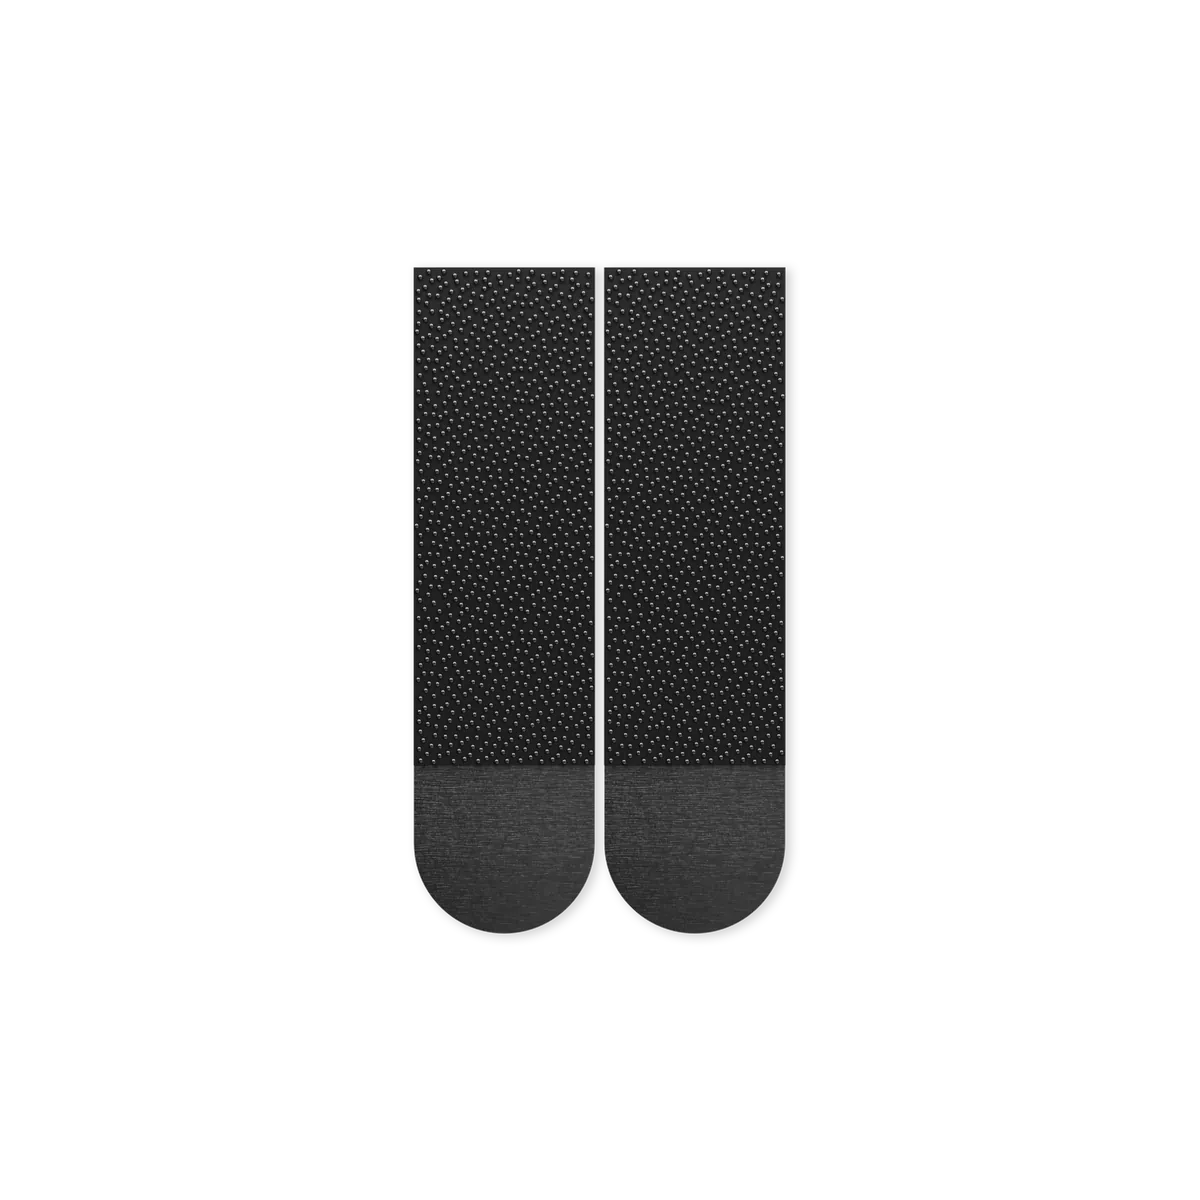
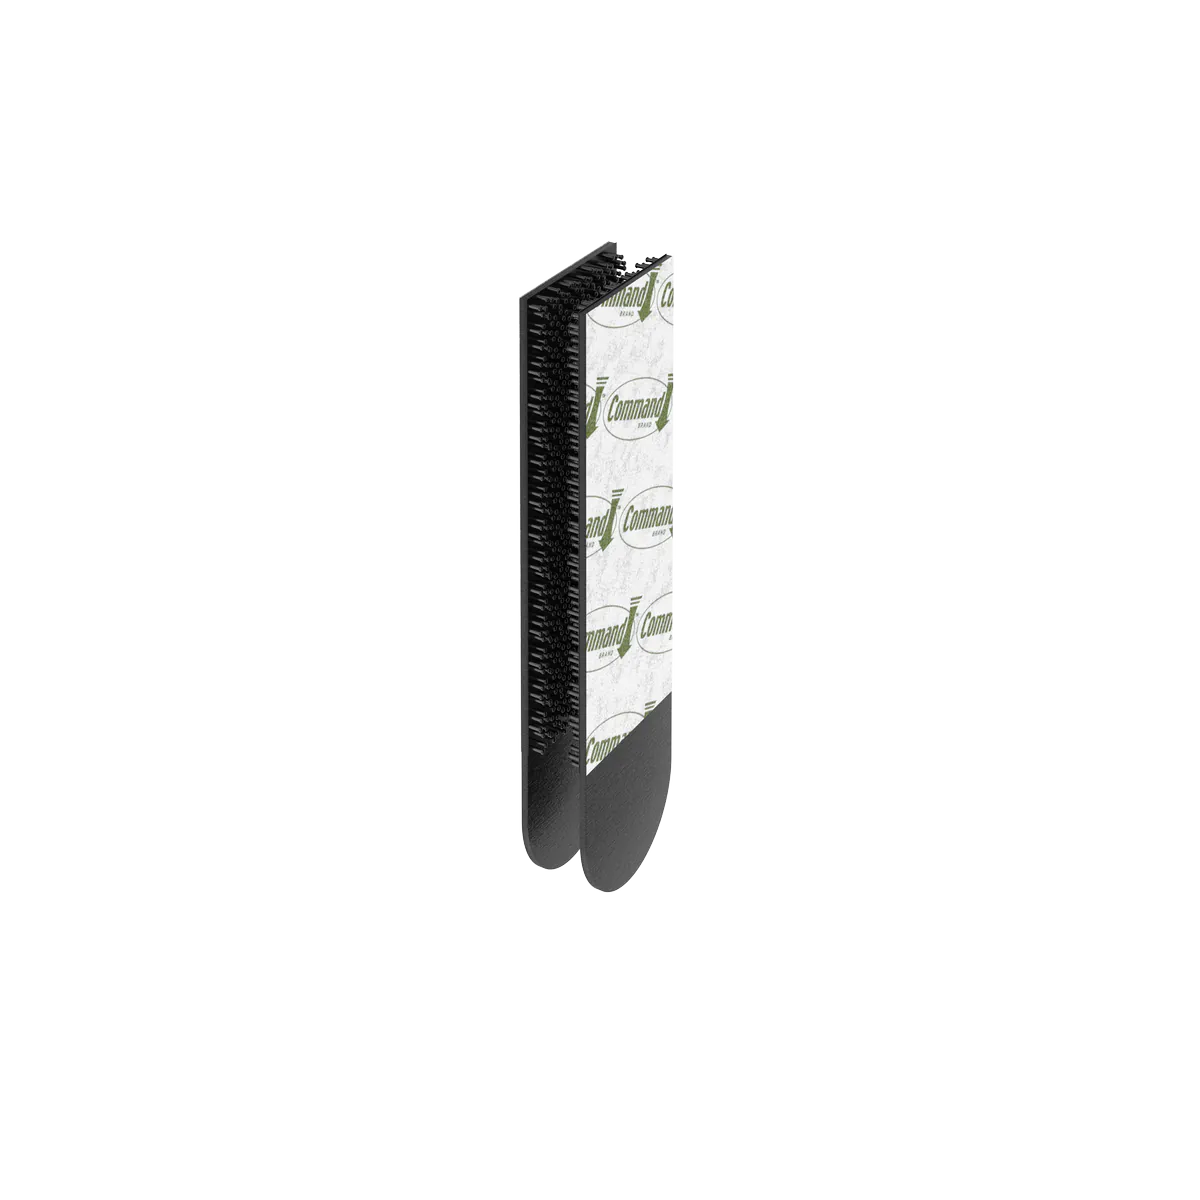
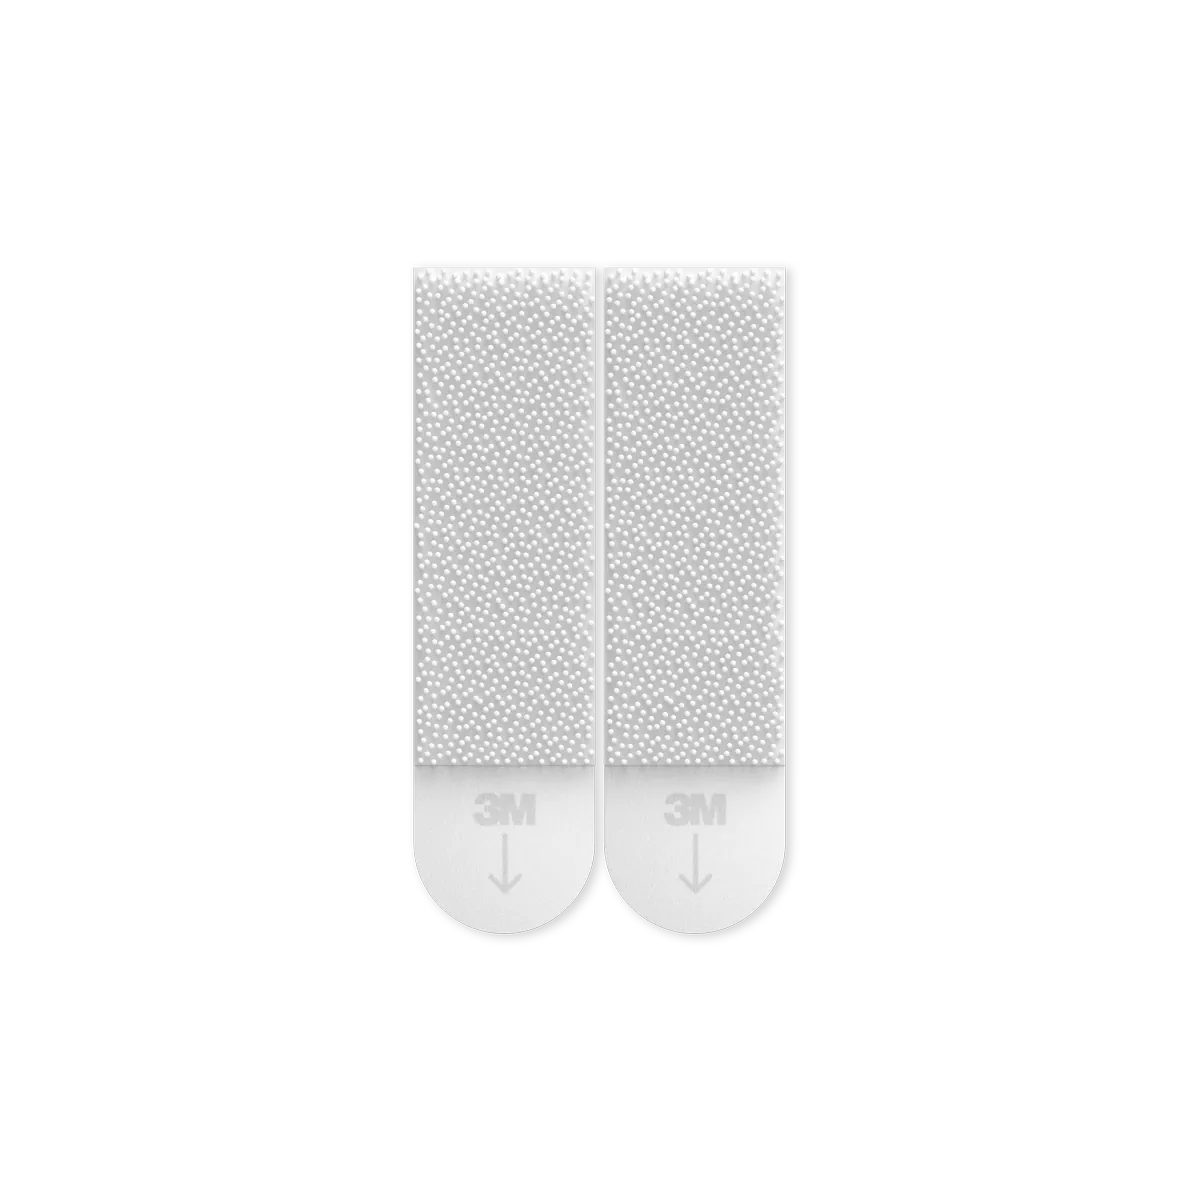
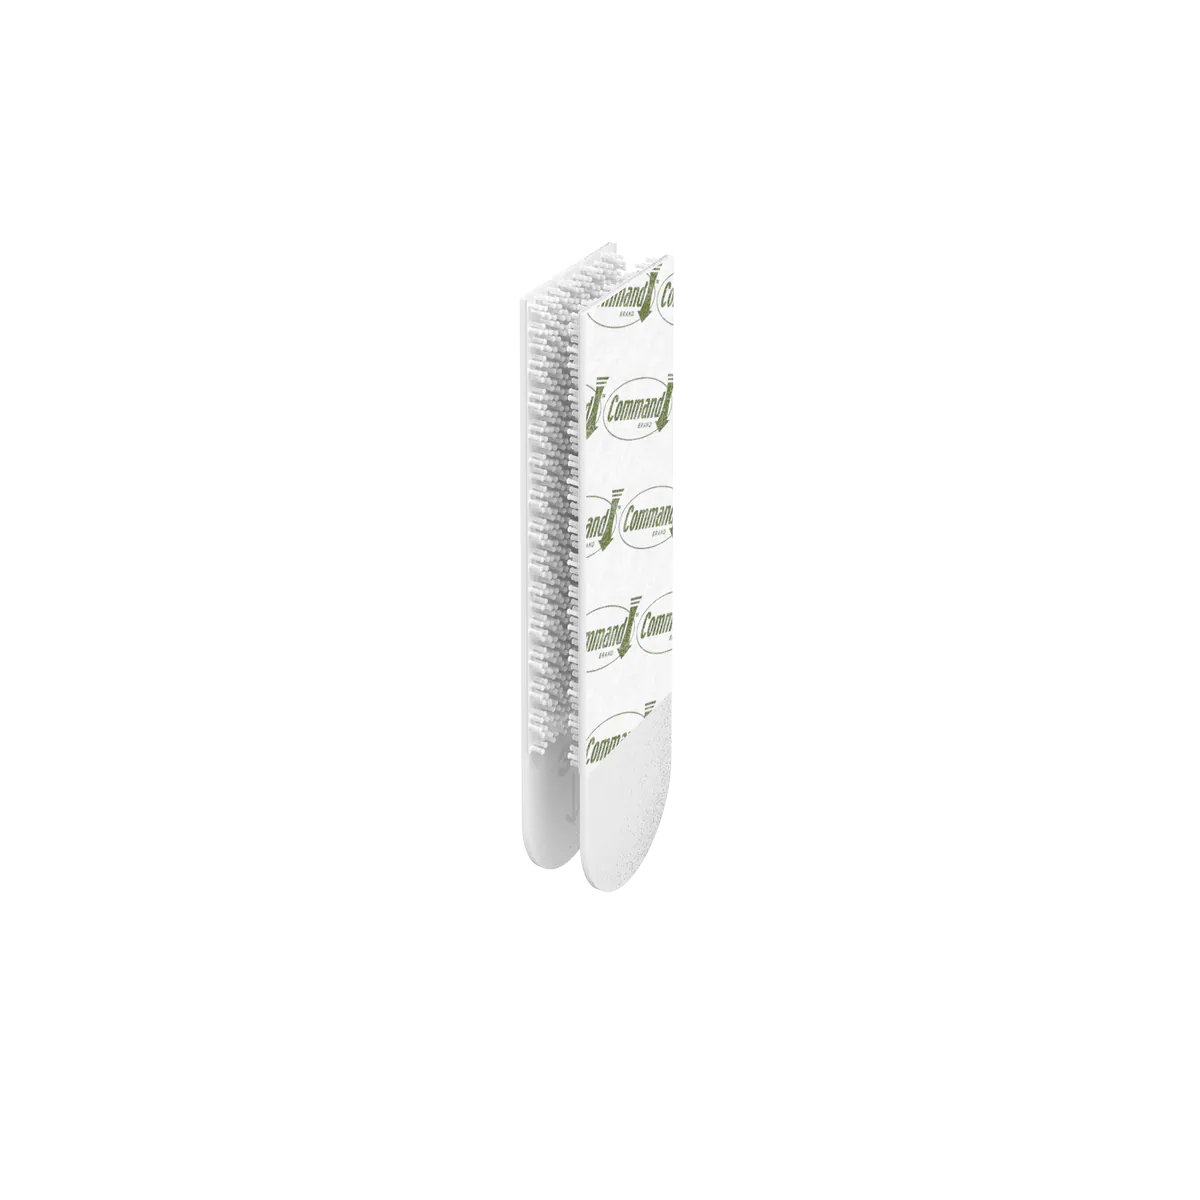
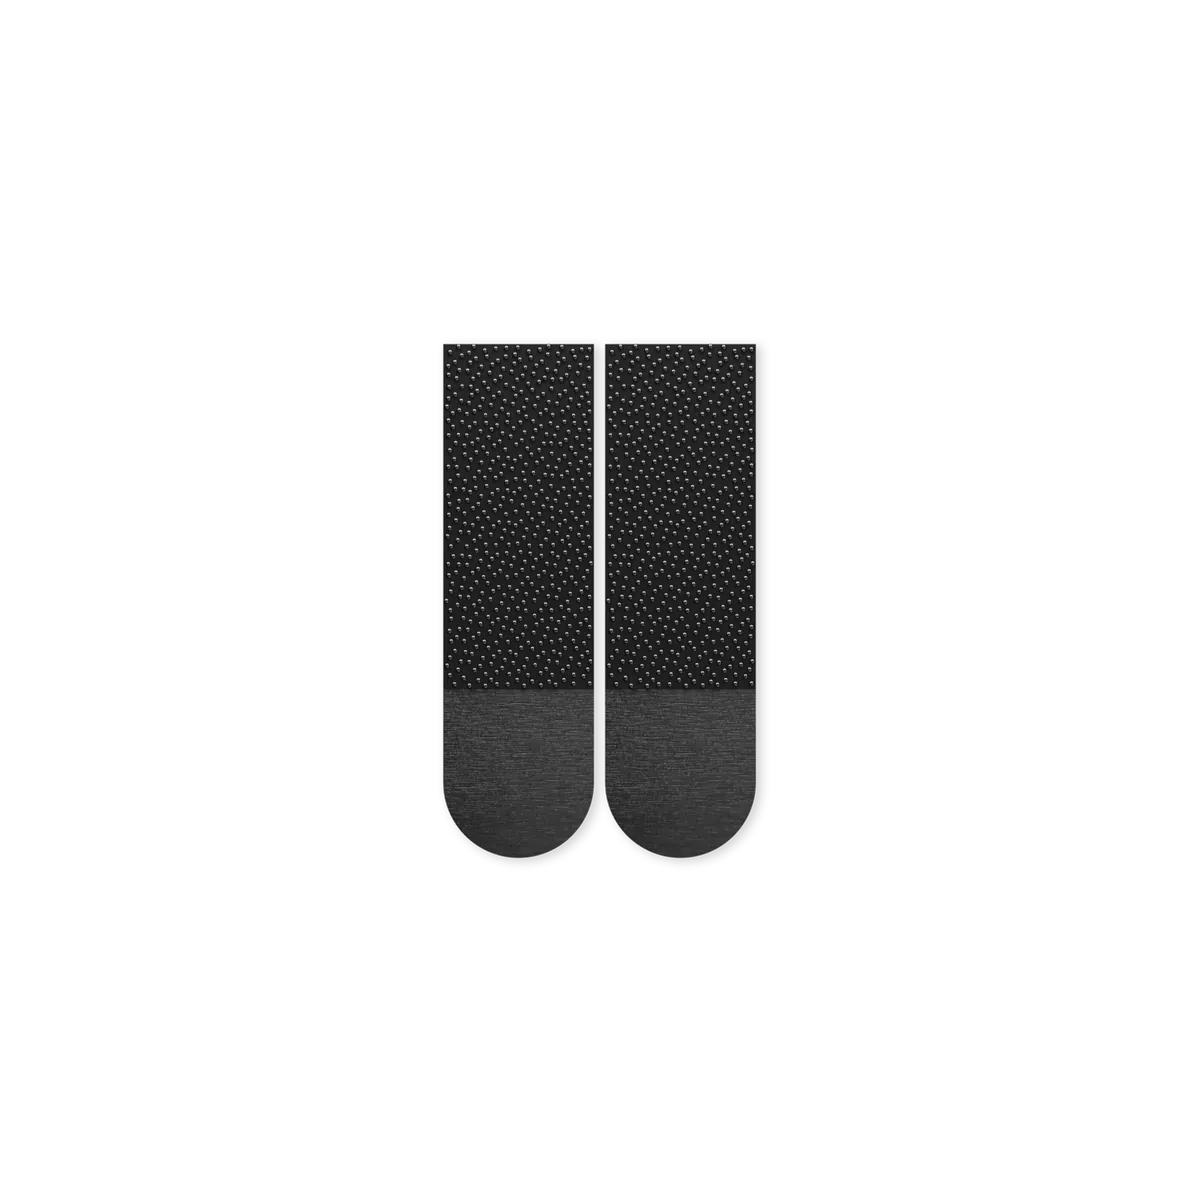
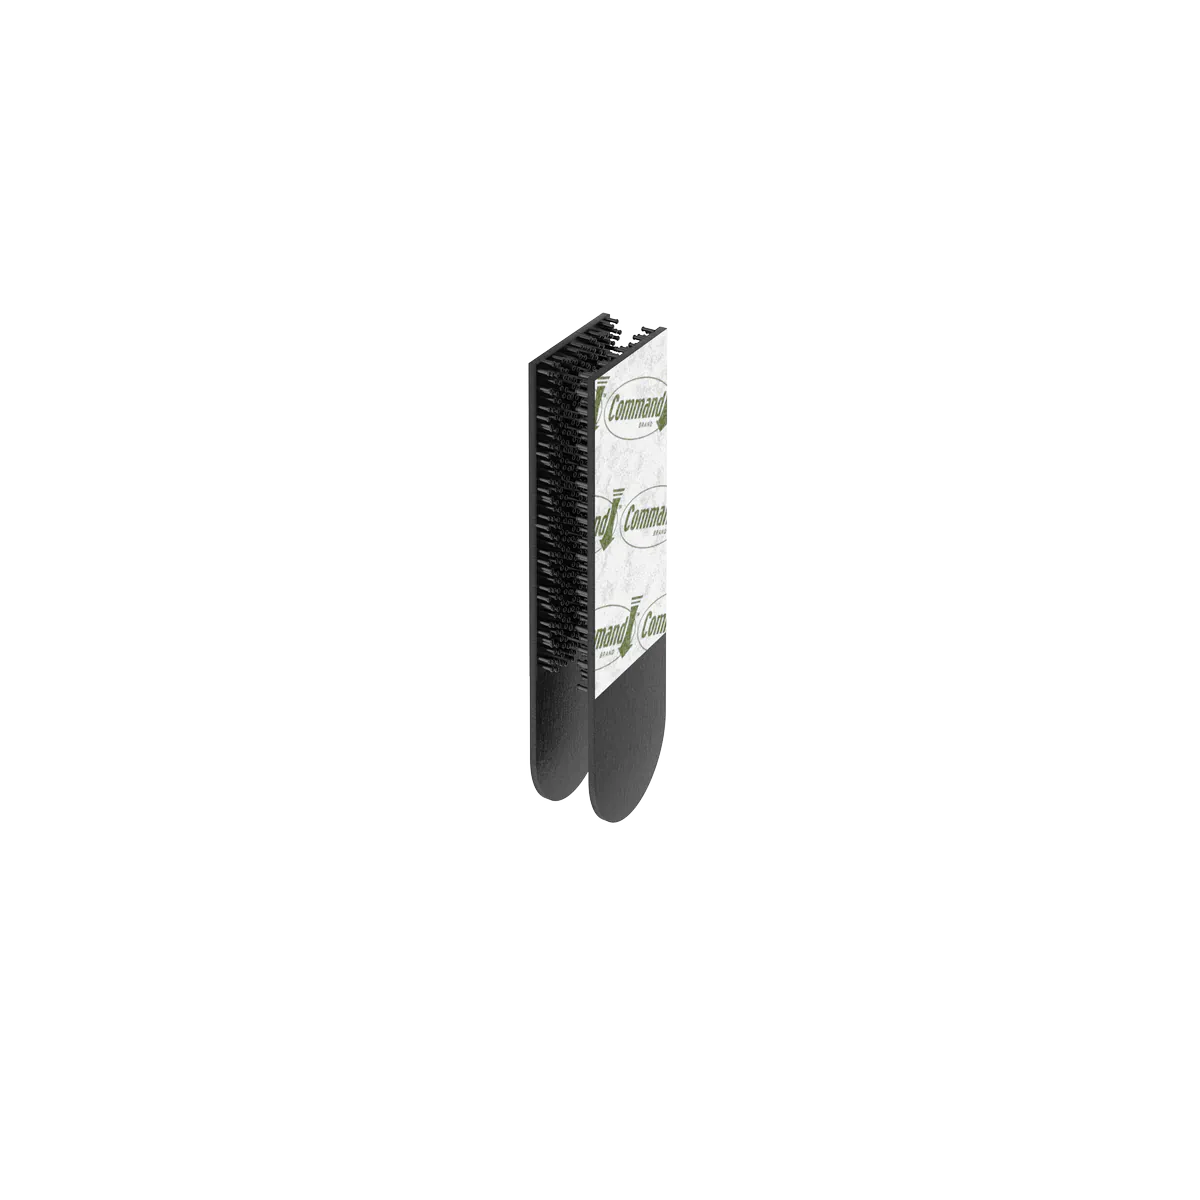
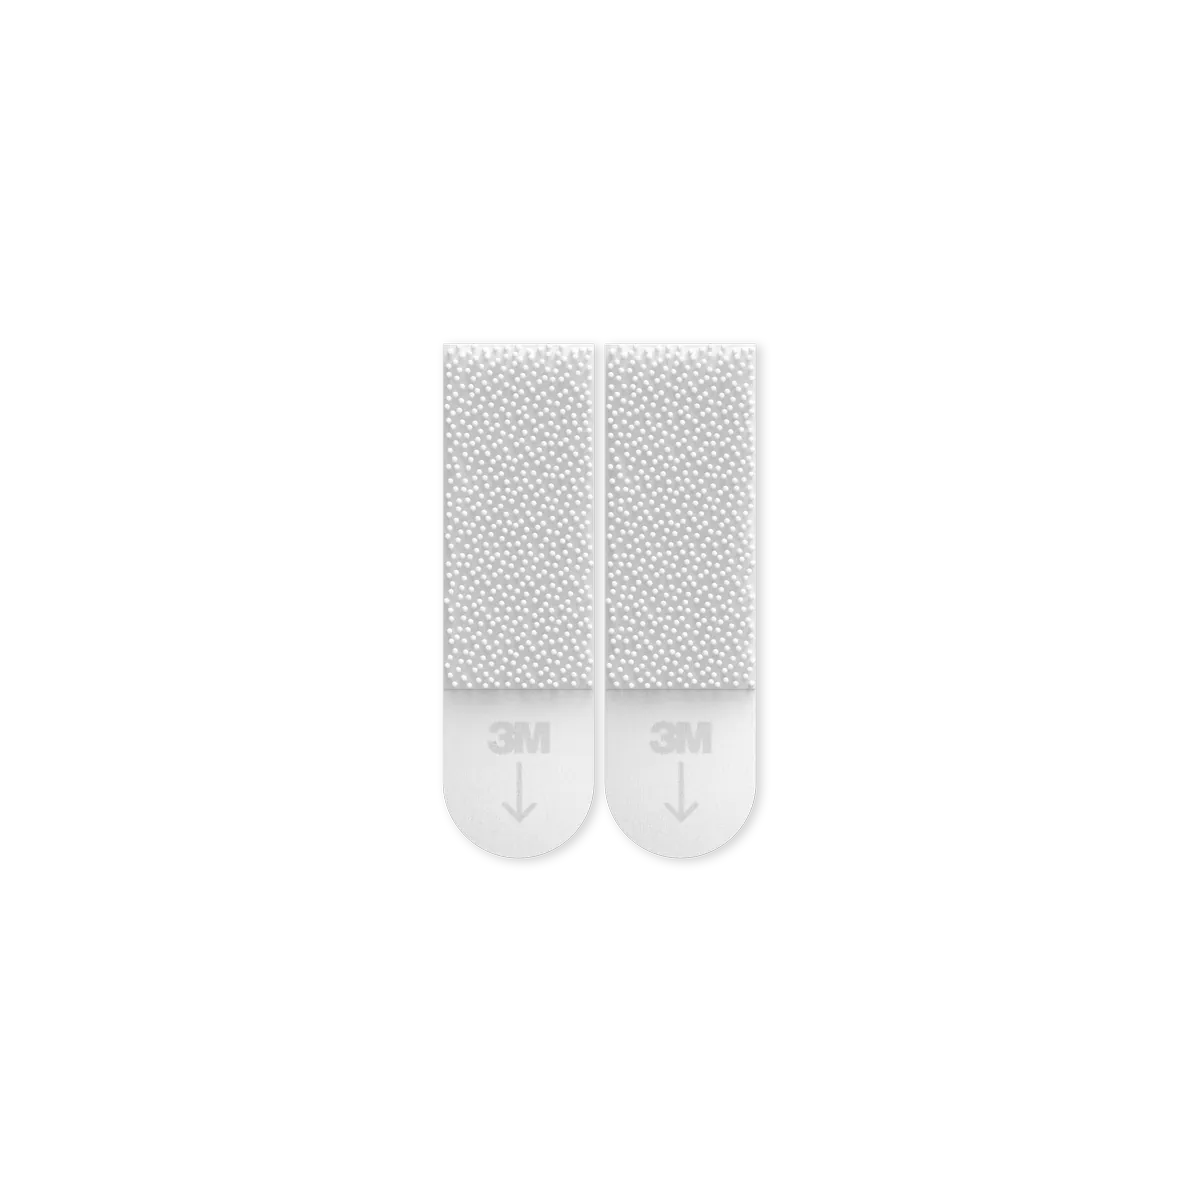
The picture frame images are more difficult to show in a 'delivered' state as they consisted of layered PSD files. The blend modes and layers are what enable the client to replace the artwork as needed using a Photoshop Smart Object. Below is a collection of images representing the composition and content of these layered files.
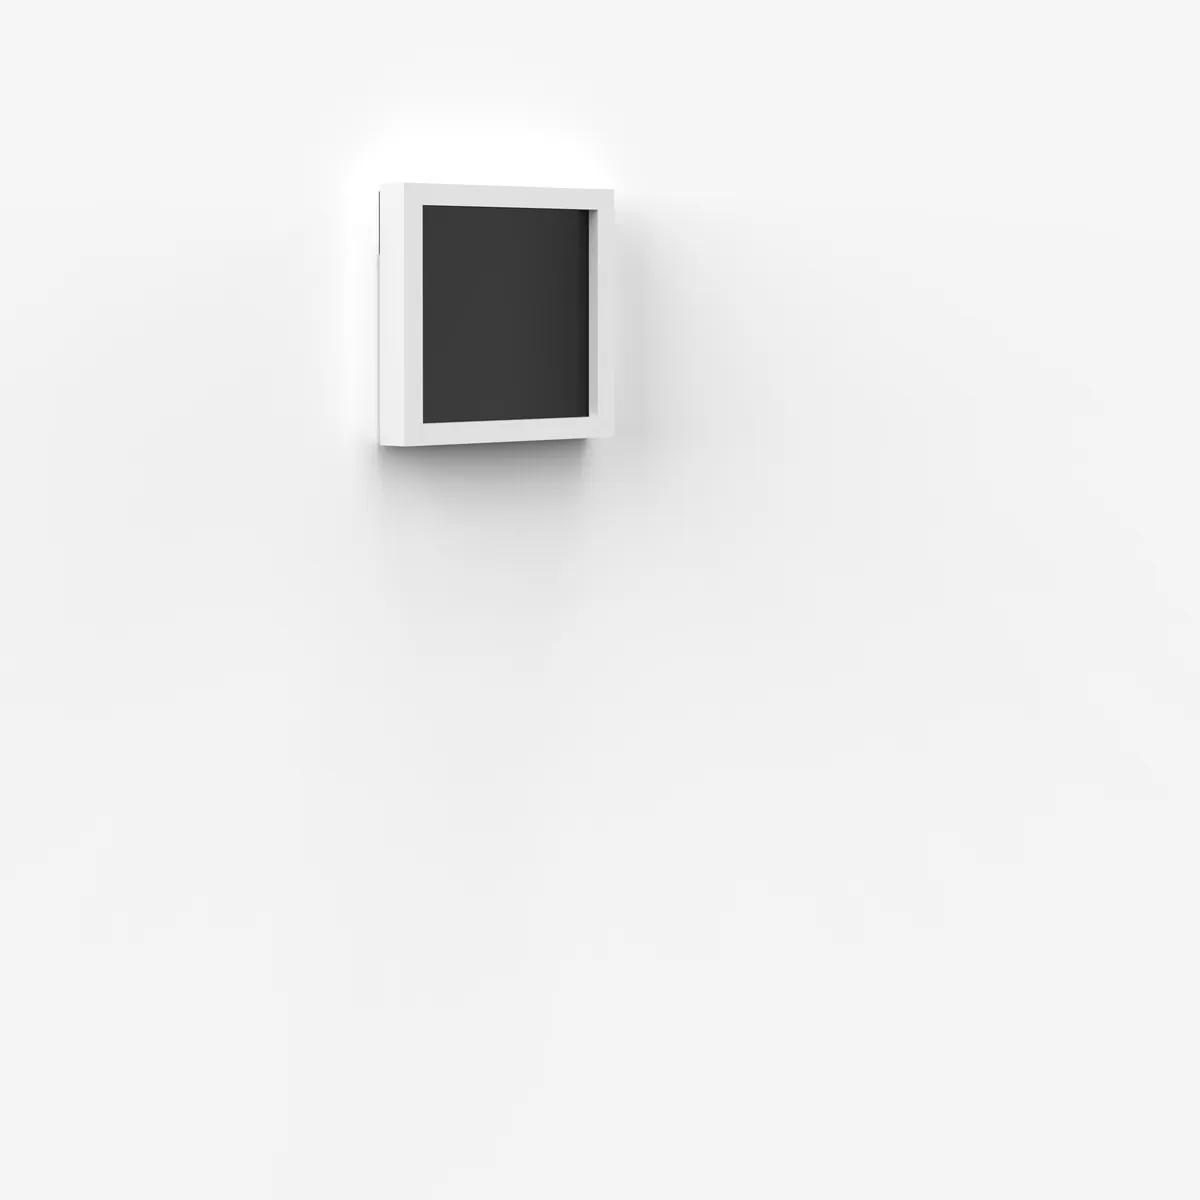
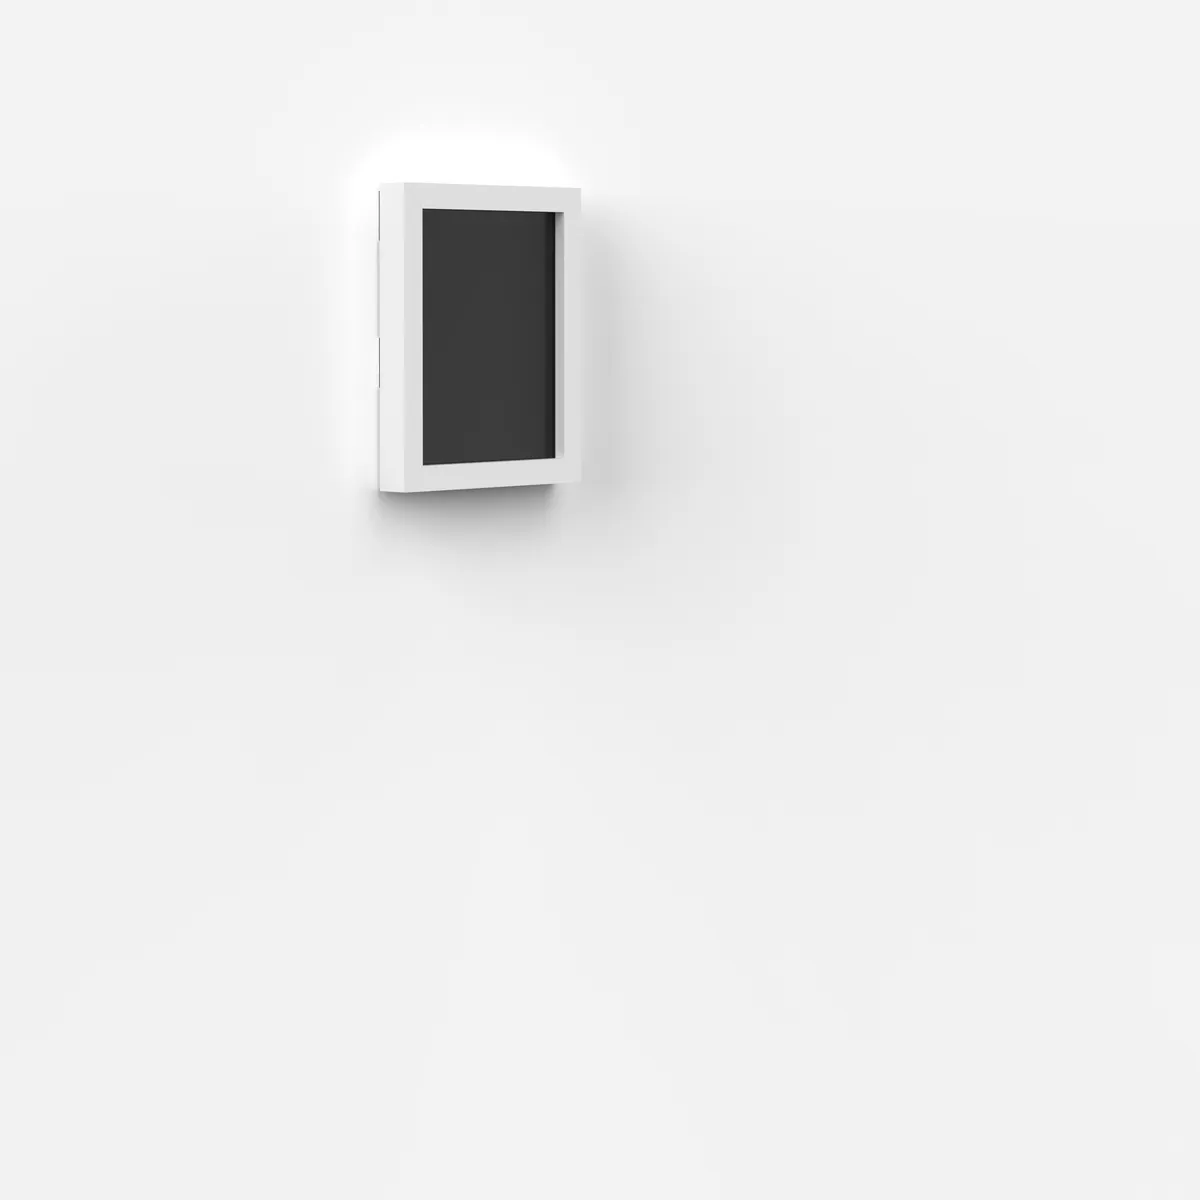
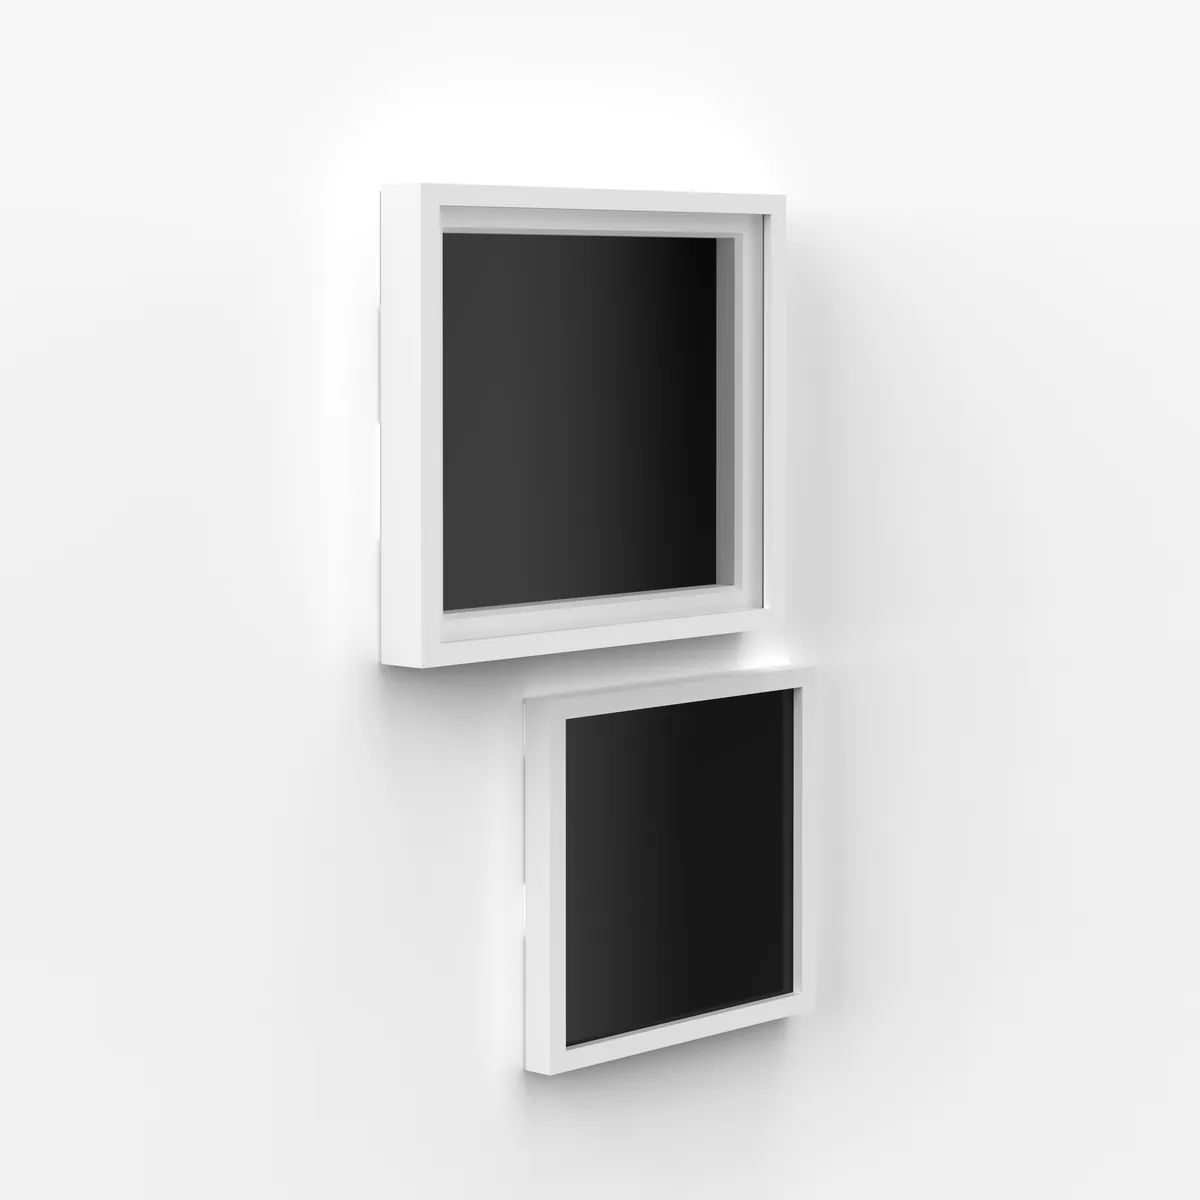



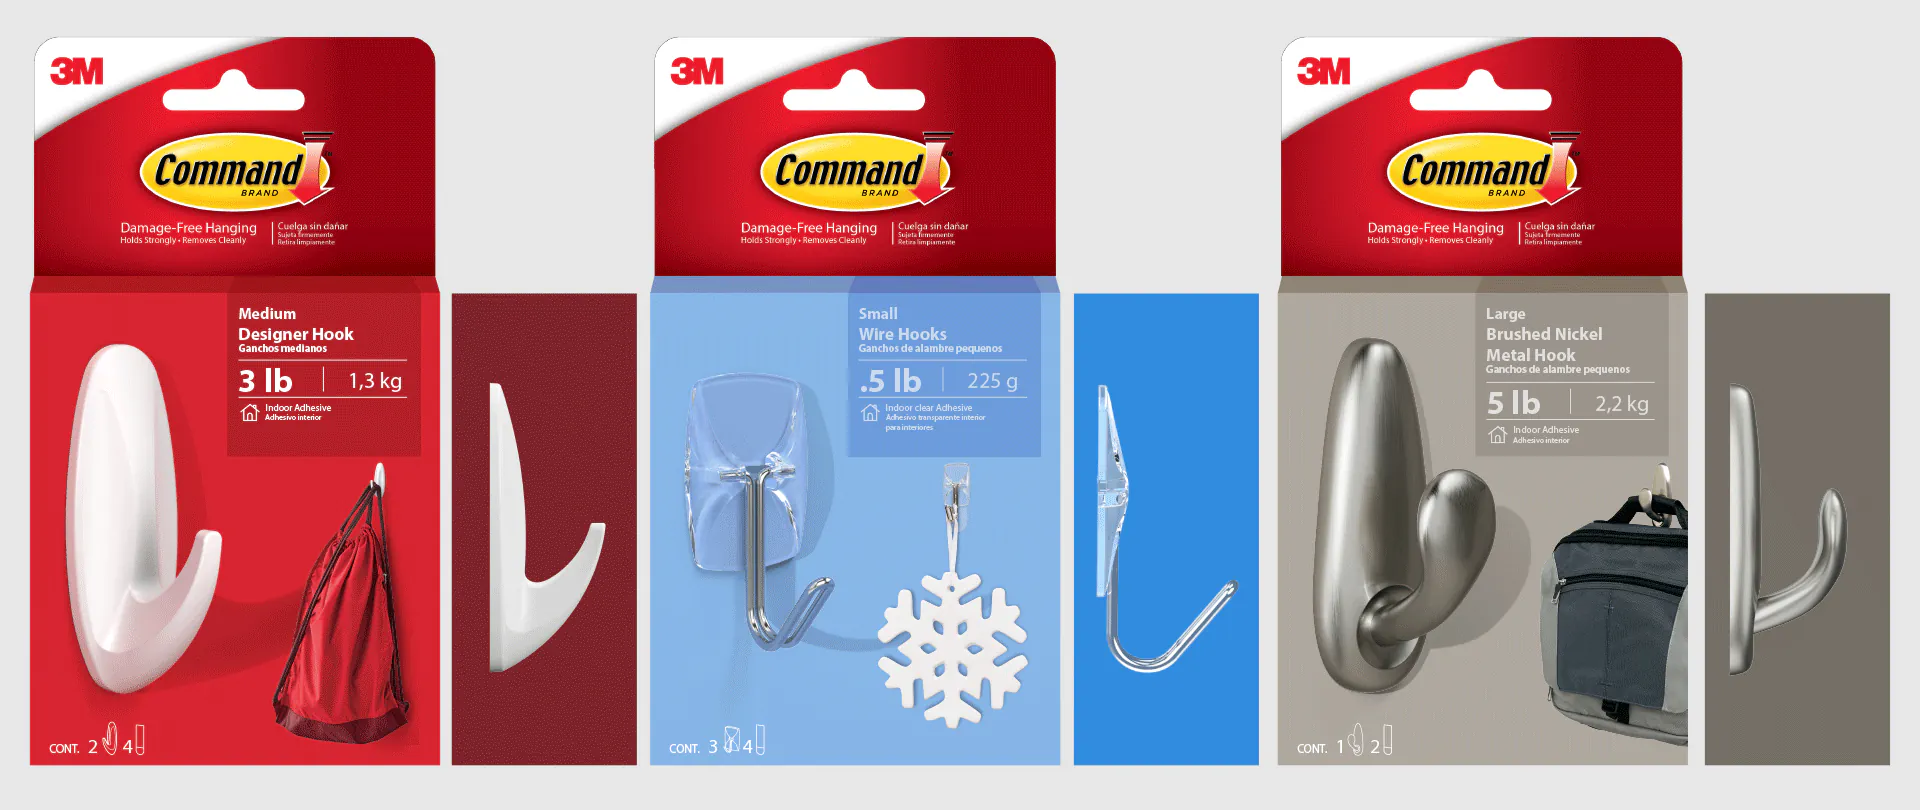
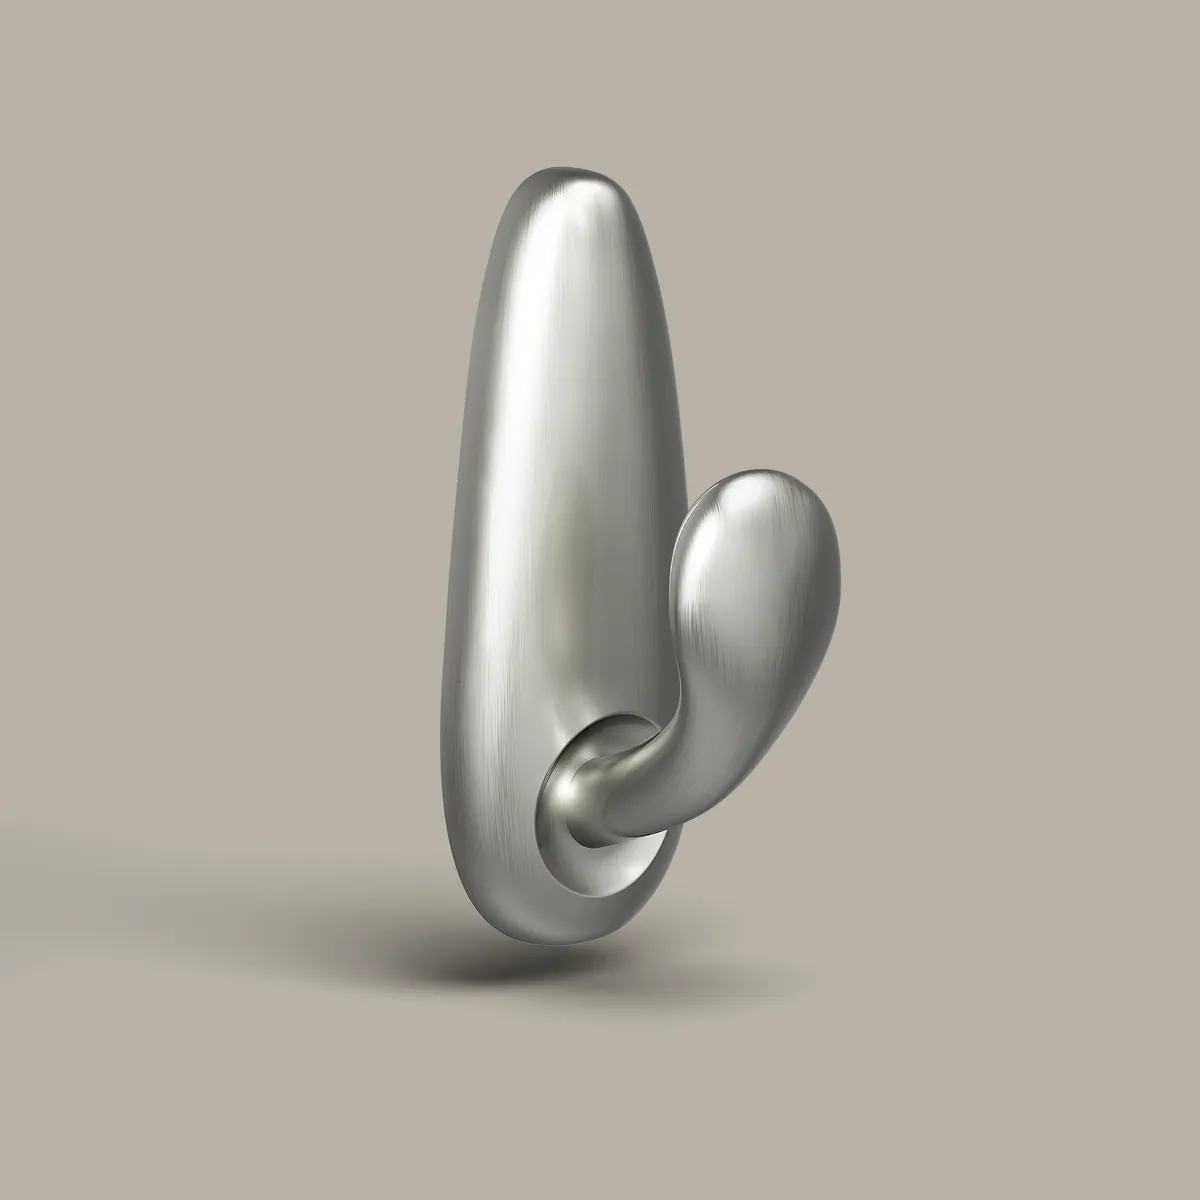
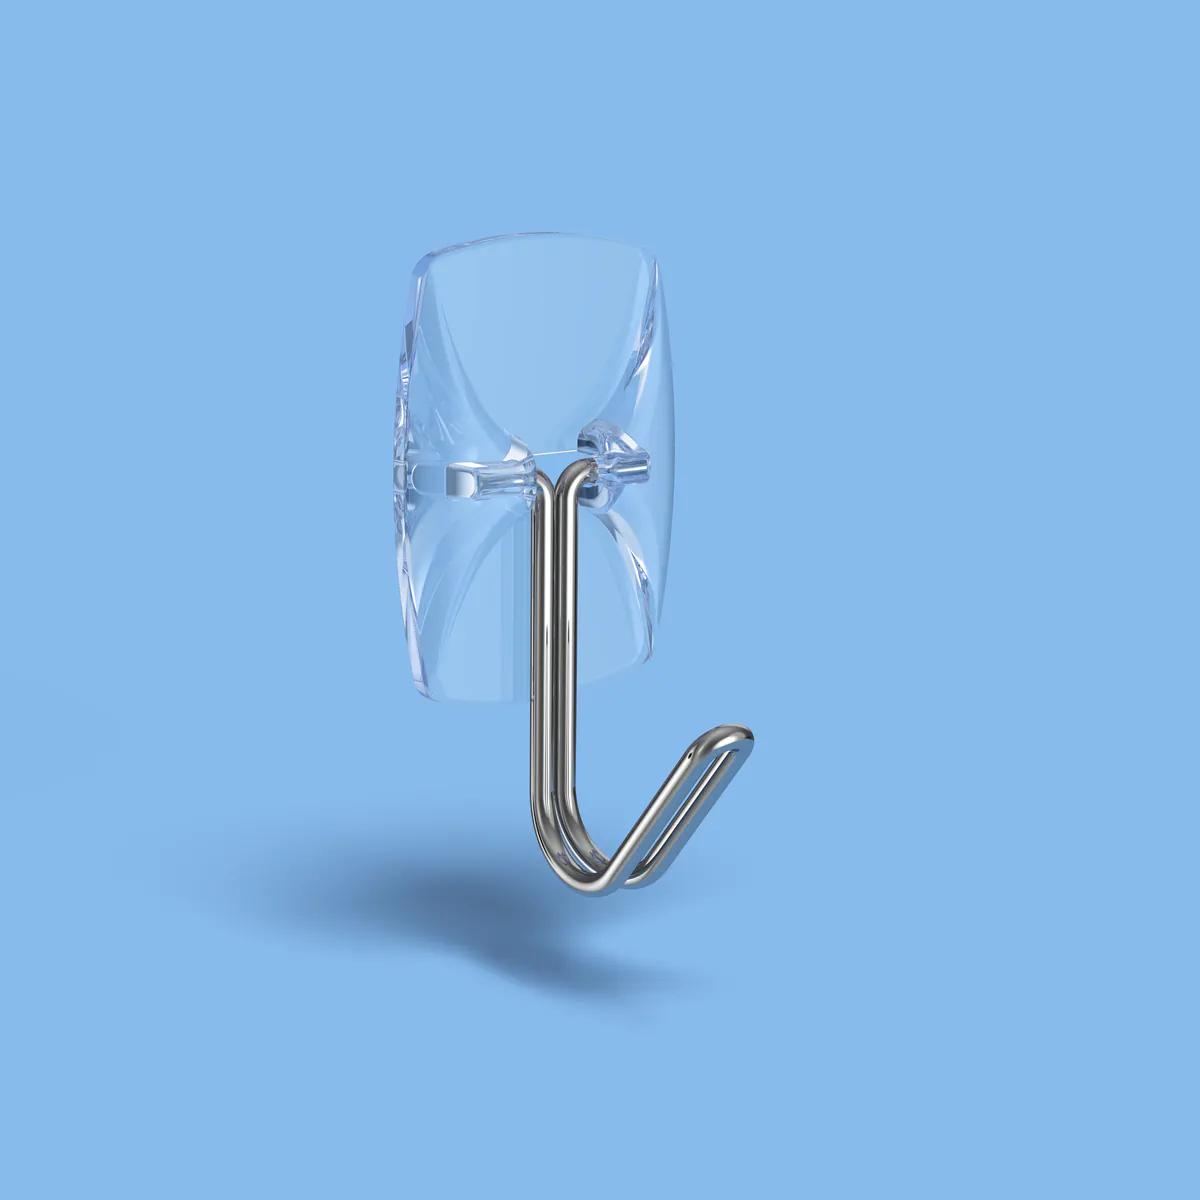
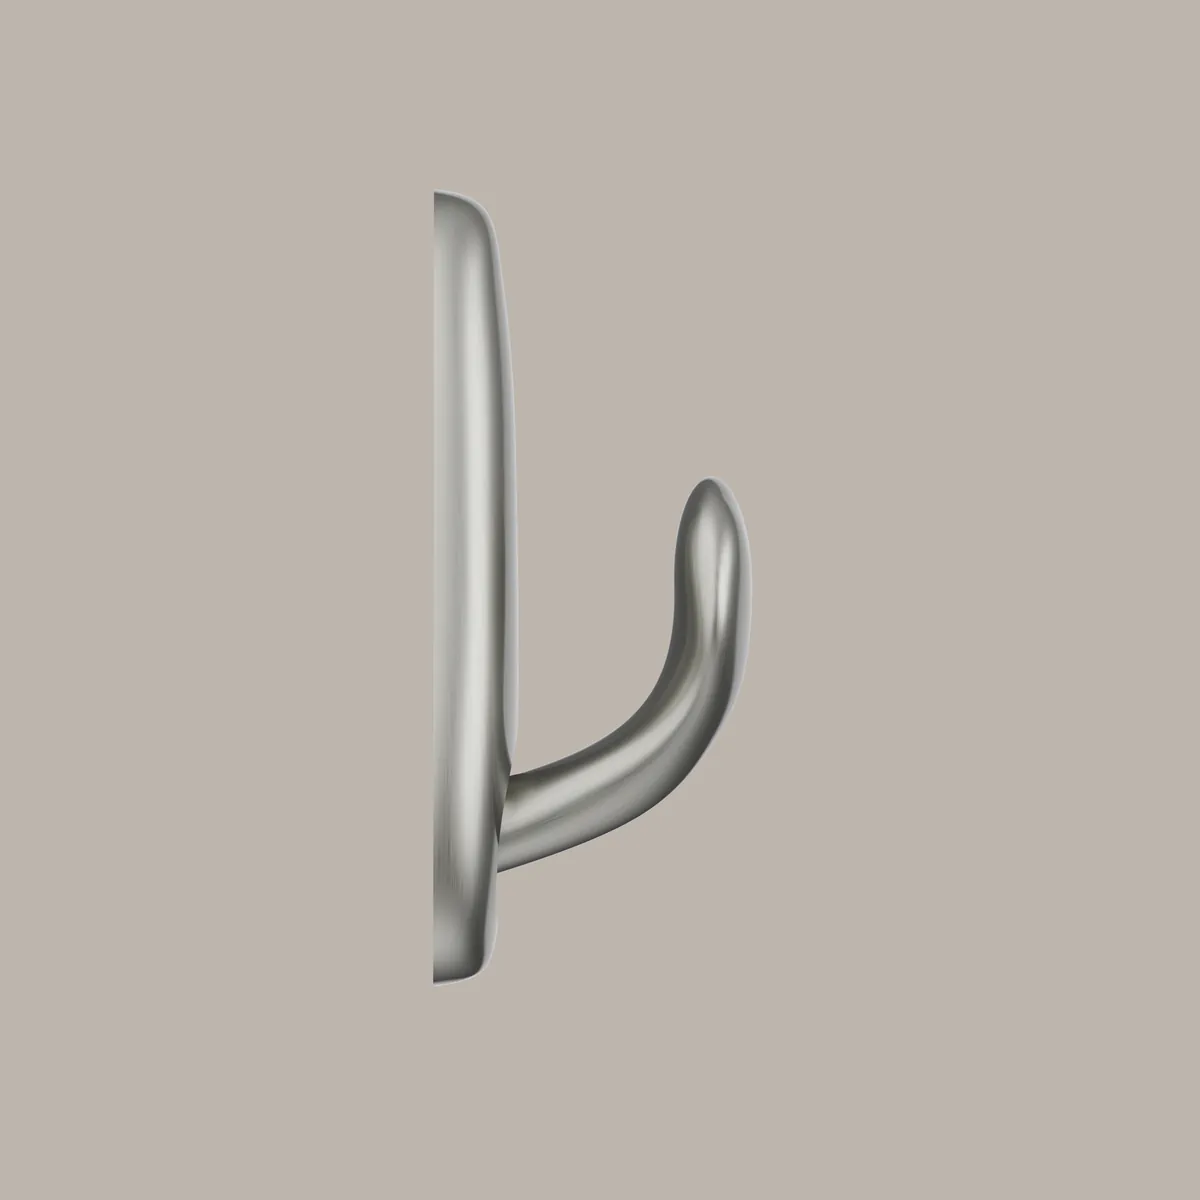
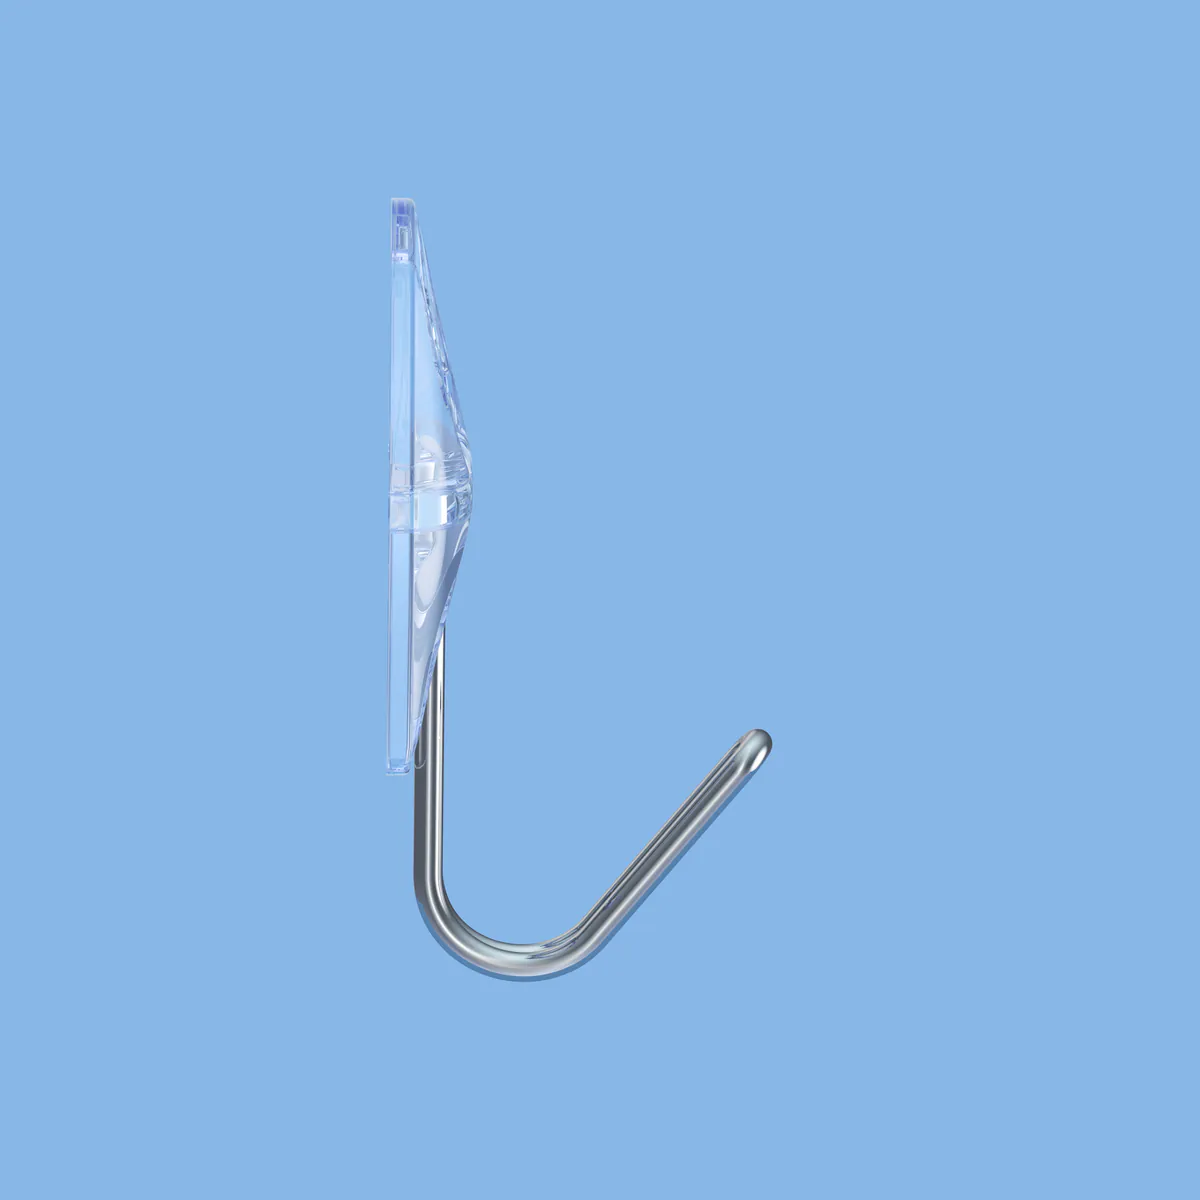
And I was also responsible for delivering images for these three common hooks which are part of the line of command strip products.


Project Notes
All product designs, names, and trademarks shown here are the property of 3M™ Company. The renderings were produced by me under commission for 3M™, working from CAD data, guidance, and art direction provided by 3M™.
This portfolio entry exists to demonstrate my design and problem-solving work. The views expressed here are my own, and I do not represent 3M™ in any capacity.
Thank you to 3M™ for the opportunity to contribute to a new generation of packaging visuals for such iconic products.